A Patriotic Charcuterie Board works because it looks generous before anyone takes a bite. The mix of savory meats, creamy cheeses, crisp crackers, and bright berries gives you the red, white, and blue effect without turning the board into a gimmick. It reads festive the second it hits the table, and it still eats like a board people actually want to graze from.
The key is balancing color with texture. Salami and pepperoni bring salt and structure, while turkey breast keeps the meat side from feeling too heavy. White cheddar cubes, mozzarella pearls, and Monterey Jack give you enough contrast to make the board interesting, and the fruit fills the gaps with color so you don’t end up with empty board space that looks accidental. If you’ve ever had a charcuterie board go stale before the party even starts, the fix is simple: build from sturdy items outward and add the delicate fruit at the end.
Below, I’ll show you how to keep the layout looking full, how to tuck in the red, white, and blue ingredients without crowding the board, and what to swap if you need to work with what’s already in the fridge.
The colors looked great, but what I loved most was how the board held up for the whole party. The berries stayed fresh, the cheeses didn’t sweat, and the salami rosettes gave it that full, fancy look without much effort.
Pin this red, white, and blue Patriotic Charcuterie Board for your next Memorial Day or Fourth of July spread.
The Trick to a Patriotic Board That Looks Full Without Wasting Ingredients
A good board doesn’t start with the prettiest item. It starts with the biggest shapes. If you begin with the meats and cheeses, you can anchor the layout first, then fill in the fruit and crackers where the gaps naturally land. That keeps the board from looking scattered, and it prevents the common problem of overbuying delicate fruit just to cover empty space.
The other thing that matters is contrast. Smooth mozzarella pearls next to sharp cheddar cubes, folded salami beside loose berries, and crunchy crackers against soft fruit all create movement on the board. If everything is placed in neat little rows, the board looks flat. If you build in clusters and let the ingredients touch at the edges, it looks abundant without becoming messy.
What Each Ingredient Is Actually Doing on the Board
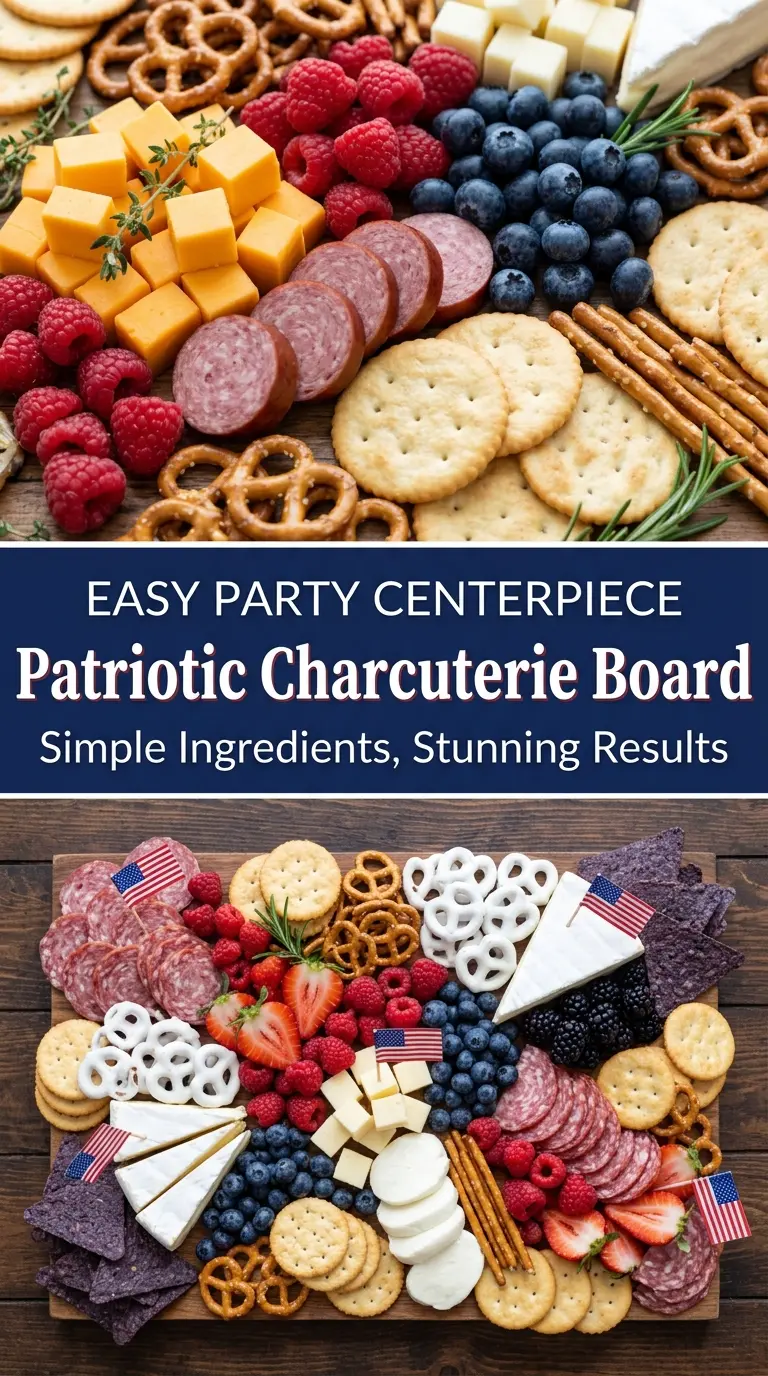
Salami and pepperoni — These are your strongest visual anchors. Folding them into rosettes or loose ribbons gives the board height and shape, which is why they matter more than a plain pile of slices. If you only have one of the two, use it, but the mix of both gives you better color and a little more complexity.
Turkey breast — This keeps the meat selection from leaning too salty. It also gives you a pale color that supports the white side of the theme. Thin-sliced deli turkey works fine here; just fold it so it doesn’t disappear against the board.
White cheddar cubes, mozzarella pearls, and Monterey Jack — These cheeses are doing the heavy lifting for texture and contrast. Cheddar gives structure, mozzarella brings softness, and Monterey Jack bridges the two. If you swap in another cheese, keep at least one firm option and one mild, creamy one so the board still feels balanced.
Strawberries, raspberries, and blueberries — The fruit is what makes the theme read instantly. Use dry fruit and add it close to serving time so the berries stay fresh and don’t bleed onto the cheese. If your strawberries are large, halve them so they tuck into the board instead of rolling around.
White yogurt-covered pretzels and white chocolate-covered almonds — These fill visual gaps and add crunch without introducing another competing color. They’re the easiest way to make the board feel finished. Plain pretzels or almonds work in a pinch, but you lose some of the white-on-white contrast that makes this version pop.
Rosemary sprigs — They’re garnish, but they’re not an afterthought. A few sprigs tucked around the board break up the food-heavy sections and add a fresh, piney scent right before serving. Use them sparingly so the board still feels like something people want to eat, not a centerpiece that got carried away.
Building the Board in the Right Order
Start With the Anchors
Place the small bowls first, then set down the cheeses and larger meat shapes. These are the items that define the board’s structure, so they need to go in before anything loose or fragile. Leave some open space between the anchors at this stage; crowding them now makes the board harder to balance later.
Fold the Meats for Height and Shape
Roll or fold the salami and pepperoni into rosettes, loose stacks, or half-moons. The goal is to create volume, not perfect symmetry. If the slices are too floppy, they collapse into each other and disappear, so give them a little structure with folds and layers.
Fill the Color Gaps With Fruit
Add the strawberries, raspberries, and blueberries after the heavier items are in place. This lets you see exactly where the board needs color instead of dropping berries randomly and hoping it looks full. Keep raspberries in clusters because they’re fragile, and nestle blueberries into smaller spaces where they won’t roll.
Finish With Crunch and Garnish
Scatter the crackers, almonds, and yogurt-covered pretzels around the edges and through the open spaces. These items help the board feel complete, but they also create the last layer of texture people reach for first. Add the rosemary at the very end so it stays perky and fragrant.
How to Adapt This for Different Crowds
Make It More Kid-Friendly
Swap some of the sharper cheeses for extra mozzarella pearls and add more fruit close together so kids can grab easy bites. Smaller crackers and milder meats work better here than heavily seasoned options. The board still keeps the patriotic look, but the flavors soften up a bit.
Make It Gluten-Free
Use certified gluten-free crackers and check the labels on the meats, pretzels, and chocolate-covered almonds. Most of the board already works naturally, so this swap is mostly about the crunchy extras. The board keeps the same look and feels just as full.
Lean It More Savory
If you want less sweetness, reduce the yogurt-covered pretzels and add more crackers, olives, or extra cheese. The board will still read patriotic because the red, white, and blue ingredients stay in place. This version works well for guests who graze more on the meat-and-cheese side than the snack side.
Storage and Reheating
- Refrigerator: Store the components separately for up to 2 days. Once assembled, the fruit softens and the crackers lose their crunch.
- Freezer: This doesn’t freeze well as a finished board. The cheeses and fruit change texture, and the crackers will come out stale and damp.
- Reheating: Reheating isn’t needed. If you prep ahead, keep the wet ingredients chilled and assemble the board just before serving so the fruit stays firm and the crackers stay crisp.
Answers to the Questions Worth Asking
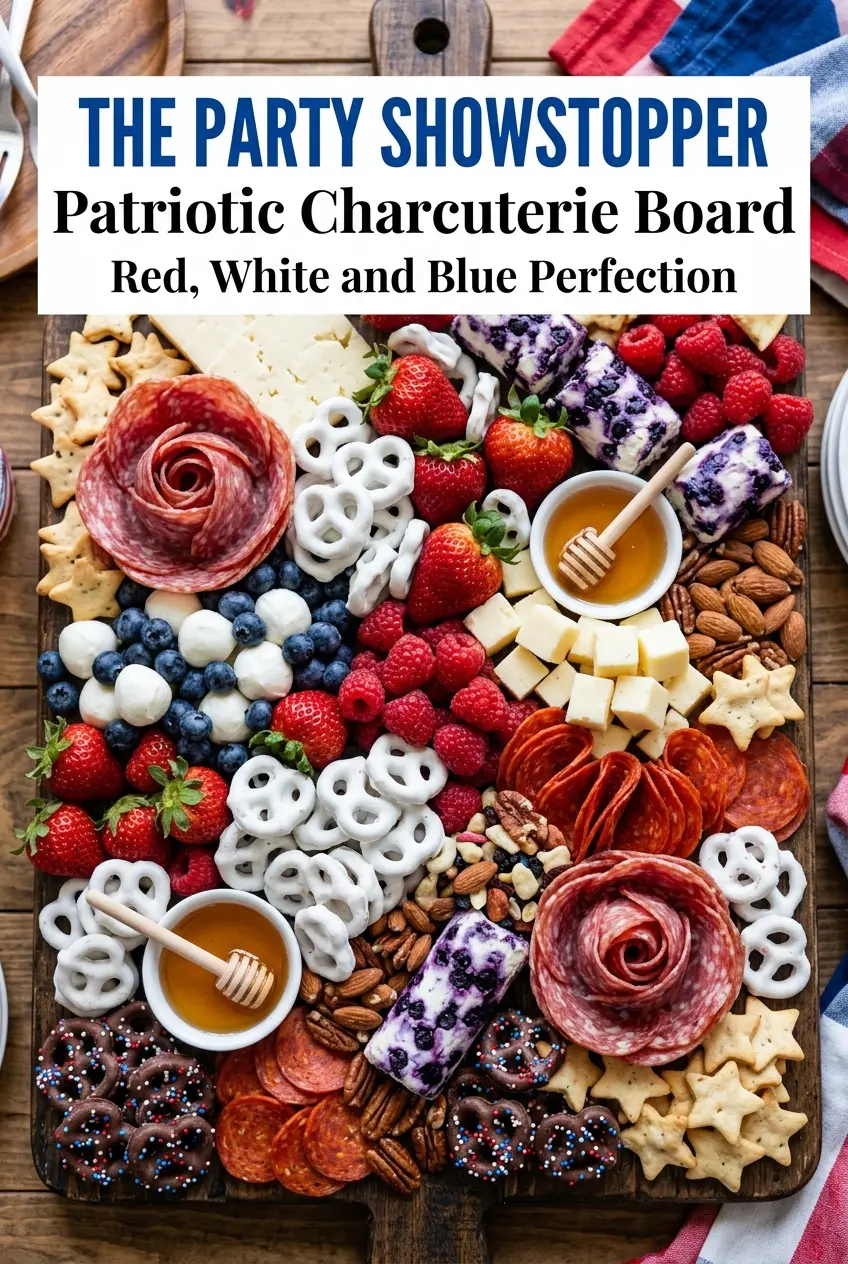
Patriotic Charcuterie Board
Ingredients
Method
- Place small bowls of blueberries and white yogurt-covered pretzels on the board so the red, white, and blue items are easy to grab.
- Fold salami slices and pepperoni slices into decorative rosettes, then place the rosettes on the board as the centerpiece.
- Arrange white cheddar cubes, mozzarella pearls, and Monterey Jack slices around the meats, leaving small gaps for fruit and snacks.
- Fill empty spaces with strawberries, raspberries, and blueberries to create alternating red and blue clusters across the board.
- Add Assorted crackers throughout the board so there are multiple vehicles for meats and cheese.
- Scatter white chocolate-covered almonds between sections to add crunchy pops of white throughout the spread.
- Garnish with Fresh rosemary sprigs for garnish right before serving for a fresh, fragrant finish.
- Serve immediately so cheeses stay at their best texture and fruit looks vibrant.