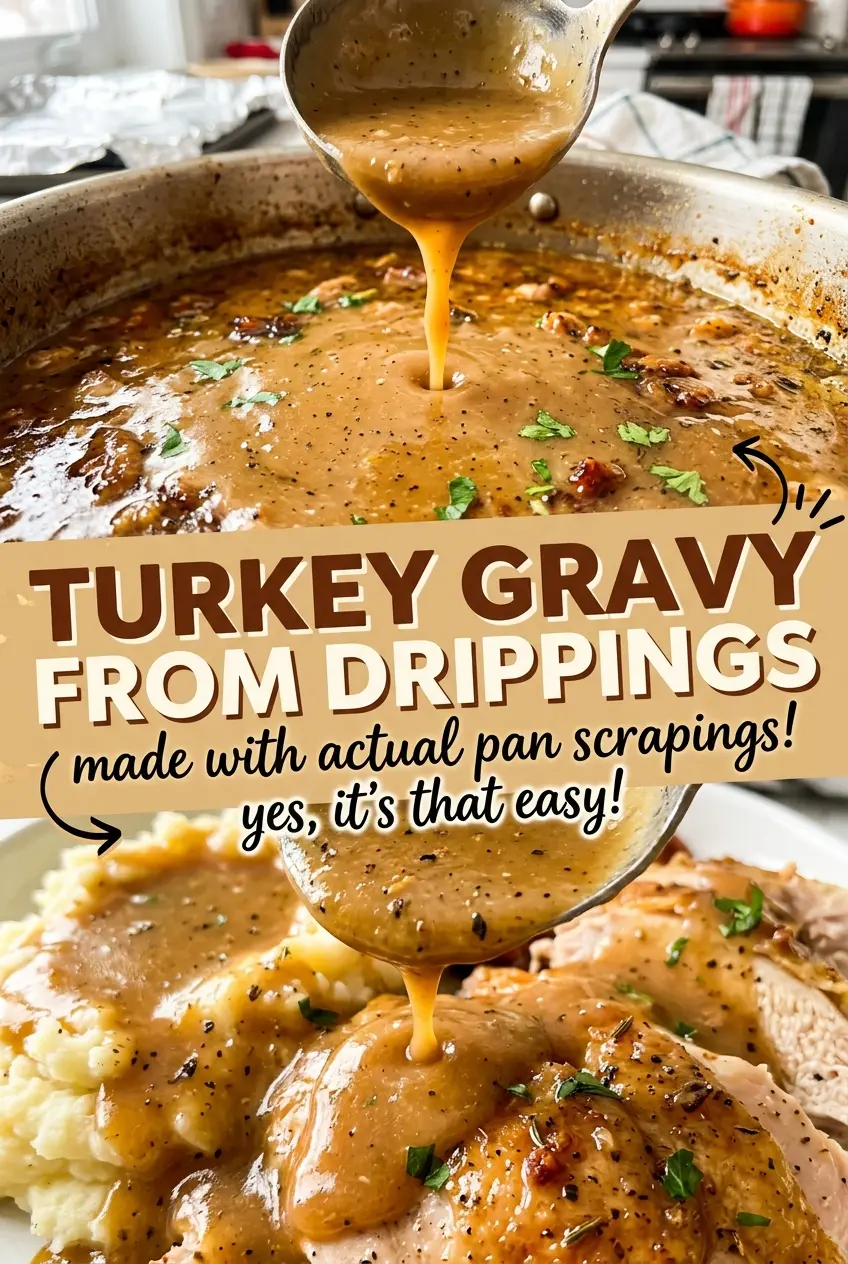
Pan drippings look like one glossy pool when they first come out of the roasting pan. After they settle, though, the fat rises and the darker juices collect underneath. Separating those parts gives Turkey Gravy from Drippings its roasted turkey flavor without leaving a greasy layer on top.
I measure the fat and the liquid separately instead of guessing from what’s left in the pan. If there isn’t enough rendered turkey fat, unsalted butter fills the gap; low-sodium turkey broth brings the strained juices up to the amount needed. That makes this gravy dependable even when every pan of drippings looks a little different.
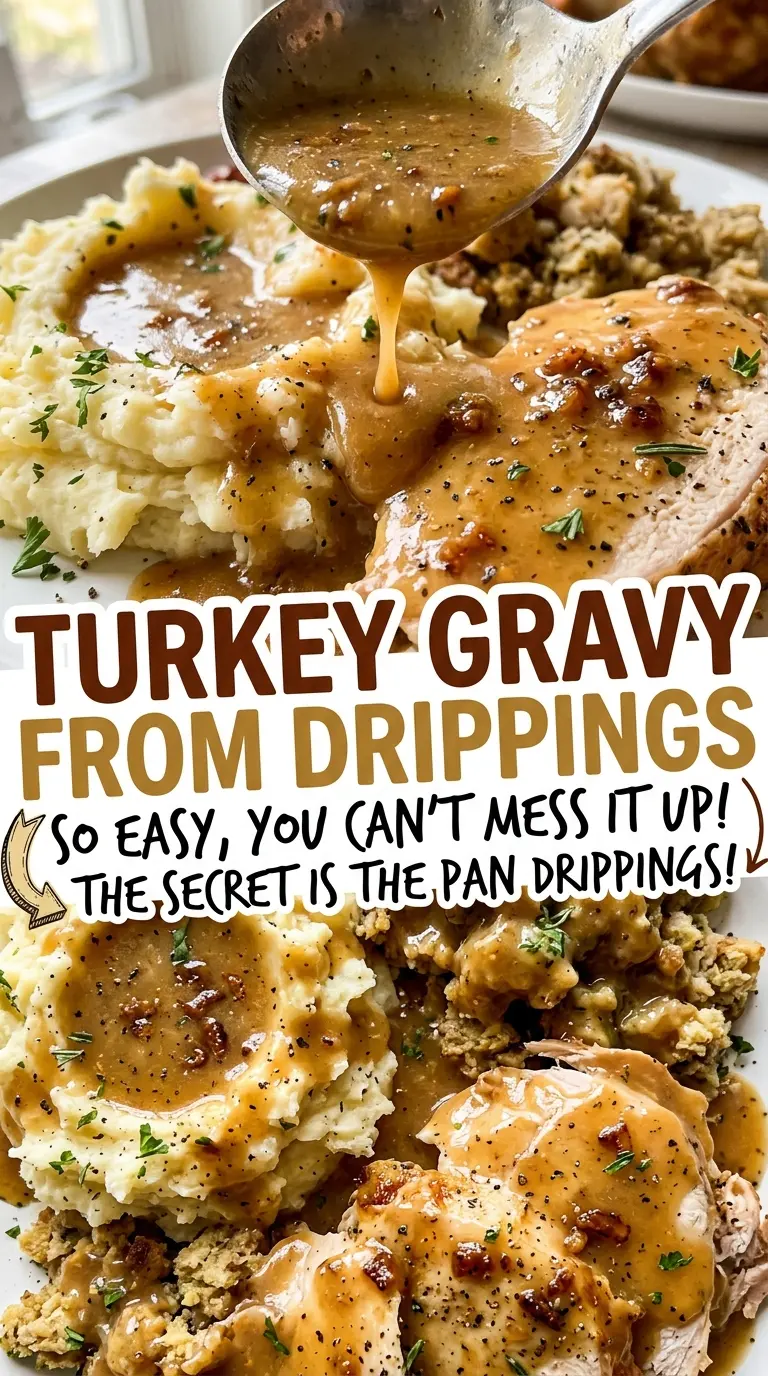
A lightly golden roux gives the liquid something to cling to, and steady whisking keeps the gravy smooth as it thickens. The result is savory, silky gravy that pours easily and coats the back of a spoon.
Kitchen Note
Keep the whisk moving through the full 1 to 2 minutes; flour can scorch in one spot before the whole roux looks ready. I stop when it’s smooth and lightly golden, not brown.
Save this turkey gravy from drippings for a smooth, savory gravy that makes the most of the roasting-pan juices.
Why This Gravy Starts With a Measured Roux, Not a Guess at the Pan
The amount of fat left in a roasting pan can vary quite a bit. If you build the gravy around whatever happens to be there, the finished texture can swing from thin to heavy. Separating and measuring the fat gives the flour a consistent base, while measuring the juices and broth gives the roux a known amount of liquid to thicken.
The balance matters: equal parts fat and flour form the roux, and the measured liquid turns it into a pourable gravy. Adding flour straight into the juices is more likely to leave little raw-tasting lumps because the flour hasn’t been cooked into the fat first. Starting with the roux keeps the texture even from the first spoonful to the last.
There’s no need to chase a dark brown roux here. A lightly golden color keeps the gravy’s focus on the turkey drippings rather than a deeply toasted flour flavor. Once the liquid is whisked in and the gravy simmers, it thickens without needing extra flour stirred in at the end.
Why the Drippings Need Both a Fat Measure and a Liquid Measure
- Turkey fat and unsalted butter — Rendered turkey fat brings the savory character of the roast into the roux. If the pan doesn’t yield enough, unsalted butter is the useful top-up; its mild flavor blends in without adding extra salt before you season.
- All-purpose flour — This is the thickener, and ordinary all-purpose flour works well here; there’s no need for a specialty brand. Whisk it into the melted fat so it cooks evenly rather than clumping in the liquid.
- Defatted drippings and low-sodium turkey broth — The strained juices carry concentrated roasted flavor, while broth supplies the rest of the liquid. Low-sodium broth leaves room to season the finished gravy without the salt level getting away from you.
- Kosher salt and black pepper — Add them at the finish, after the gravy has simmered. The drippings and broth can vary in saltiness, so tasting before adjusting is more reliable than seasoning by habit.
Separating the Drippings Before the Roux Goes Into the Pan
Let the Fat and Juices Separate
Pour the pan drippings into a fat separator or measuring cup and give them time to settle. The fat will sit above the darker juices; strain the defatted juices so the gravy won’t carry bits from the roasting pan. Measure the rendered fat and top it up with unsalted butter if needed. Measure the juices, then add low-sodium turkey broth to bring the combined liquid to the required total.
Cook a Lightly Golden Roux
Melt the measured fat in a 3-quart saucepan over medium heat. Whisk in the flour and keep the whisk moving for 1 to 2 minutes, scraping the bottom and sides as you go. The mixture should look smooth and turn lightly golden. If you see dark flecks or smell a scorched note, the heat is too high; take care not to leave the roux unattended.
Whisk in the Liquid Gradually
Pour in the drippings-and-broth mixture gradually while whisking, rather than adding it all at once. Keep whisking until the mixture looks smooth before bringing it to a simmer. A slow, steady addition helps the roux blend into the liquid evenly. If the pan looks lumpy during this stage, keep whisking until the mixture smooths out.
Simmer Until the Gravy Thickens
Once the gravy reaches a simmer, cook it for 3 to 5 minutes, whisking often. It should become glossy and coat a spoon instead of running off like broth. Stir in the salt and black pepper, taste, and adjust the salt as needed before serving. The gravy will thicken a little more as it cools, so aim for a pourable texture in the saucepan.
Two Ways to Shift the Turkey Flavor Without Changing the Roux
Make the Gravy More Drippings-Forward
Use a larger share of the strained drippings and less broth, keeping the combined liquid at four cups. The gravy will taste more distinctly like the roast, which suits a pan with deeply browned, flavorful juices.
Make It Milder and More Broth-Forward
Use a smaller share of strained drippings and more low-sodium turkey broth, still measuring four cups of combined liquid. This softens the roasted flavor while keeping the gravy’s texture and roux method the same.
Storage and Reheating
- Refrigerator: Store covered for 3 to 4 days. The gravy will thicken as it chills.
- Freezer: Freeze in an airtight container for up to 3 months. Thaw it overnight in the refrigerator before reheating.
- Reheating: Warm it in a saucepan over medium-low heat, whisking often, until it reaches 165°F. Avoid high heat, which can scorch the bottom before the gravy heats evenly.
Questions That Come Up When the Drippings Are Unpredictable
Turkey Gravy from Drippings
Ingredients
Equipment
Method
- Pour the pan drippings into a fat separator and let them settle.
- Strain the defatted juices.
- Measure 1/4 cup fat, adding unsalted butter if needed.
- Measure the juices and add enough broth to make 4 cups total liquid.
- Melt the fat in a 3-quart saucepan over medium heat.
- Whisk in the flour and cook for 1 to 2 minutes, whisking constantly, until smooth and lightly golden.
- Gradually whisk in the drippings-and-broth mixture until smooth.
- Bring to a simmer.
- Cook for 3 to 5 minutes, whisking often, until thickened.
- Stir in the salt and pepper, taste, and adjust the salt as needed before serving.