When a fork slides through a sweet potato cube with no resistance, the pieces are ready; firm centers are what leave little lumps in the mash. I cook the cubes until they’re genuinely tender, then mash them with butter while they’re still hot. That gives this sweet potato casserole with marshmallows a smooth, rich base without needing a mixer.
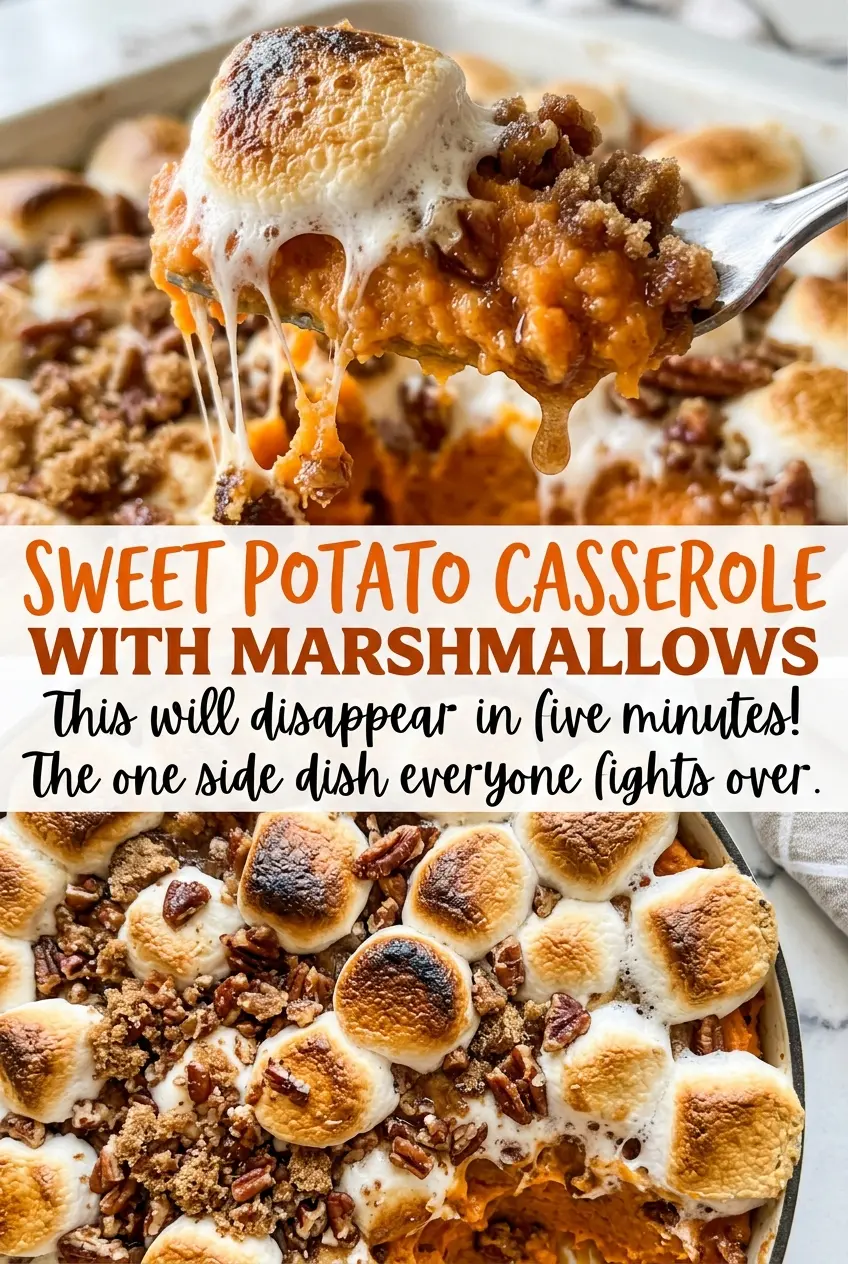
The filling gets a short pause before the eggs go in, and that small bit of patience makes the mixing easier. Brown sugar and cinnamon bring warmth without burying the sweet potatoes, while the marshmallows go on near the end so they puff and turn lightly golden instead of disappearing into the casserole. The finished center is soft and gently set beneath a pillowy, toasted top.
Kitchen Note
Let the mashed sweet potatoes cool for the full five minutes before adding the eggs. They’ll blend in smoothly instead of starting to set in the warmth of the mash.
Save this sweet potato casserole with marshmallows for its smooth brown-sugar filling and soft, lightly toasted topping.
Why the Eggs Matter More Than the Marshmallow Crown
The marshmallows get the attention, but the eggs are what give the sweet potato filling its gentle, sliceable set. Without them, the mash stays closer to a side of mashed sweet potatoes: soft, spoonable, and less cohesive after baking. They don’t turn the casserole into a firm custard. Instead, they help the filling hold together while keeping the middle tender.
That balance is useful because sweet potatoes already bring plenty of body. There’s no need to add flour or another thickener, which would make the filling heavier. The eggs also give the casserole a clean contrast with its topping: a soft, smooth layer underneath and airy marshmallows above. Once the center reaches 160°F, the base is set enough to serve after its rest without losing the creamy texture that makes this casserole comforting.
What Sweet Potatoes, Brown Sugar, and Mini Marshmallows Each Bring
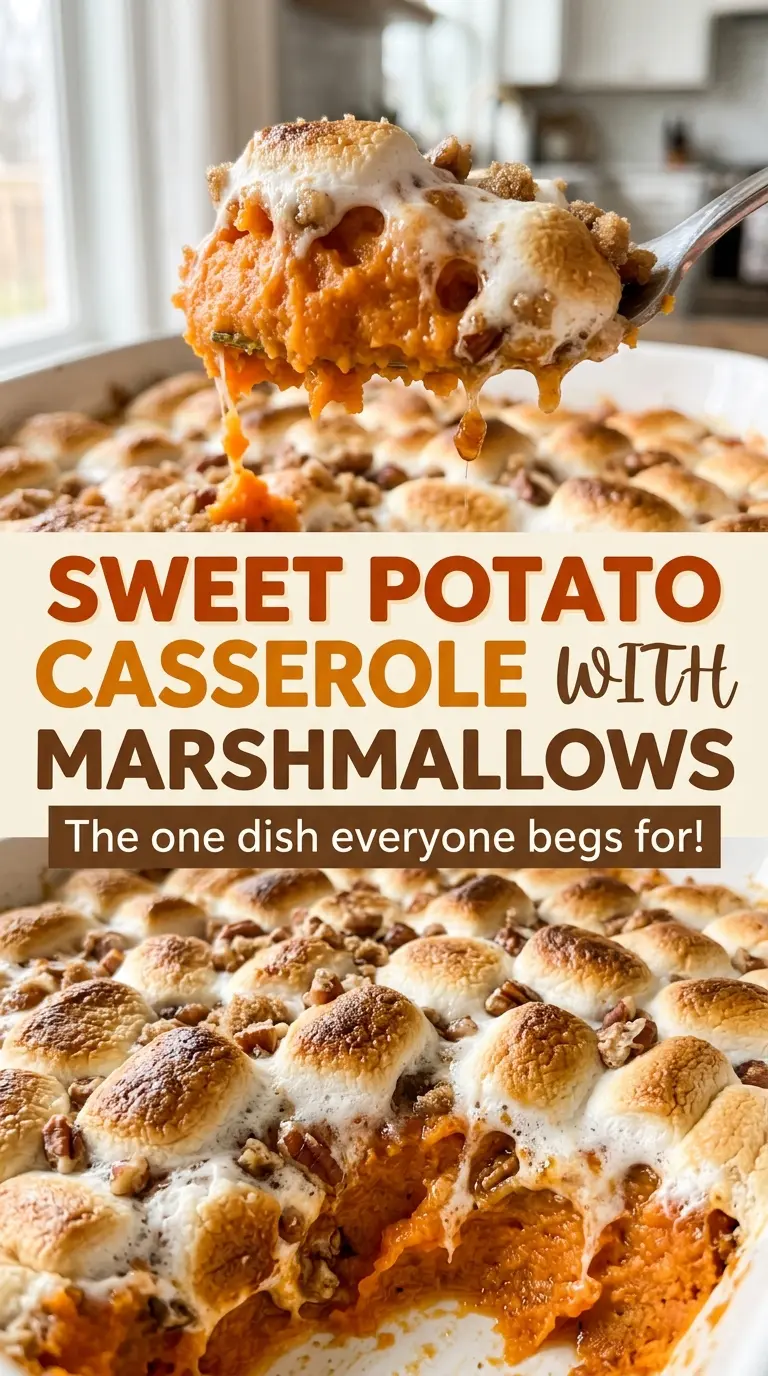
- Sweet potatoes — Choose firm potatoes without soft spots; fresh ones give you control over the tenderness and moisture of the mash. Peel them and cut the cubes evenly so they cook at a similar pace. If you can’t find orange-fleshed sweet potatoes, another variety will still work, though the color and sweetness may differ.
- Butter and milk — Butter adds richness as it melts into the hot potatoes, and milk loosens the mash into a soft filling. Any standard dairy milk works; whole milk makes it a little richer, while lower-fat milk keeps the texture lighter. For a dairy-free version, plant-based butter and unsweetened oat milk are practical swaps.
- Light brown sugar — Its mild molasses note rounds out the sweet potatoes without making the filling taste like candy. Dark brown sugar works in the same amount for a deeper, more pronounced molasses flavor; granulated sugar can replace it if needed, but the filling loses that warm caramel note.
- Eggs — They help the filling set as it bakes, so the casserole serves neatly instead of spreading like loose mash. Lightly beating them before adding helps them mix through the potatoes evenly. A commercial baking egg replacer made for replacing two eggs is the most workable egg-free option, though the filling won’t be quite as rich or cohesive.
- Cinnamon and vanilla — Cinnamon gives the filling a familiar warmth, and vanilla softens the brown sugar’s sharper edge. Use whichever vanilla extract you keep on hand; if cinnamon isn’t your preference, leaving it out keeps the sweet potato flavor more forward.
- Mini marshmallows — Their small size makes it easy to cover the casserole evenly, and they puff quickly at the end of baking. Fresh marshmallows brown more evenly than a bag that has gone sticky or stale. Large marshmallows can be cut into smaller pieces if minis aren’t available.
From Fork-Tender Cubes to a Toasted Marshmallow Top
Boil the cubes until they mash cleanly
Heat the oven to 350°F and grease a 9×13-inch baking dish. Put the peeled, 1-inch sweet potato cubes in a 5-quart saucepan, cover them with water, and bring the water to a boil over high heat. Reduce the heat and simmer for 15 to 20 minutes, until a fork pierces the cubes with little resistance. Drain them well, return them to the pan, and mash with the butter until smooth; if you leave excess water clinging to the potatoes, the filling can turn loose.
Mix the filling without overworking it
Give the mashed potatoes five minutes to cool, then stir in the milk, brown sugar, salt, cinnamon, and vanilla. Mix until the seasonings and milk are distributed and the filling looks even. Stir in the lightly beaten eggs until combined, stopping once there are no visible streaks. Spread the mixture into the prepared baking dish in an even layer so the center and edges bake at a similar rate.
Bake the center before adding the marshmallows
Bake the filling for 20 to 25 minutes, until the center reaches 160°F. Scatter the mini marshmallows evenly across the surface; a bare patch will stay uncovered while crowded areas can brown faster. Return the dish to the oven for 5 to 8 minutes, watching for puffed marshmallows with lightly golden tops. Rest the casserole for 10 minutes before serving so the filling has a chance to settle.
Small Changes That Keep This Sweet Potato Casserole Familiar
Make it dairy-free
Replace the butter with plant-based butter and the milk with unsweetened oat milk, then use dairy-free mini marshmallows. The filling will be a little less buttery, but the sweet potato, cinnamon, and brown sugar still come through. The eggs stay in this version.
Lean into a deeper brown-sugar note
Use dark brown sugar in place of light brown sugar, keeping the amount the same. It brings a stronger molasses taste and makes the filling feel a little richer without changing the method.
Let the sweet potatoes lead
Leave out the cinnamon for a cleaner, less spiced filling. The brown sugar and vanilla still give the potatoes warmth, but their natural flavor stands out more.
Storage and Reheating
- Refrigerator: Refrigerate leftovers within 2 hours and keep them covered for 3 to 4 days. The marshmallow top will soften and become stickier over time.
- Freezer: For the best texture, freeze the cooled sweet potato filling before baking and leave off the marshmallows. Wrap it tightly and use it within 2 to 3 months; thaw it in the refrigerator before baking and topping.
- Reheating: Reheat leftovers in a 350°F oven until the center reaches 165°F. The topping can darken before the middle heats through, so cover the dish loosely if the marshmallows are browning too quickly.
Questions That Come Up With Marshmallow-Topped Sweet Potato Casserole
Sweet Potato Casserole with Marshmallows
Ingredients
Equipment
Method
- Heat the oven to 350°F.
- Grease a 9x13-inch baking dish.
- Put the sweet potatoes in a 5-quart saucepan and cover with water.
- Bring to a boil over high heat.
- Reduce the heat and simmer for 15 to 20 minutes, until very tender when pierced with a fork.
- Drain the sweet potatoes well and return them to the saucepan.
- Mash the sweet potatoes with the butter until smooth.
- Let the potatoes cool for 5 minutes.
- Stir in the milk, brown sugar, salt, cinnamon, and vanilla.
- Mix in the eggs until combined.
- Spread the sweet potato mixture in the prepared dish.
- Bake for 20 to 25 minutes, until the center reaches 160°F.
- Scatter the marshmallows evenly over the casserole.
- Bake for 5 to 8 minutes, until puffed and lightly golden.
- Rest the casserole for 10 minutes before serving.