Chocolate cake, toasted meringue, graham cracker crunch, and a dark ribbon of ganache come together here in a way that tastes familiar and new at the same time. The cake stays plush and cocoa-rich, the meringue brings that marshmallow lift without collapsing into frosting, and the ganache drip gives each slice the kind of finish that looks like it took a pastry shop to pull off.
What makes this version work is the balance. Hot coffee deepens the chocolate without tasting like coffee, buttermilk keeps the crumb tender, and the meringue is cooked over gentle heat before it’s whipped, which helps the sugar dissolve cleanly so it turns glossy instead of grainy. The graham crackers do more than decorate; they give the cake the dry, toasty snap that keeps all that softness from feeling one-note.
Below you’ll find the small details that matter most, including how to keep the meringue stable, when to add the ganache so it drips in clean lines, and how to keep the graham crackers crisp enough to still register once the cake is sliced.
The cake layers baked up flat and the meringue stayed fluffy after torching, which is rare for a dessert this tall. I loved that the ganache dripped cleanly instead of running all over the plate.
Like the toasted meringue and ganache drip on this S’mores Cake? Save it to Pinterest for the dessert nights when you want campfire flavor in a layer cake.
The Trick to Keeping the Meringue Tall Instead of Weeping
Meringue looks simple until it starts breaking down on the cake. The usual problem is moisture: undercooked sugar, soft peaks that never fully set, or a cake that’s still warm when the topping goes on. This version avoids all three. The egg whites and sugar are heated together until the grains dissolve, then whipped to stiff, glossy peaks so the structure starts strong before it ever hits the cake.
The other thing that matters is timing. The meringue should go on a completely cool cake, and the torching should be quick enough to brown the surface without melting the whole topping. If you hold the flame in one place too long, the outside gets pretty while the interior slumps. Short passes give you that toasted marshmallow look without sacrificing height.
What Each Layer Is Doing in This Cake
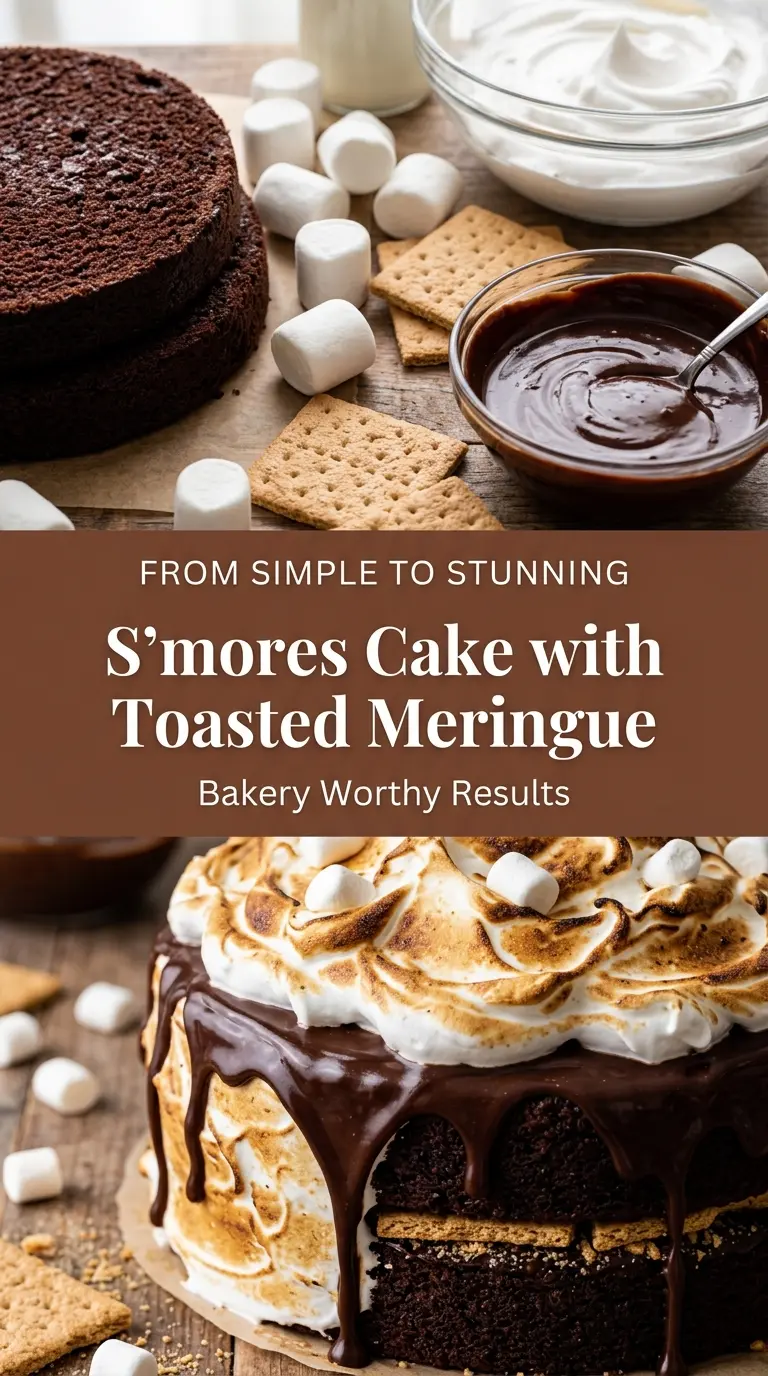
The cocoa powder and hot coffee work together here. The coffee doesn’t make the cake taste like coffee; it wakes up the chocolate so the crumb tastes deeper and less flat. If you don’t keep brewed coffee around, hot water works, but the cake loses a little edge.
- Buttermilk — This is what keeps the crumb soft and gives the cake a slight tang that keeps all the sweetness in check. If you need a substitute, use whole milk mixed with 1 tablespoon lemon juice or vinegar per cup and let it sit for 5 minutes before adding it.
- Vegetable oil — Oil gives you a cake that stays tender even after chilling, which matters once the meringue and ganache are on top. Butter can be swapped in, but the crumb will be firmer and a little less plush.
- Egg whites and cream of tartar — These build the meringue’s structure. Cream of tartar helps the whites hold their shape and keeps the sugar foam from collapsing while you whip it.
- Graham crackers — Crush some finely for the filling and leave some in larger pieces for the top. That mix gives you both flavor and texture, and it keeps the cake from turning into one soft, sweet layer after another.
- Semi-sweet chocolate chips — Chips melt smoothly enough for the ganache, but a chopped bar will give you a silkier finish if that’s what you have. The important part is using chocolate you’d actually eat on its own; cheap chocolate will make the drip taste flat.
Building the Cake So the Layers Stay Clean
Baking the Chocolate Layers
Mix the dry ingredients first so the cocoa, leaveners, and salt are spread evenly through the batter. When the hot coffee goes in, the batter will look thin; that’s normal, and it’s what gives the cake a moist crumb instead of a dry, bready one. Bake until the centers spring back and a toothpick comes out with a few moist crumbs, not wet batter. If the layers dome much, level them once cooled so the finished cake stacks straight.
Whipping the Toasted Meringue
Set the bowl over simmering water and keep whisking until the sugar disappears between your fingers. If the grains are still there, keep going; un-dissolved sugar is what makes meringue cry later. Once whipped, the meringue should stand in firm peaks and look glossy, almost like satin. Stop as soon as it holds shape, because overwhipping turns it dry and rough.
Assembling and Finishing
Spread the meringue on the first layer before adding the second so you get that marshmallow-like filling in the center. Keep the ganache warm but not hot; if it’s steaming, it will melt the meringue and run too fast. Drizzle from the edge of the cake and let gravity do the work. Finish with the graham crackers, marshmallows, and chocolate chunks right before serving so the toppings stay crisp and the cake looks fresh.
Three Ways to Make This Cake Work for Your Kitchen
Gluten-Free Version
Use a cup-for-cup gluten-free flour blend in place of the all-purpose flour. The cake will still be tender, but it may bake a little faster and the crumb will be slightly more delicate, so check it early.
Dairy-Free Adjustment
Swap the buttermilk for a dairy-free milk mixed with lemon juice, and use coconut cream or a plant-based whipping cream for the ganache. The texture stays close, but the ganache may set a little softer, so chill it briefly before dripping.
Extra Campfire Flavor
Add a few chopped chocolate bars with the marshmallows on top and torch them lightly for a more literal s’mores finish. That gives you caramelized edges and pockets of melted chocolate, but the cake will eat a little sweeter and richer.
Storage and Reheating
- Refrigerator: Store covered for up to 3 days. The graham crackers soften over time, but the cake itself stays moist.
- Freezer: Freeze the unfrosted cake layers well wrapped for up to 2 months. Don’t freeze the finished meringue topping; it loses its texture after thawing.
- Reheating: Serve slices at room temperature for the best texture. If you chill the whole cake, let it sit out for 30 to 45 minutes before slicing so the ganache softens and the crumb loosens.
Answers to the Questions Worth Asking
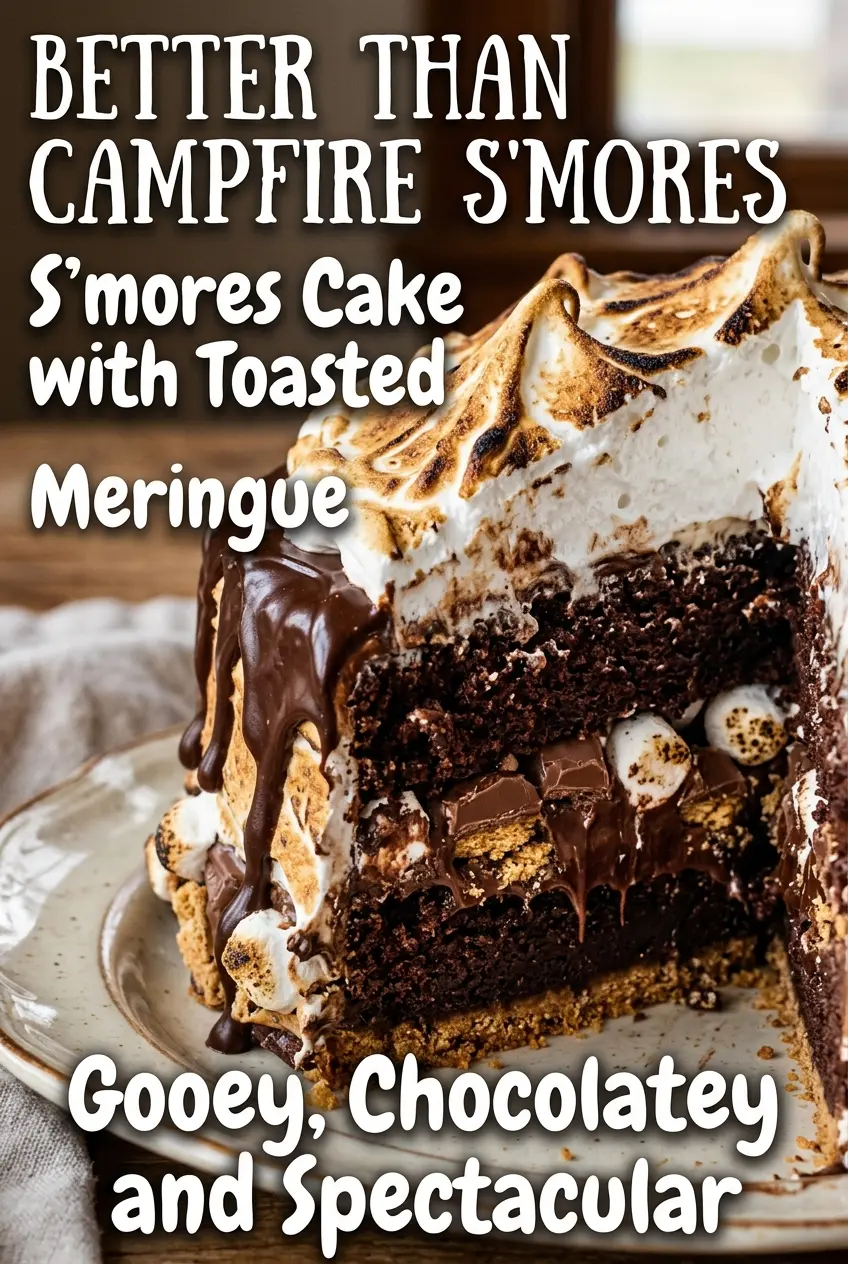
S'mores Cake with Toasted Meringue and Ganache Drip
Ingredients
Equipment
Method
- Preheat the oven to 350°F (175°C).
- Grease and line two 8-inch cake pans.
- Mix the all-purpose flour, cocoa powder, baking powder, baking soda, and salt in a mixing bowl.
- Whisk the eggs, granulated sugar, brown sugar, buttermilk, vegetable oil, and vanilla extract until smooth.
- Combine the wet and dry ingredients until no dry pockets remain.
- Slowly stir in the hot coffee until the batter looks glossy and fluid.
- Divide the batter between the two pans and smooth the tops.
- Bake for 30–35 minutes, until the centers spring back and a toothpick comes out with a few moist crumbs.
- Cool the cakes completely before assembling.
- Place the egg whites, granulated sugar, and cream of tartar over a double boiler.
- Whisk over the double boiler until the sugar dissolves and the mixture looks clear.
- Beat until glossy stiff peaks form.
- Mix in the vanilla extract.
- Heat the heavy cream until steaming.
- Pour the steaming cream over the semi-sweet chocolate chips and let stand for 2 minutes.
- Stir until smooth and pourable.
- Place one cake layer on a stand.
- Spread the meringue over the first layer and sprinkle the crushed graham crackers.
- Add the second cake layer and cover the top with the remaining meringue.
- Torch lightly until golden brown on the meringue surface.
- Drizzle the ganache around the edges of the cake.
- Top with mini marshmallows, graham crackers broken into pieces, and chocolate chunks.
- Slice and serve.