Rustic peach galette is the kind of dessert that disappears fast because it gives you all the payoff of pie without the fussy finish work. The crust bakes up flaky and crisp at the edges, while the peaches soften into a glossy, lightly thickened filling that stays put when you slice it. It looks impressive on the table, but it’s honest baking: a round of dough, a pile of ripe fruit, and a hot oven doing the heavy lifting.
What makes this version work is the balance. The brown sugar deepens the peach flavor instead of burying it, the cornstarch keeps the juices from running across the pan, and the lemon juice keeps the filling bright. Cold butter matters here, because those little pockets of butter melt in the oven and create the shattery layers that a galette needs. If your peaches are extra juicy, this method handles them without turning the bottom soggy.
Below, I’ll walk through the small decisions that matter most: how to keep the dough tender, how to know the filling is thick enough, and what to do if your peaches are a little firm or a little too ripe.
The crust stayed crisp on the bottom and the peach filling set up beautifully instead of running everywhere. I served it warm with ice cream and my sister asked for the recipe before dessert was even finished.
Save this rustic peach galette for the days when you want a flaky fruit dessert with a crisp crust and no pie pan required.
The Reason Peach Galettes Stay Crisp Instead of Turning Watery
The biggest mistake with a fruit galette is treating it like a pie and piling on filling that hasn’t been adjusted for the oven. Peaches give off a lot of juice as they bake, and if you don’t give that liquid something to bind to, it slides straight into the crust and softens the base before the fruit has time to concentrate. Cornstarch fixes that by thickening the juices as soon as they bubble.
Rolling the dough into a simple circle also helps. There’s no bottom crust seam to trap steam, so the center of the galette cooks evenly while the exposed edges brown and crisp. The folded border acts like a shallow wall, which keeps the fruit in place without needing perfect crimping or special equipment.
What Each Ingredient Is Actually Doing in This Peach Galette

- All-purpose flour — This gives the crust enough structure to hold the peaches without becoming tough. A low-protein pastry flour will work if that’s what you have, but the dough may be a little more delicate when you fold it over the fruit.
- Cold unsalted butter — Cold butter is what creates the flaky layers. If it softens before baking, the crust turns more biscuit-like and loses that crisp, shattering edge.
- Ice water — Just enough water brings the dough together without developing too much gluten. Add it slowly; too much water makes the crust tight instead of tender.
- Ripe peaches — The fruit is the whole point here, so use peaches that smell fragrant and give slightly when pressed. If they’re underripe, the filling tastes flat and the slices stay firm in the oven.
- Brown sugar and cinnamon — Brown sugar adds depth and a light caramel note, while cinnamon warms the filling without making it taste like pie spice overload. White sugar works in a pinch, but the flavor will be cleaner and less rich.
- Cornstarch — This is the insurance policy for juicy fruit. Flour can work, but it won’t give the same clear, glossy thickening.
- Lemon juice — A small amount keeps the peaches from tasting heavy and helps the sweetness taste brighter. Don’t skip it unless your fruit is already unusually tart.
Building the Galette So the Crust Bakes First and the Filling Stays Put
Mixing the Dough Without Overworking It
Start with cold butter and stop cutting it in when the mixture looks like coarse crumbs with some larger pea-sized bits still visible. Those bigger pieces are what create the flaky pockets in the finished crust. Add the ice water a tablespoon at a time and stop as soon as the dough holds together when squeezed. If you knead it smooth, the crust gets dense and loses the rustic texture that makes a galette worth baking.
Letting the Dough Rest
Wrap the dough and chill it for at least 30 minutes so the butter firms back up and the gluten relaxes. That rest makes the dough easier to roll and keeps it from shrinking in the oven. If it’s too soft when you shape it, the edges slump before they have a chance to brown.
Preparing the Peach Filling
Toss the sliced peaches with the brown sugar, cornstarch, vanilla, cinnamon, nutmeg, and lemon juice until every slice looks lightly coated. The mixture should look glossy, not soupy. If a puddle starts forming in the bowl, the peaches are especially juicy and you should spoon only the fruit into the center, leaving excess liquid behind. That small habit keeps the bottom crust from getting soggy.
Folding and Baking to a Deep Golden Finish
Roll the dough into a rough 12-inch circle and transfer it to parchment on a baking sheet. Spoon the fruit into the center, then fold the dough over in sections so it overlaps naturally. Brush the exposed crust with egg wash and sprinkle on coarse sugar for crunch. Bake until the crust is deep golden and the filling is bubbling in the center; pale crust means the butter hasn’t fully caramelized, which is where the flavor lives.
Three Ways to Adjust This Galette Without Losing the Texture
Make It Dairy-Free
Swap the butter for a high-quality plant-based baking stick that stays firm when cold. The crust won’t taste quite as rich, but you’ll still get a crisp, layered result if the substitute is cold and handled the same way. Avoid soft tub-style spreads; they melt too quickly and won’t give the same structure.
Make It Gluten-Free
Use a 1:1 gluten-free baking flour that includes xanthan gum. The dough will be a little more fragile when you roll and fold it, so chill it well and patch any cracks with your fingers as needed. The flavor stays true, but the edges won’t brown quite as aggressively as an all-purpose flour crust.
Use Nectarines or a Mix of Stone Fruit
Nectarines work exactly the same way, and a mix of peaches, plums, and nectarines gives the filling a little more contrast. If you add plums, the filling may turn juicier, so keep the cornstarch as written and don’t overload the center. The galette still bakes up cleanly, but the flavor gets a little sharper and more complex.
Storage and Reheating
- Refrigerator: Store leftovers covered in the fridge for up to 3 days. The crust softens a little, but the flavor stays good.
- Freezer: Baked galette freezes well. Wrap slices tightly and freeze for up to 2 months, or freeze the unbaked assembled galette on the tray before baking and add a few extra minutes in the oven.
- Reheating: Warm slices in a 325°F oven until the crust crisps back up. The microwave makes the pastry limp, which is the fastest way to lose the texture you worked for.
Answers to the Questions Worth Asking
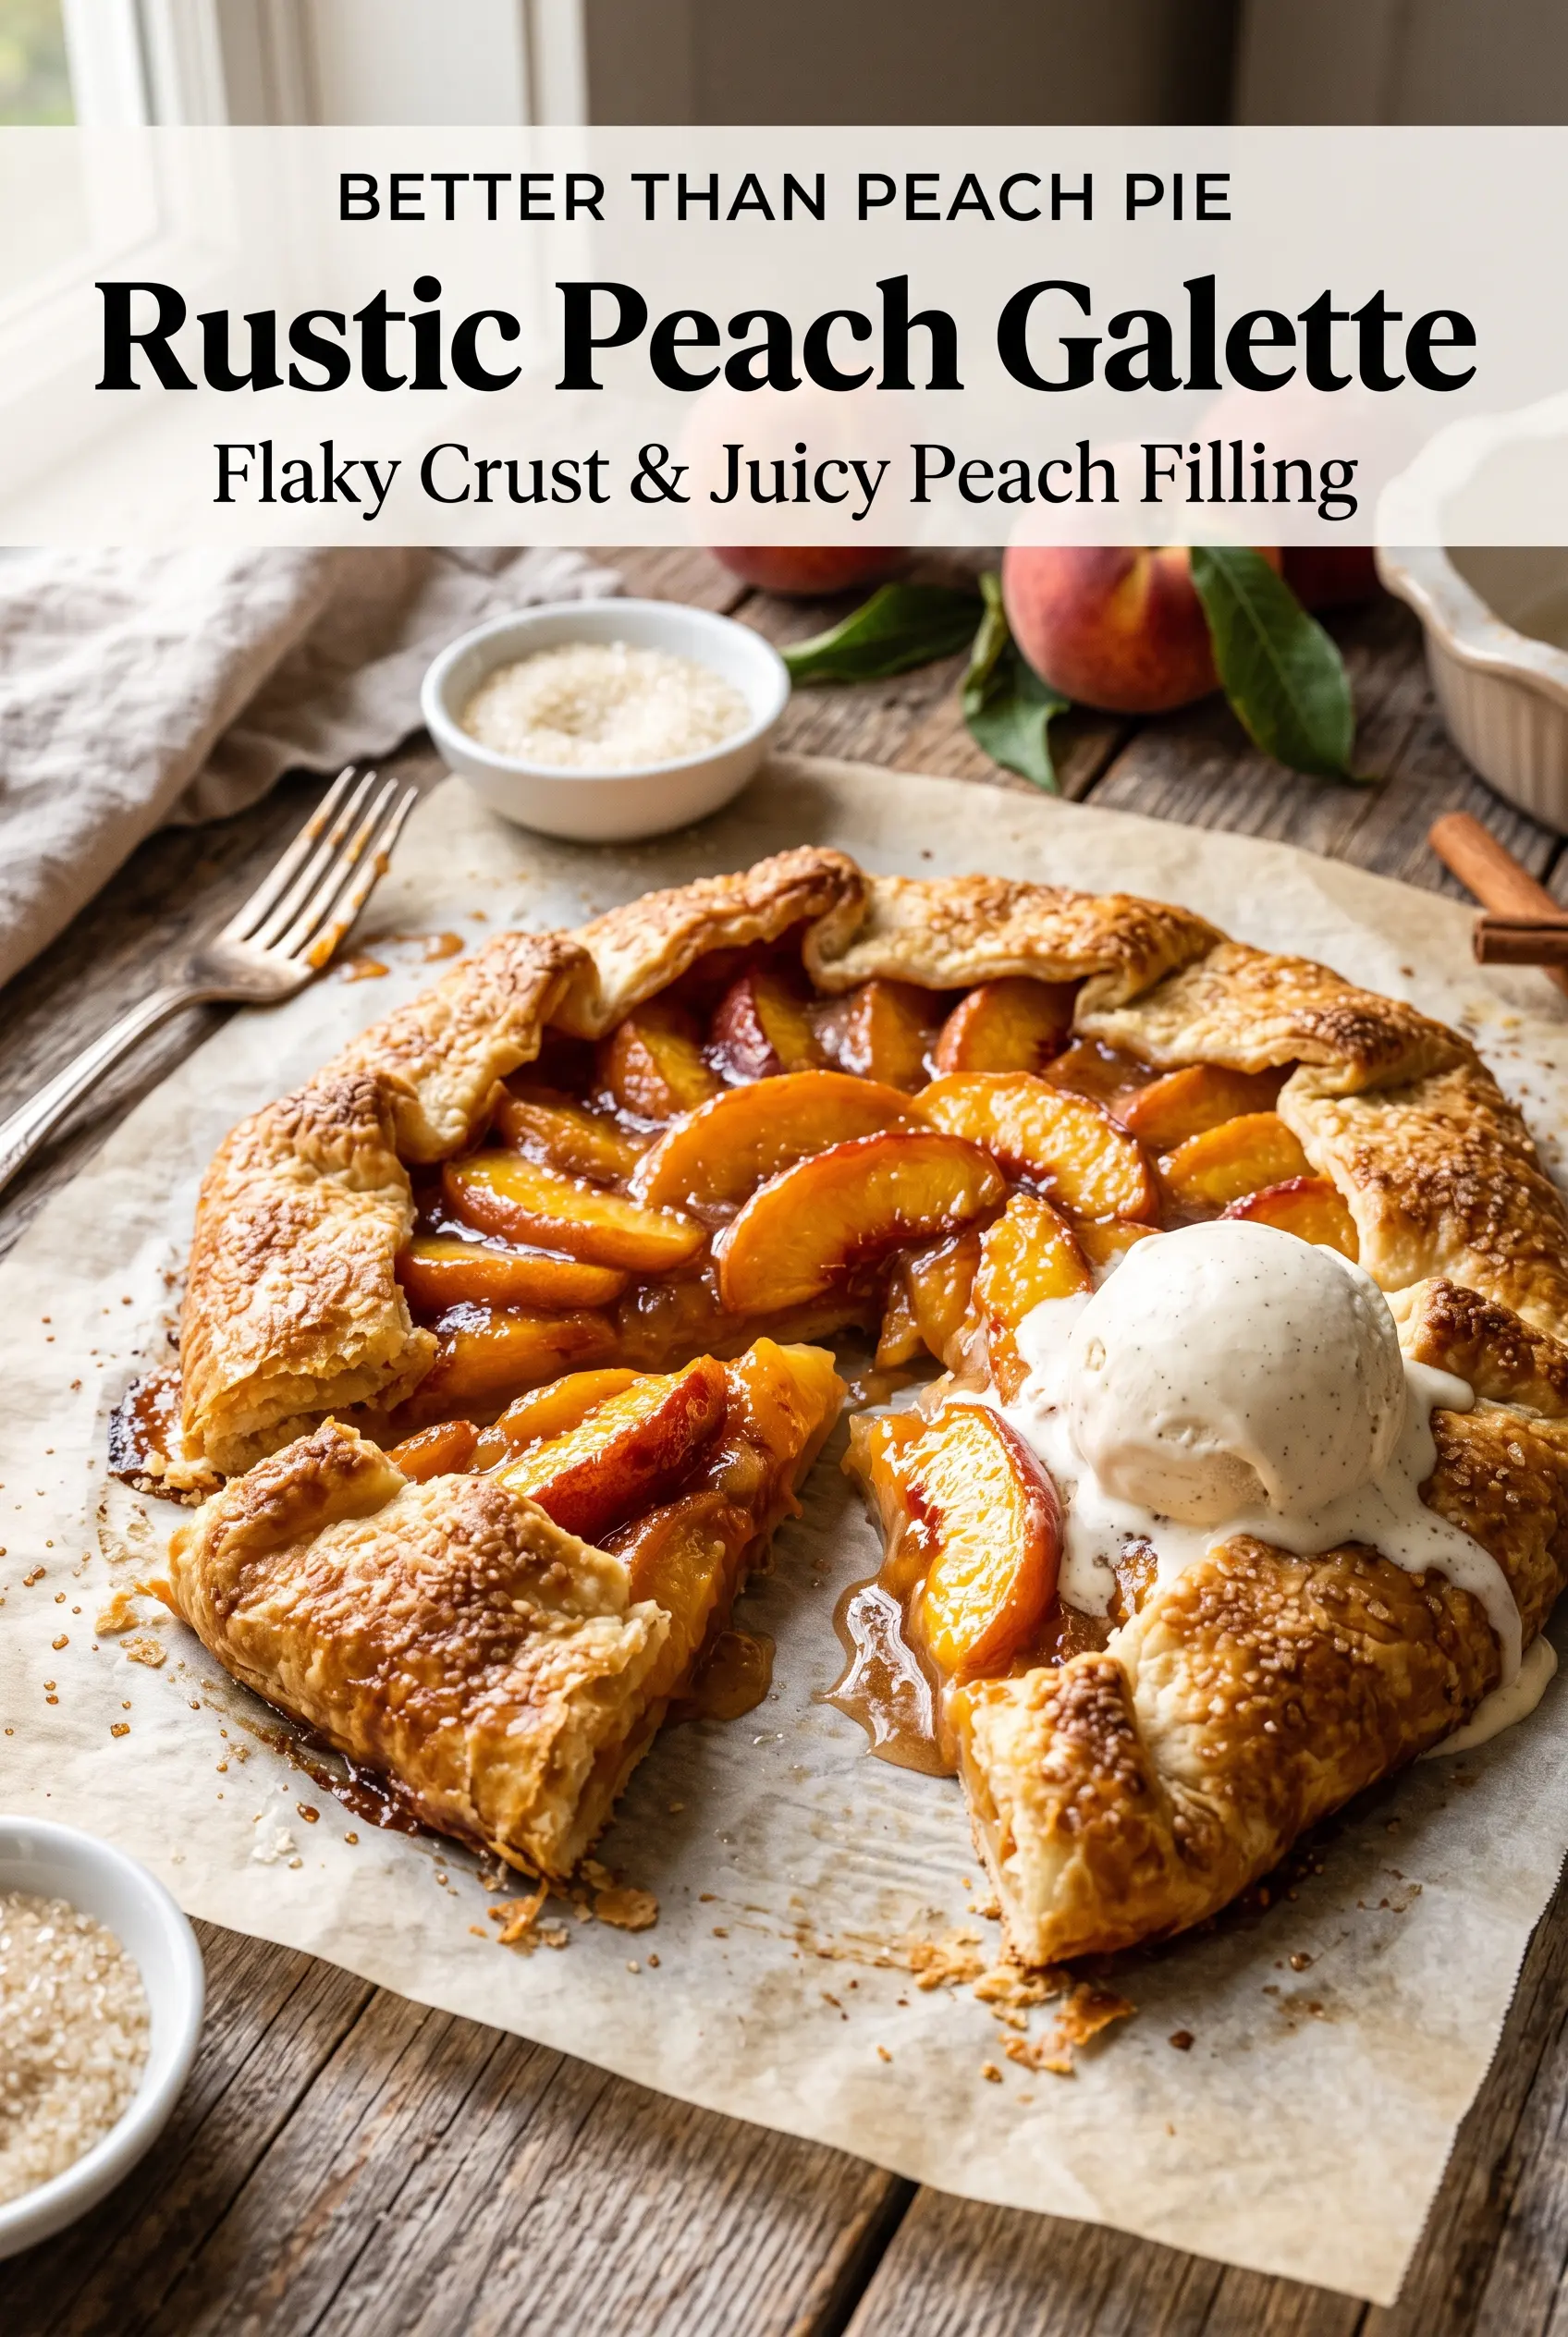
Rustic Peach Galette
Ingredients
Equipment
Method
- Combine all-purpose flour, salt, and granulated sugar in a large bowl.
- Cut in cold unsalted butter until coarse crumbs form.
- Add ice water gradually until the dough comes together.
- Wrap the dough and refrigerate for 30 minutes.
- Toss peaches with light brown sugar, cornstarch, vanilla extract, cinnamon, nutmeg, and lemon juice.
- Roll the dough into a 12-inch circle.
- Transfer the dough to a parchment-lined sheet pan.
- Spoon the peach filling into the center, leaving a 2-inch border.
- Fold the edges over the peaches.
- Brush the crust with egg wash and sprinkle with coarse sanding sugar.
- Bake at 400°F (200°C) for 35–40 minutes, until golden brown.
- Cool slightly before serving with vanilla ice cream if desired.