Juicy BBQ chicken thighs come out with crisp, lacquered skin and a sticky sweet-smoky glaze that clings to every bite. The dark meat stays tender in the oven, which means you get a dinner that tastes like it spent all afternoon on the grill without standing over a fire.
The real win here is the two-stage sauce application. If you brush barbecue sauce on too early, the sugars can scorch before the chicken finishes cooking. Baking the thighs first gives the skin a head start, then the sauce goes on near the end so it turns glossy and thick instead of dark and bitter. A little honey sharpens the shine, and a touch of Worcestershire adds the savory depth that keeps the sauce from tasting flat.
Below, you’ll find the small details that keep the chicken juicy, the best way to know when the thighs are done, and a few smart swaps if you’re working with boneless chicken or want a spicier finish.
The sauce thickened up beautifully and the chicken skin actually stayed crisp under all that glaze. I baked it exactly as written and the thighs were still juicy after resting, which never happens in my oven.
Save these oven-baked BBQ chicken thighs for a sticky, juicy dinner that finishes with a glossy sauce and crisp edges.
The Trick to Juicy Thighs Without Burning the Sauce
BBQ chicken thighs are forgiving, but the sauce is where people get into trouble. Barbecue sauce usually contains sugar, and sugar browns fast. If you coat the chicken too early, the outside can go from caramelized to scorched before the meat reaches temperature. Starting with seasoned, dry skin and adding the sauce near the end gives you the best of both worlds: a crisp base and a glossy finish.
Bone-in thighs are worth using here because the bone helps insulate the meat and the skin renders more evenly. If your thighs are packed tightly on the pan, they steam instead of roast, and you lose that deep golden color. Give them room, and let the oven do the work.
What Each Ingredient Is Actually Doing in This Dish

- Bone-in chicken thighs — These stay juicier than breasts in a hot oven and give you enough fat under the skin to carry the seasoning. Boneless thighs work in a pinch, but they cook faster and won’t give you the same roasted texture.
- Olive oil — This helps the spices cling and encourages the skin to brown instead of dry out. You don’t need anything fancy here.
- Smoked paprika — This is the ingredient that makes the oven version taste like it had a little grill time. Regular paprika works, but the smoked kind adds a deeper, woodsy note that fits BBQ sauce.
- BBQ sauce — Use a sauce you already like on the table, because it becomes the flavor of the dish. A thin sauce will glaze more easily; a thick sauce clings better but may need a splash of water if it feels pasty when brushed on.
- Honey — This boosts shine and gives the sauce a stickier finish. Skip it if your BBQ sauce is already very sweet, but keep in mind the glaze will look less lacquered.
- Worcestershire sauce — Just a little deepens the savory edge and keeps the glaze from tasting one-note. If you don’t have it, a tiny splash of soy sauce plus a pinch of brown sugar gets you partway there.
How to Roast, Sauce, and Finish Them in the Right Order
Dry the Skin First
Pat the thighs dry with paper towels before they ever touch oil or seasoning. Moisture on the skin is what keeps it soft instead of crisping in the oven. If the chicken still looks wet, the seasoning slides off and the surface steams.
Season for Browning, Not Just Salt
Rub the chicken with oil, then coat it evenly with the spice mixture. The paprika and garlic powder do more than add flavor; they help build color on the skin as the thighs roast. Put the chicken skin-side up on the pan and leave space between each piece so hot air can circulate.
Roast Before the Sauce Goes On
Bake the thighs until they start to color and the skin renders a little fat, about 30 minutes. This is the point where the outside should look opaque and lightly crisped, not pale or wet. If you add barbecue sauce before this stage, the sugars can burn before the meat is cooked through.
Glaze and Return to the Oven
Mix the BBQ sauce, honey, and Worcestershire sauce, then brush it generously over the chicken. The second bake thickens the glaze and lets it cling to the skin. Brush on a little more during the last 5 minutes for that sticky finish, then rest the chicken for 5 minutes so the juices settle back into the meat.
How to Change This Recipe Without Losing What Makes It Work
Boneless Chicken Thighs for Faster Cooking
Boneless thighs cook faster and are easier to eat, but they won’t have the same rich, roasted look as bone-in pieces. Start checking them earlier, since they can overcook quickly once the sauce goes on. Keep the sauce timing the same so the glaze still thickens instead of burning.
Gluten-Free Without Losing the Sauce
Use a certified gluten-free BBQ sauce and tamari or a gluten-free Worcestershire if the brand you buy contains wheat. The roasting method doesn’t change at all, and the glaze still gets sticky and glossy. This is the easiest swap in the recipe because the texture comes from the oven, not the sauce thickener.
Spicier BBQ Chicken Thighs
Add a pinch of cayenne or a few dashes of hot sauce to the glaze. That gives the sweetness more contrast and cuts through the richness of the chicken skin. Keep the amount modest so the heat supports the BBQ flavor instead of taking over.
Stovetop or Grill Finish
You can move the sauced thighs to a hot grill for the last few minutes if you want charred edges, but keep them over indirect heat so the glaze doesn’t flare up. On the stovetop, a broiler finish gives you the same sticky top fast. Watch the sauce closely, because it can go from glossy to burnt in a minute under high heat.
Storage and Reheating
- Refrigerator: Store leftovers in an airtight container for up to 4 days. The skin softens, but the flavor gets even deeper after a night in the fridge.
- Freezer: These freeze well. Wrap tightly or pack in freezer containers for up to 3 months, then thaw overnight before reheating.
- Reheating: Reheat covered at 325°F until hot, then uncover for a few minutes if you want the skin to firm back up. The main mistake is blasting them at high heat, which dries out the meat before the center warms through.
Answers to the Questions Worth Asking
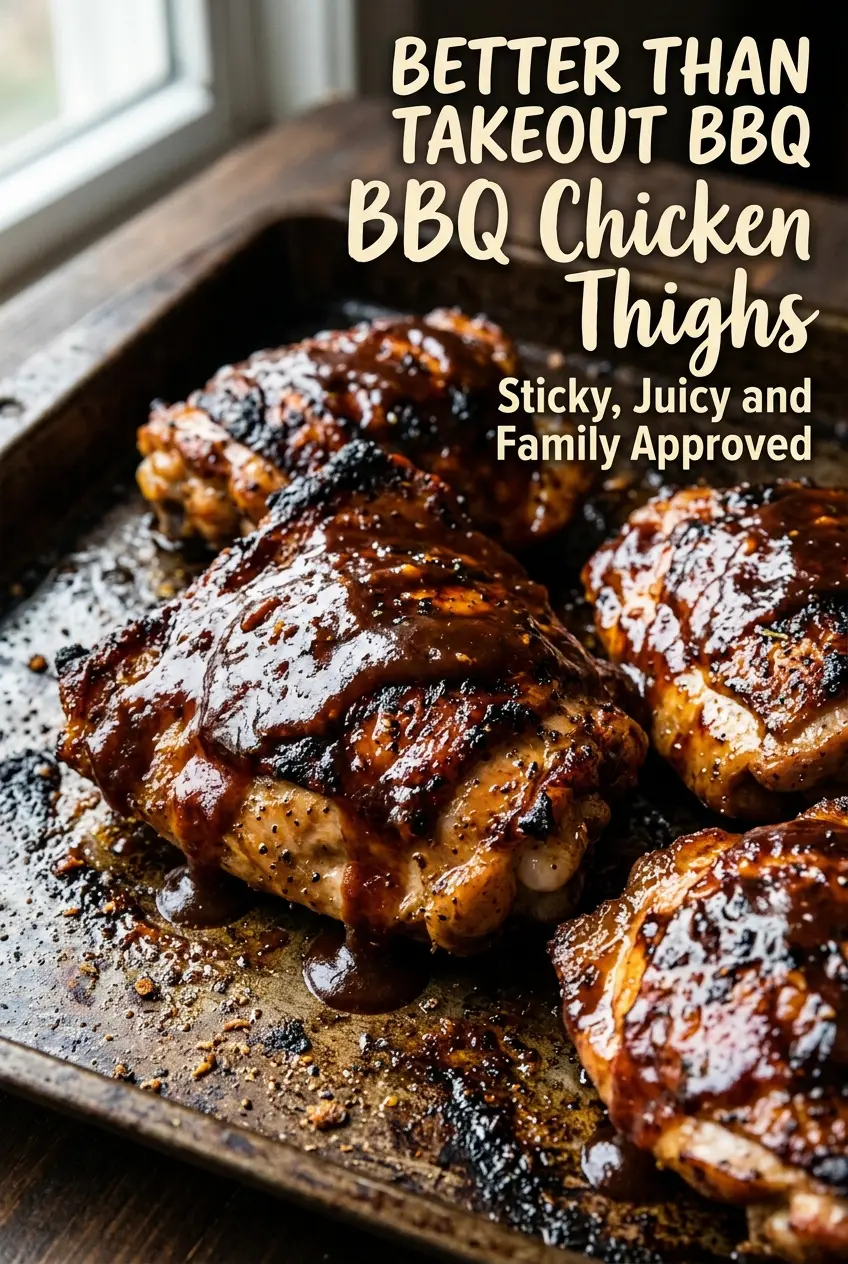
BBQ Chicken Thighs – Juicy Oven-Baked Chicken with Sweet and Smoky Sauce
Ingredients
Equipment
Method
- Preheat oven to 425°F (220°C).
- Pat chicken thighs dry with paper towels.
- Rub chicken with olive oil.
- Mix garlic powder, onion powder, smoked paprika, salt, and black pepper.
- Season chicken evenly on all sides.
- Arrange thighs skin-side up on a baking sheet.
- Bake for 30 minutes.
- Mix BBQ sauce, honey, and Worcestershire sauce.
- Brush chicken generously with sauce.
- Return to oven and bake 15–20 minutes more.
- Brush with additional sauce during the last 5 minutes.
- Rest 5 minutes before serving.
- Garnish with chopped parsley if desired.