Chocolate peanut butter ice cream hits that perfect middle ground between rich and refreshing: soft enough to scoop cleanly, dense enough to feel indulgent, and full of the kind of swirls that make each bite taste a little different. The best versions don’t turn icy or flat. They stay creamy, carry the deep cocoa flavor all the way through, and give you pockets of peanut butter that taste like they were put there on purpose, because they were.
This no-churn version leans on whipped cream for body and sweetened condensed milk for smooth sweetness, which is why it freezes up like real ice cream instead of a frozen foam. The cocoa goes straight into the condensed milk mixture so it blooms fully and doesn’t leave any dusty streaks behind. A quick warm-up for the peanut butter matters more than people think; if it’s too thick, it won’t swirl, and you’ll end up with cold clumps instead of those marbled ribbons.
Below, I’ll walk through the part that matters most for texture, plus a few variations if you want to lean heavier on chocolate, make it dairy-free, or stash a pan in the freezer for later.
The ice cream froze up creamy, not icy, and the peanut butter swirls stayed soft enough to scoop without breaking the whole spoonful apart. My husband kept going back for “just one more bite” because the chocolate and peanut butter balance was spot on.
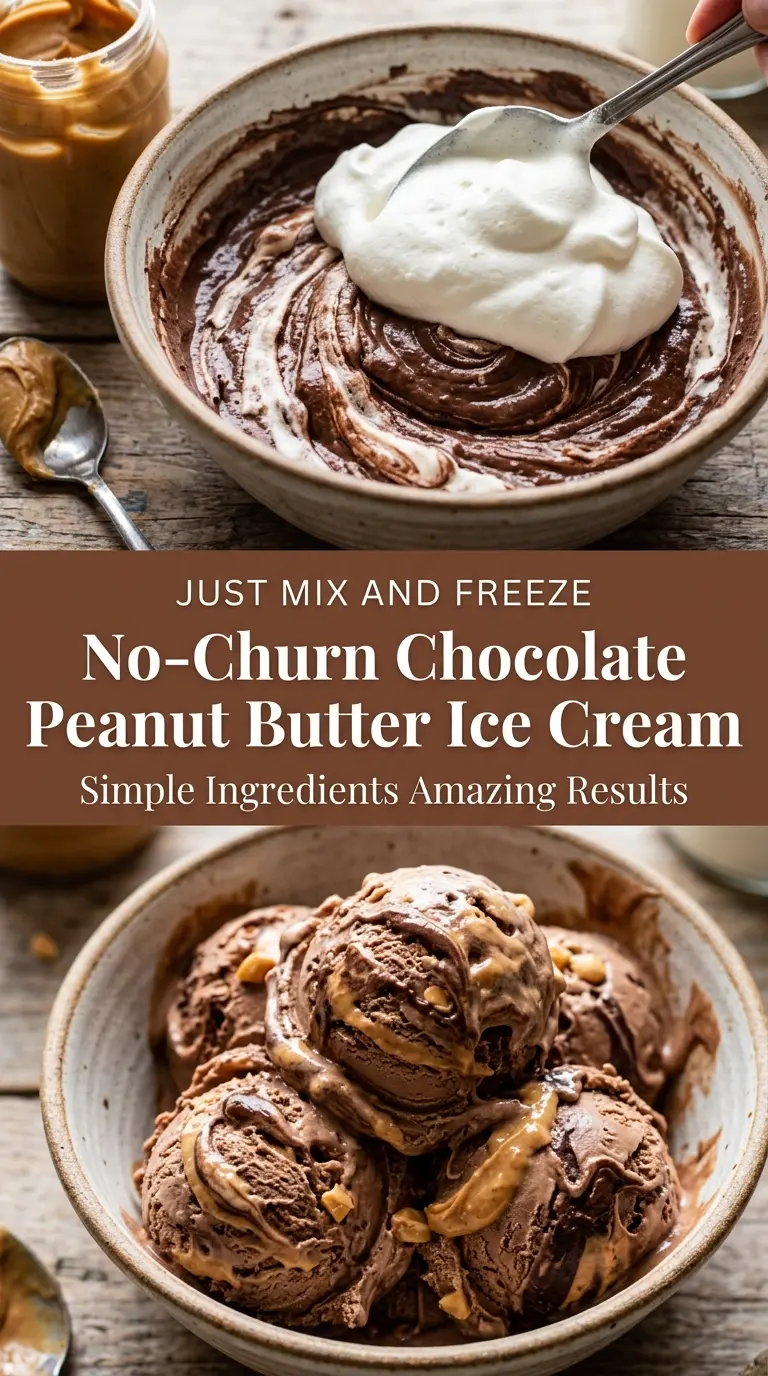
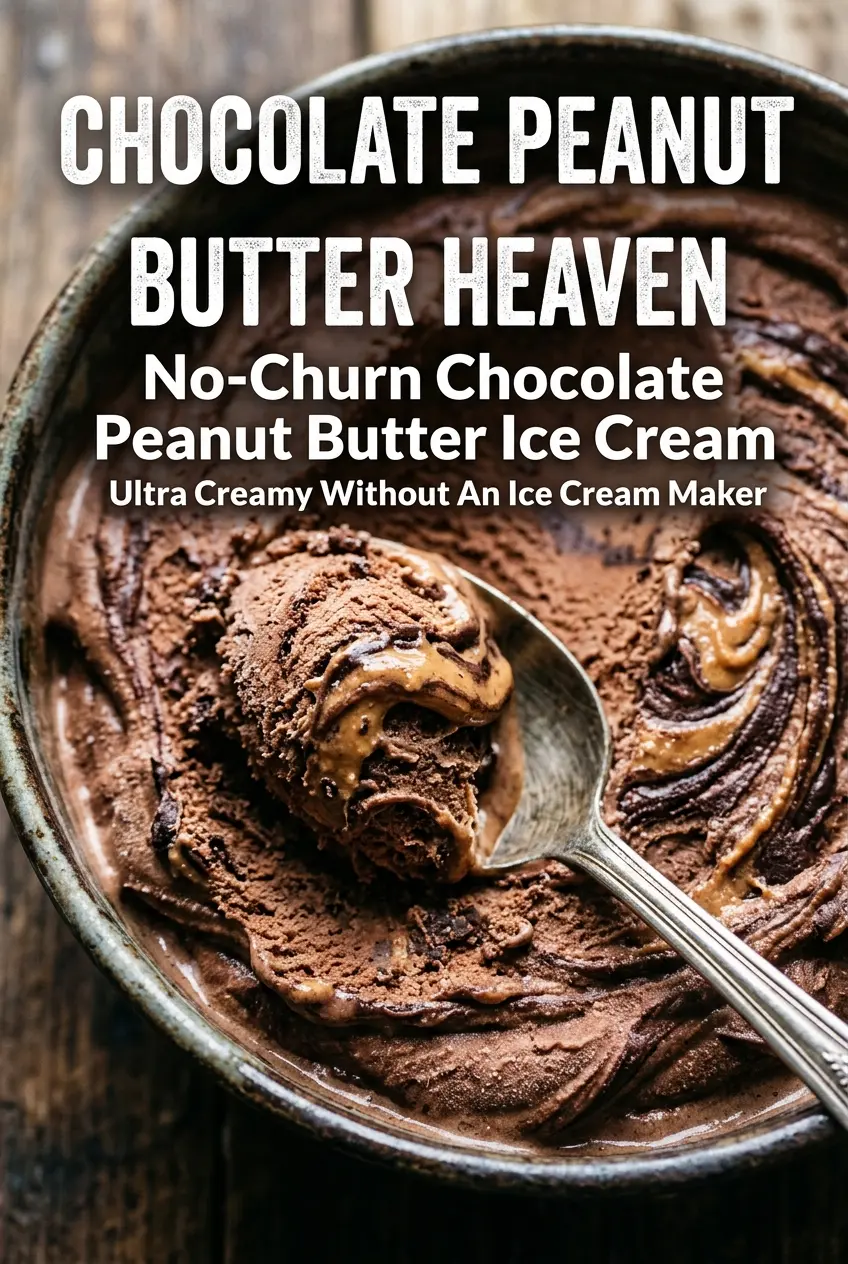
Chocolate peanut butter ice cream with creamy swirls and no machine needed
The Trick That Keeps No-Churn Ice Cream Creamy Instead of Icy
The texture depends on not knocking the air out of the whipped cream. Stiff peaks give you structure, but folding is what keeps that structure intact. If you stir hard or rush it, the mixture deflates and freezes denser, which sounds good until you scoop it and realize it turned heavy and gummy instead of smooth.
The other failure point is the cocoa mixture. Cocoa powder needs to be whisked until it disappears completely into the condensed milk. Any dry pockets or streaks will freeze into little bitter patches. And once the peanut butter goes in, you want wide swirls, not full mixing. Those ribbons are what make each spoonful taste layered instead of one-note.
- Whipped cream — This is the structure of the whole dessert. Use it cold and whip only until stiff peaks hold their shape. If it goes grainy, you’ve gone past the point you want for folding.
- Sweetened condensed milk — This keeps the ice cream soft enough to scoop straight from the freezer. There isn’t a true substitute here if you want the same no-churn texture, because it brings sweetness and body in one ingredient.
- Cocoa powder — Unsweetened cocoa gives the ice cream its deep chocolate base. Natural or Dutch-process both work, but Dutch-process tastes a little darker and smoother.
- Peanut butter — Creamy peanut butter swirls best. If yours is thick, warm it just until it loosens; hot peanut butter will melt into the base instead of staying marbled.
Building the Base Without Beating the Air Out of It
Whip the cream to firm peaks
Start with cold heavy cream in a clean bowl and whip until the peaks stand tall when you lift the whisk. The cream should look billowy and thick, not soft and slouchy. Stop as soon as it holds shape; if you keep going, the fat starts to separate and the final texture gets buttery instead of smooth.
Make the chocolate mixture smooth first
Whisk the sweetened condensed milk, cocoa powder, vanilla, and salt together until the color is uniform and glossy. You don’t want any cocoa hiding on the bottom, because those dry specks stay there after freezing. If the mixture looks grainy, keep whisking for another minute before it goes anywhere near the whipped cream.
Fold gently, then stop
Add the chocolate mixture to the whipped cream and fold with a spatula using wide, slow turns. Work from the bottom of the bowl up through the center. The goal is to keep the mixture airy while getting it evenly combined; a few faint streaks are fine, but a streaky, half-mixed base freezes unevenly.
Swirl the peanut butter in layers
Warm the peanut butter just enough to make it pourable, then layer half the ice cream mixture into the pan, drizzle, repeat, and drag a knife through in large sweeping motions. Don’t over-swirl or the peanut butter disappears into the base. You want visible ribbons and pockets, because they freeze into the best contrast against the chocolate.
Make It Extra Chocolatey
Add the mini chocolate chips on top, or fold a handful into the base for a little crunch in every bite. The chips stay firmer if you sprinkle them on top instead of mixing them all the way through, which gives you a better contrast against the creamy base.
Dairy-Free Version
Swap in full-fat coconut cream for the heavy cream and use a dairy-free sweetened condensed milk alternative. The result will still be scoopable, but it carries a faint coconut note, so it works best if you like that extra flavor underneath the chocolate and peanut butter.
Chocolate Hazelnut Twist
Swap the peanut butter for warmed chocolate hazelnut spread. It blends more smoothly than peanut butter, so the swirls will be softer and less distinct, but the result tastes more like a frozen candy bar.
Storage and Reheating
- Refrigerator: Not recommended. This dessert is meant to live in the freezer, and it will melt quickly at room temperature.
- Freezer: Store tightly covered for up to 2 weeks for the best texture. After that, it still tastes good, but the surface can start to pick up ice crystals.
- Reheating: Let it sit at room temperature for 5 to 10 minutes before scooping. If it’s rock hard, the usual mistake is trying to force a spoon through it too soon, which shatters the top instead of giving you clean scoops.
Questions I Get Asked About This Recipe
No-Churn Chocolate Peanut Butter Ice Cream
Ingredients
Equipment
Method
- Whip the cold heavy whipping cream until stiff peaks form, using an electric mixer on medium-high. Stop when the peaks stand straight and look thick and glossy (no melting or collapsing).
- Whisk the sweetened condensed milk, cocoa powder, vanilla extract, and salt in a separate bowl until smooth and uniform in color. Scrape the sides so no cocoa pockets remain.
- Gently fold the chocolate mixture into the whipped cream until no white streaks remain. Use a slow, careful motion to keep the airy texture.
- Warm the creamy peanut butter for 15 seconds in the microwave until slightly pourable. It should drizzle, not be hot or runny.
- Transfer half of the ice cream mixture into a loaf pan and spread it into an even layer. Keep the layer level so swirls distribute well.
- Drizzle half of the peanut butter over the surface in ribbons. Aim for wide, visible streaks rather than small dots.
- Add the remaining ice cream mixture on top and spread gently to cover the peanut butter. Avoid pressing too hard so you keep the layered look.
- Drizzle the remaining peanut butter over the top. Use a steady hand for thicker swirl lines.
- Use a knife to create large peanut butter swirls by dragging through the top layer 4–6 times. Make broad figure-eight or zigzag passes for marbled ribbons.
- Sprinkle mini chocolate chips on top if desired. Cover lightly so the chips are evenly visible.
- Cover tightly and freeze for at least 6 hours or overnight. Freeze until firm and scoopable throughout.
- Scoop and serve immediately for the best creamy texture. Refreeze leftovers promptly after serving.