Crisp-tender green beans with buttery garlic and a hit of lemon are the kind of side dish that disappears before the main course gets a second look. The beans stay bright and snappy, the garlic turns fragrant without going bitter, and the finish is clean enough to keep you going back for one more bite. It’s the rare vegetable side that tastes like it had actual attention paid to it.
The trick is treating the green beans in two stages: a quick boil to set the color and soften the raw edge, then a short toss in the skillet so they pick up the butter, garlic, and seasoning without losing their shape. That little ice bath matters too. It stops the cooking fast, which is what keeps the beans crisp instead of turning olive and limp.
Below, you’ll find the timing that keeps the garlic from scorching, the best swap if you only have frozen green beans, and a couple of ways to shift the flavor without losing what makes this side so good.
The beans stayed crisp-tender even after I tossed them in the pan, and the lemon at the end kept the garlic butter from feeling heavy. I used them with roast chicken, and my husband kept sneaking them off the platter.
Save these garlicky green beans for the nights when you need a fast side that still tastes fresh, buttery, and finished with purpose.

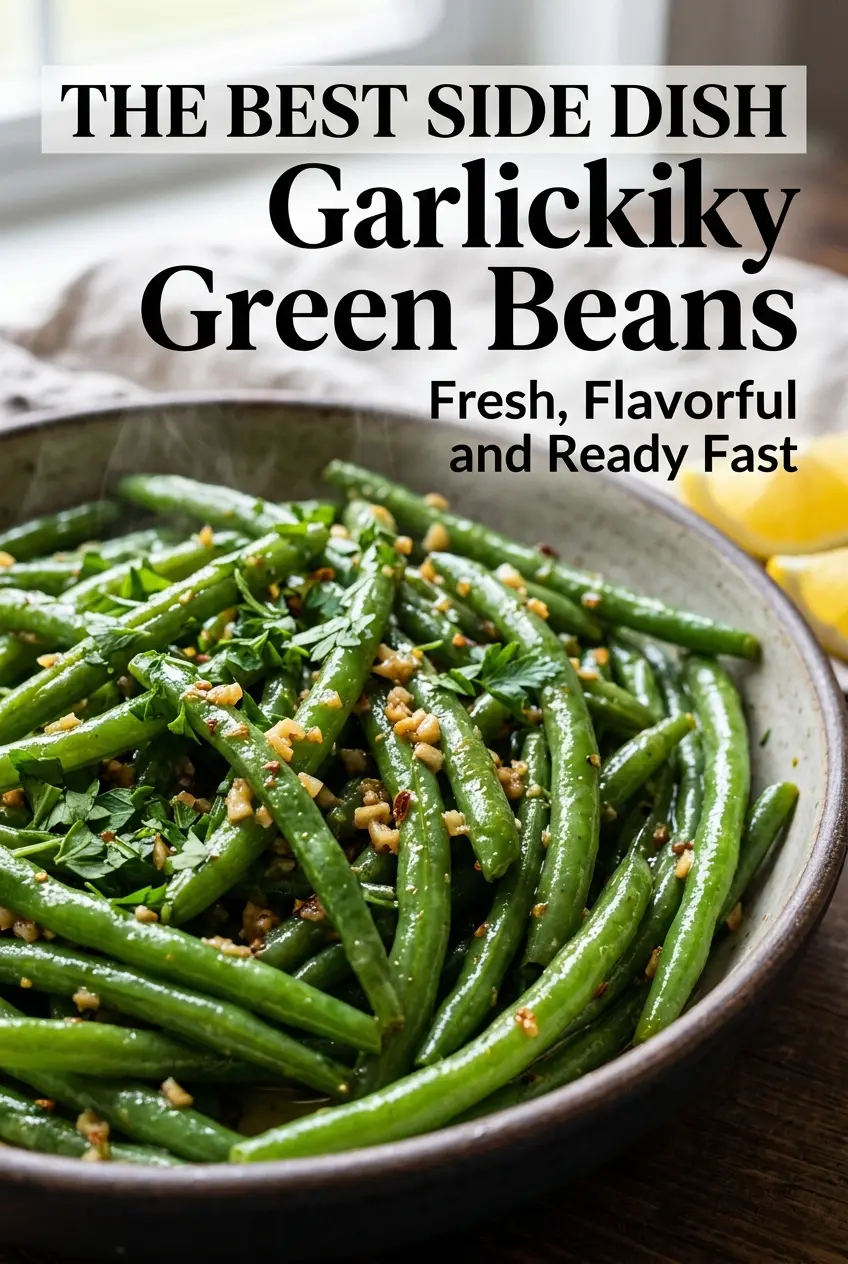
The Secret to Crisp-Tender Green Beans Without the Olive Drab Finish
Green beans go wrong in two places: they get overcooked in the pot, or they sit too long in the pan and lose their snap. This version avoids both by blanching just until the beans are bright and flexible, then cooling them fast so the skillet finish is about flavor, not rescue work. That’s the difference between beans that taste freshly cooked and beans that taste like they’ve been hanging around.
The skillet step is short on purpose. You’re warming the beans through, coating them in garlic butter, and giving the seasoning a chance to cling. If they spend too long in the pan, the garlic burns and the beans start to slump. If the beans seem a little firmer than you expected when they hit the skillet, that’s exactly where you want them.
- Fresh green beans — Haricots verts or standard green beans both work. Thinner beans cook a little faster and stay more delicate, while thicker ones bring a meatier bite. Frozen green beans won’t give the same snap, but they can work in a pinch if you thaw and dry them well.
- Butter and olive oil — The butter brings richness and the oil keeps the butter from browning too quickly. You need both here. If you use only butter, the garlic can scorch before the beans are glazed.
- Garlic — Fresh minced garlic matters. Jarred garlic tends to taste flat and can go from fragrant to bitter fast. The 30-second sizzle is enough; once it smells sweet and sharp, the beans need to go in right away.
- Lemon juice — This isn’t just garnish. The acid wakes up the butter and keeps the beans from tasting heavy. Fresh lemon is best because bottled juice can bring a dull note that shows up in such a simple dish.
How to Keep the Garlic Butter Moving in the Right Direction
Boil the Beans Just Until They Bend
Drop the trimmed green beans into salted boiling water and cook them for 4 to 5 minutes, just until they lose their raw stiffness and turn bright green. You’re not trying to finish them here. Pull them as soon as they’re barely tender so the skillet can do the rest. If they go soft in the water, there’s no way to bring that snap back later.
Shock, Dry, Then Sauté
Transfer the beans to ice water immediately after boiling, then drain them well and pat them dry. Wet beans will steam in the skillet and water down the butter, which makes the garlic less effective and the seasoning slide off. Once they’re dry, they should feel cool and firm, not slick.
Garlic First, Beans Second
Warm the butter and olive oil in a large skillet, then add the garlic for about 30 seconds, just until it smells fragrant. The second the garlic starts taking on color, the beans need to go in. Add them and toss right away so the garlic doesn’t sit against the pan long enough to burn. The best cue is aroma: it should smell savory and sweet, not toasted or bitter.
Finish With Lemon Off the Heat
Once the beans are tender-crisp and coated, stir in the lemon juice and parsley at the end. The acid tastes brighter when it hits the hot beans right before serving, and the parsley keeps its fresh flavor instead of fading in the skillet. Serve them immediately while the beans still have a little bite.
What to Change When You Want a Different Kind of Side Dish
Dairy-Free Version
Swap the butter for more olive oil, or use a good vegan butter if you want a closer match in richness. The beans will still taste bright and garlicky, but the finish will be a little less round and more olive-oil forward. If you use vegan butter, keep the heat moderate so it doesn’t separate or brown too fast.
Parmesan Green Beans
Toss in a small handful of finely grated Parmesan right after the lemon juice. It melts into the butter and clings to the beans, giving you a saltier, richer side with a little more body. Don’t add a heavy layer or it will clump instead of glossing the beans.
Spicy Garlic Green Beans
Increase the red pepper flakes or add a pinch of cayenne with the garlic. The heat stays sharper when it blooms in fat, so the spice tastes integrated instead of dusty. This works especially well if you’re serving the beans alongside roasted meats.
Storage and Reheating
- Refrigerator: Store leftovers in an airtight container for up to 3 days. The beans will soften a bit, but they’ll still taste good.
- Freezer: Freezing isn’t ideal here. The texture turns mushy once thawed, so this side is best made fresh.
- Reheating: Rewarm in a skillet over medium-low heat with a small splash of water or extra butter. Don’t blast them in the microwave or they’ll go limp fast.
Answers to the Questions Worth Asking
Garlicky Green Beans Recipe
Ingredients
Equipment
Method
- Bring a large pot of salted water to a boil. Look for vigorous bubbles before adding the beans.
- Add green beans and cook for 4–5 minutes. They should turn bright green and feel crisp-tender when pierced.
- Drain the green beans and immediately transfer them to ice water. The beans should look vividly green as they cool quickly.
- Drain again and pat dry. Remove excess moisture so the skillet sauté stays crisp-tender.
- Heat butter and olive oil in a large skillet. Watch for the butter to melt and foam lightly.
- Add garlic and cook for 30 seconds. Stir so the garlic becomes fragrant but does not brown.
- Add green beans and toss well. The beans should be evenly coated and glossy from the fat.
- Season with salt, pepper, and red pepper flakes. Taste the seasoning evenly across the beans as they sizzle.
- Cook for 4–5 minutes until tender-crisp. The beans should still have a slight bite with browned spots from the skillet.
- Stir in lemon juice. The skillet should smell bright and the beans should look freshly glazed.
- Garnish with parsley and serve immediately. Finish with a fresh green pop on top.