Layered taco dip always disappears fast, but this version gets attention before anyone takes a bite. The cool, creamy base holds its shape, the beans give it substance, and the fresh toppings keep every scoop from tasting heavy. What makes it stand out is the flag design: it turns a familiar party dip into something that looks festive on the table without adding any complicated steps.
The trick is in the order of the layers and the texture of each one. The cream cheese and sour cream mixture needs to be fully smooth before it goes on, or you’ll end up dragging little lumps through the beans. A rectangular dish helps the flag pattern look clean, and chilling the dip for a short time keeps the layers firm enough to scoop instead of slump. Use diced toppings that are small and dry enough to stay put, especially the tomatoes, or the decoration turns messy fast.
Below you’ll find the simple layering method, a few smart swaps, and the one timing detail that keeps this dip looking sharp until the last chip is gone.
The layers stayed neat and the flag design held up even after sitting out for a while. I also liked that the beans and cream cheese mixture tasted balanced instead of overly salty.
Love how the flag design makes this taco dip stand out at a party? Save it to Pinterest for the next cookout when you want a cold appetizer that looks festive and disappears fast.
The Reason the Layers Stay Neat Instead of Sliding Around
The biggest mistake with taco dip is building it too loosely. If the cream cheese layer is thin or the beans are still warm, the whole thing softens and starts to drift the second people start scooping. This version works because each layer is thick enough to support the next one, and the chill time gives everything a chance to settle together.
The dish also looks better when the toppings are placed with intention instead of scattered randomly. The blue chips create the field in the corner, and the tomatoes, olives, lettuce, and bell pepper build the stripes with enough contrast to read clearly from across the table. You don’t need precision-artist skills here. You just need toppings cut small enough to nestle into the dip instead of rolling off the top.
What Each Ingredient Is Doing in This Flag Dip
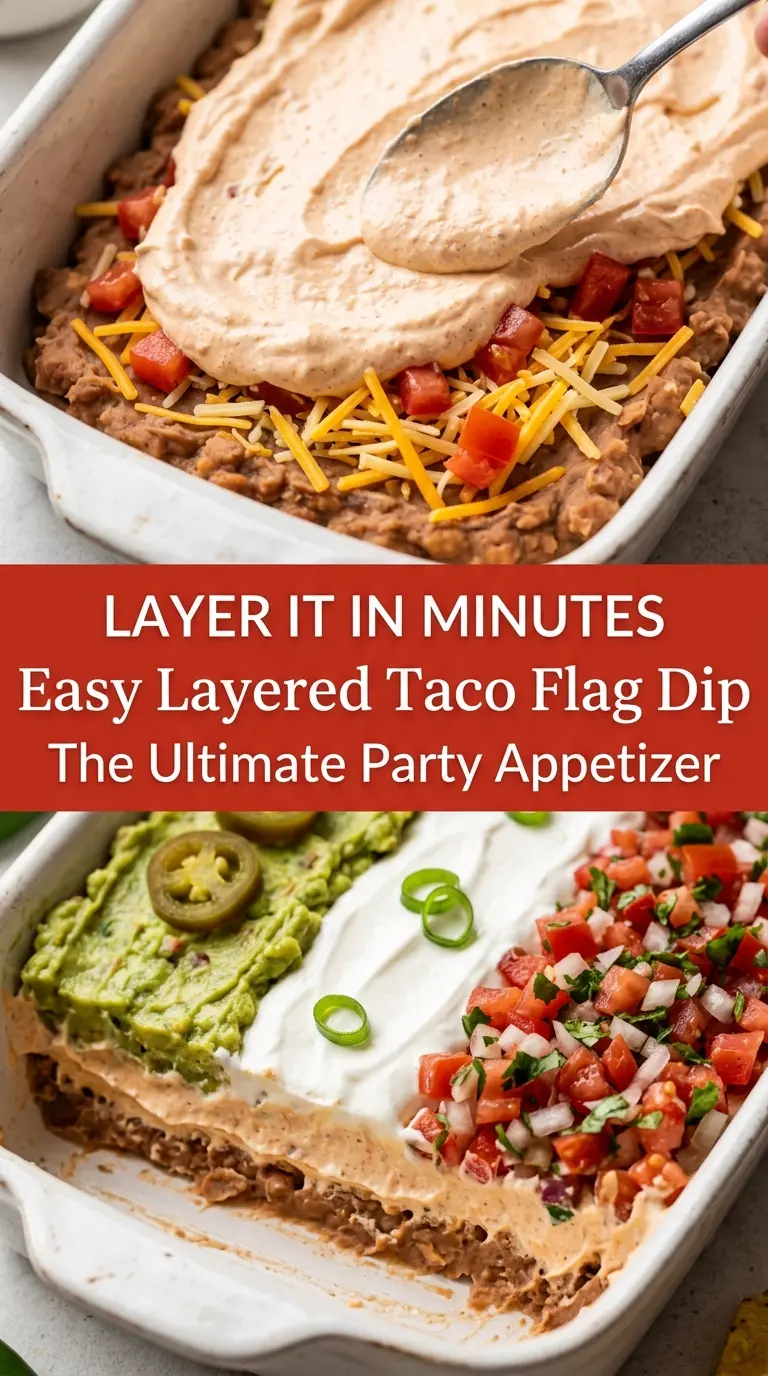
- Cream cheese — This is the structure under the sour cream. Softened cream cheese blends into a thick, spreadable layer that holds the beans in place. If it’s cold, it stays lumpy and tears the dip when you spread it.
- Sour cream — It lightens the cream cheese so the top layer isn’t dense and heavy. Full-fat sour cream gives the cleanest texture, but reduced-fat works if that’s what you keep on hand.
- Taco seasoning — This gives the creamy layer its taco flavor without needing extra measuring. A packet is the easiest route, though homemade seasoning works too if you want to control the salt.
- Refried beans — These anchor the dip and keep it from feeling like just a creamy spread with toppings. If your beans are very stiff, stir in a spoonful of water or milk until they spread smoothly, but don’t thin them too much or the layers lose definition.
- Mexican cheese blend — The cheese adds salt, body, and a little texture between the creamy layer and the fresh toppings. Pre-shredded cheese is fine here; this isn’t a recipe where freshly grated cheese changes the outcome enough to matter.
- Diced tomatoes, black olives, shredded lettuce, and red bell pepper — These are the colors that make the flag pattern work. Pat the tomatoes dry before using them so the top doesn’t puddle, and shred the lettuce finely so it sits neatly instead of flopping over the design.
- Blue corn tortilla chips — These create the blue corner of the flag and give the dip a crunchy, salty accent. Crushed chips work best when you want the design to look filled in without sharp pieces sliding around.
How to Build the Flag So It Holds Its Shape
Mixing the Creamy Base
Stir the softened cream cheese, sour cream, and taco seasoning until the mixture looks completely smooth and pale orange. If you still see streaks of cream cheese, keep mixing because those streaks show up when you spread the layer. A hand mixer makes this easy, but a sturdy spoon works if the cream cheese is properly softened.
Setting the Bean Layer
Spread the refried beans in an even rectangle across the bottom of the dish. An offset spatula helps, but the back of a spoon gets the job done if you work gently and keep the layer level. If the beans are clumping or dragging the base underneath, they’re too cold, so warm them slightly before assembling.
Finishing the Top Without Smearing the Design
Spread the cream cheese mixture over the beans, then cover it with the shredded cheese. Once the cheese is down, build the flag pattern carefully with the crushed blue chips in the upper left corner and the other toppings in straight rows. Chill the dish for at least 30 minutes before serving so the layers firm up and the design stays crisp when people start dipping.
Three Smart Ways to Adapt This Taco Dip
Make It Dairy-Free
Use dairy-free cream cheese and a dairy-free sour cream alternative, then top with a plant-based shredded cheese if you want the full layered look. The texture will be a little softer and less tangy than the original, but the dip still holds its shape well enough for serving cold.
Turn It Into a Gluten-Free Party Dip
Most of the ingredients here are naturally gluten-free, but the taco seasoning packet is the one to check closely. Use a certified gluten-free seasoning blend and serve with corn tortilla chips for dipping. The flavor stays the same, and no one will miss a thing.
Swap the Flag for a Regular Layered Dip
If you’re not making this for a holiday, skip the design and spread the toppings evenly across the top. You’ll get the same creamy, savory taco dip with less assembly time, and it travels better because you don’t have to worry about the pattern shifting in the car.
Storage and Reheating
- Refrigerator: Store covered for up to 3 days. The lettuce softens after the first day, but the flavor stays good.
- Freezer: Don’t freeze this dip. The cream cheese and sour cream separate and turn grainy after thawing.
- Reheating: This dip is meant to be served cold, so don’t reheat it. If it has been chilled for a long time, let it sit at room temperature for 10 to 15 minutes so the bean and cream layers soften just enough to scoop cleanly.
Answers to the Questions Worth Asking
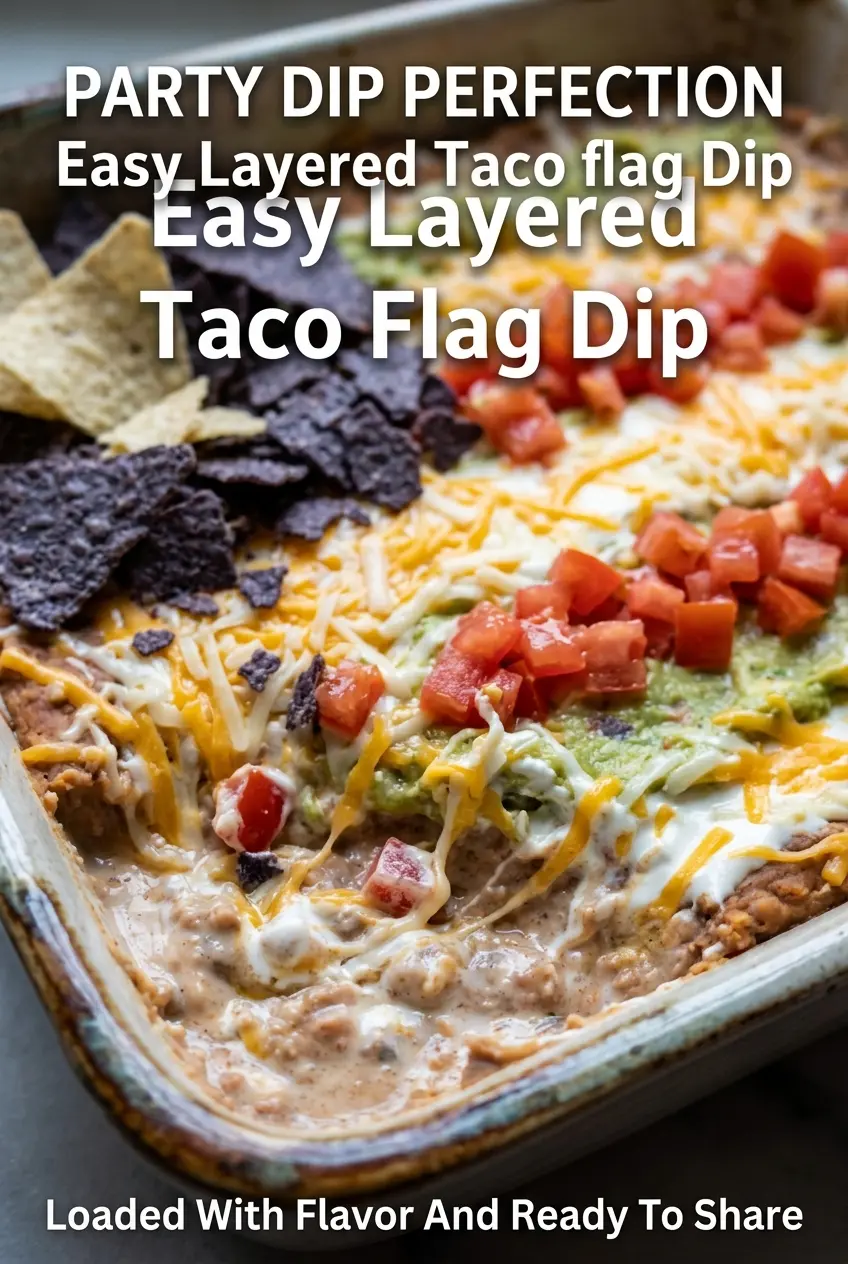
Easy Layered Taco Flag Dip
Ingredients
Method
- Mix the softened cream cheese, sour cream, and taco seasoning until smooth, with no visible seasoning clumps. Use a steady mixing pace so the mixture becomes spreadable and uniform in color.
- Spread the refried beans evenly in a rectangular serving dish to form the base layer. Press lightly to create a flat, even surface.
- Spread the cream cheese mixture over the beans in an even layer. Smooth the top so toppings adhere and the flag design stays crisp.
- Sprinkle the shredded Mexican cheese blend evenly over the top layer. Cover fully so the cheese acts as a cohesive topper.
- Create the upper-left corner using crushed blue corn tortilla chips, scattering them to form a tight “stars” area. Press gently so the chips stay put when chilled.
- Arrange the diced tomatoes and diced red bell pepper into stripe patterns across the remaining surface. Keep the stripes straight and consistent for a clear flag look.
- Add sliced black olives and shredded lettuce to enhance the design. Place them where you want dark and green accents while keeping the stripe area visible.
- Garnish with fresh cilantro. Add it sparingly for a bright green finish.
- Chill the layered dip in the refrigerator for at least 30 minutes before serving. Keep it covered so the toppings do not dry out.
- Serve with tortilla chips on the side for dipping. Offer chips in a separate bowl so they stay crunchy.