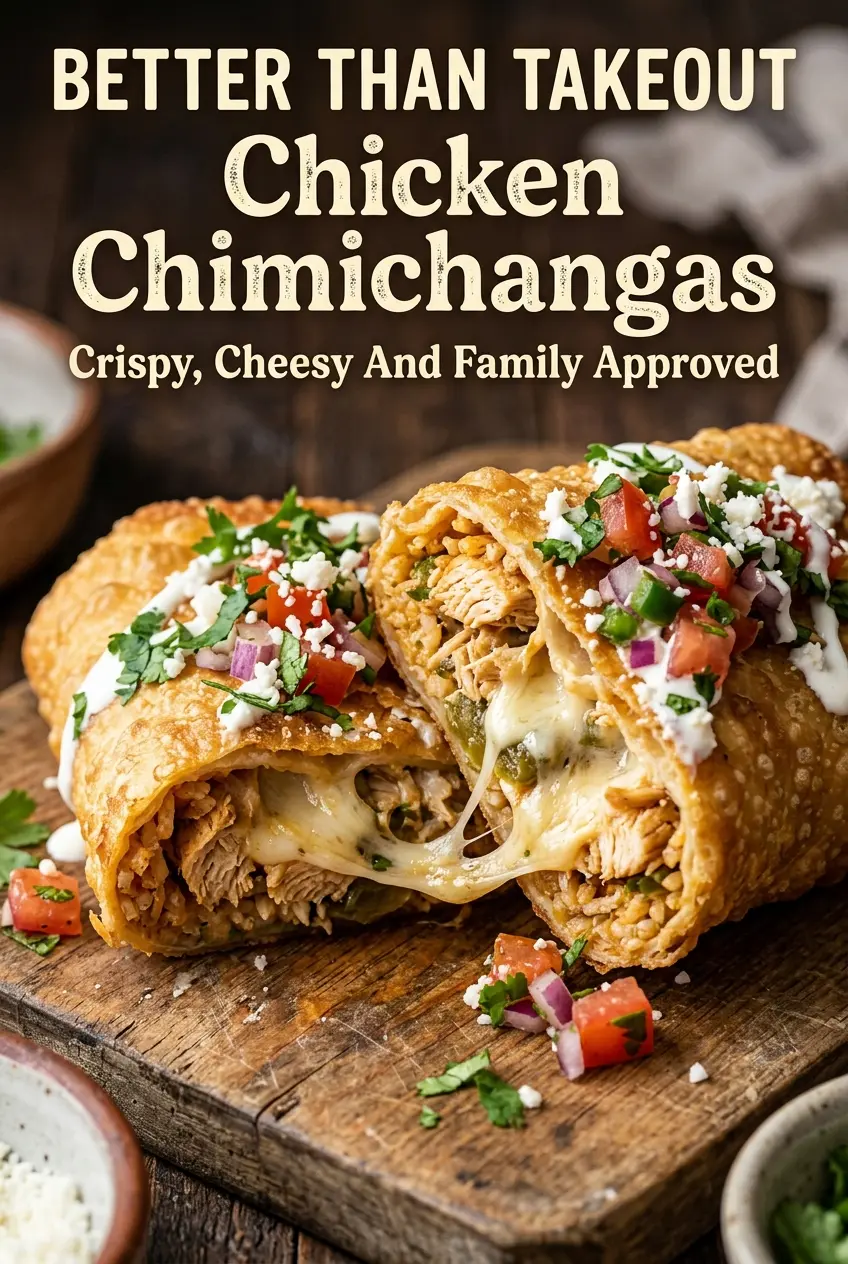
Crispy chicken chimichangas hit that sweet spot between comfort food and fun food: a shattering, golden tortilla on the outside and a creamy, seasoned chicken filling that stays hot and savory inside. The best ones don’t feel heavy or greasy. They bake up crisp, hold their shape, and give you that satisfying crackle when you cut into them.
What makes this version work is the balance in the filling. Salsa brings moisture and seasoning at the same time, cream cheese keeps the chicken from drying out, and the Mexican blend cheese melts into the mixture so the center sets up instead of tumbling out. Shredded chicken is the right choice here because it grabs onto the sauce and spices better than chopped chicken breast. Rolling them tightly and placing them seam-side down matters just as much as the filling itself.
Below, I’ll walk through the part that keeps chimichangas crisp instead of soggy, plus the best way to swap ingredients if you need to work with what’s already in the fridge.
The filling was creamy but didn’t leak out, and the tortillas baked up crisp all over instead of getting soft on the bottom. My husband kept sneaking them from the pan before I even got them to the table.
Save these crispy chicken chimichangas for the night you want a baked Tex-Mex dinner with a creamy filling and a crackly tortilla shell.
The Filling Needs to Be Thick Before It Hits the Tortilla
Most chimichanga fillings fail for one of two reasons: they’re too wet, or they’re packed with ingredients that don’t bind together. Salsa is great for flavor, but it can turn the center loose if you add too much without a creamy element. That’s why the cream cheese matters here. It gives the filling body, so it stays put while the tortilla crisps.
The other thing that helps is using shredded chicken instead of diced chicken. Shredded meat catches the sauce and cheese in all those little strands, which makes the filling feel cohesive. If your mixture looks spoonable and not soupy, you’re on the right track. If it runs across the bowl, the tortillas will tear or burst open in the oven.
What Each Ingredient Is Actually Doing in This Dish

- Cooked shredded chicken — Use rotisserie chicken, leftover roast chicken, or poached chicken. This is one place where convenience works fine, as long as the meat is moist enough to mix with the salsa and cheese without drying out in the oven.
- Salsa — This seasons the filling and adds the moisture that helps everything meld. A thicker salsa gives you a cleaner filling; a thin, watery salsa can loosen the mixture and make wrapping harder.
- Cream cheese — This is the binder. Let it soften fully before mixing, or you’ll end up with little cold lumps that never disappear. It doesn’t taste like cheesecake here; it just makes the filling creamy and stable.
- Mexican blend cheese — The melt matters. A blend with cheddar and Monterey Jack gives you both flavor and stretch. If you only have cheddar, use it, but the filling will be a little less smooth.
- Flour tortillas — Large burrito-size tortillas work best because they seal around a generous filling without splitting. Smaller tortillas are harder to roll tightly and tend to crack before they brown.
- Butter or olive oil — Brushing the tops helps the tortillas turn deeply golden in the oven. Butter gives a richer finish; olive oil keeps the flavor a little cleaner and still crisps well.
The Part That Keeps Them Crisp Instead of Soggy
Mix the filling until it holds together
Combine the chicken, salsa, spices, cream cheese, green onions, and shredded cheese in a large bowl until the mixture looks evenly coated and thick. You want the filling to mound on a spoon, not slide off in a puddle. If the cream cheese is still cold, warm the mixture slightly with the spoon and it will blend in. A lumpy filling is harder to seal and usually leaks later.
Roll them tight and keep the seam underneath
Spoon the filling into the center of each tortilla, then fold the sides in first before rolling from the bottom up. That side-fold is what keeps the filling from escaping at the ends. Place each chimichanga seam-side down on the baking sheet so the weight of the roll helps seal it shut while it bakes. If the tortilla feels stiff, warm it for a few seconds so it bends without cracking.
Brush, bake, and wait for the color change
Brush the tops with melted butter or oil, then bake until the tortillas turn a deep golden brown and feel crisp when tapped. Pale tortillas usually mean the edges are still soft underneath. If you pull them too early, they’ll look done for a minute and then soften as they cool. Let them rest for a few minutes before serving so the filling settles and doesn’t spill out on the first cut.
Three Ways to Adapt These for Different Kitchens
Make It Dairy-Free
Use a dairy-free cream cheese and a good-melting plant-based shredded cheese. The filling will still bind, but it won’t have quite the same rich, tangy finish, so lean on a thicker salsa and don’t overload the tortillas.
Turn Them Into a Spicier Version
Swap in hot salsa, add minced jalapeño, or stir a pinch of cayenne into the filling. The extra heat works best when the cheese base is already there, because the creaminess keeps the spice from turning harsh.
Use What You Have for the Chicken
Leftover turkey, shredded pork, or even cooked black beans can stand in for part or all of the chicken. Beans make the chimichangas softer and a little less meaty, while pork brings a richer, more savory result. Keep the filling thick no matter which protein you use.
Storage and Reheating
- Refrigerator: Store in an airtight container for up to 4 days. The tortilla will soften, but the filling stays flavorful.
- Freezer: These freeze well after baking. Cool completely, wrap individually, and freeze for up to 2 months.
- Reheating: Reheat in a 375°F oven or air fryer until the outside crisps again and the center is hot. The biggest mistake is using the microwave, which turns the tortilla leathery and wipes out the crunch.
Answers to the Questions Worth Asking
Crispy Chicken Chimichangas
Ingredients
Equipment
Method
- Preheat oven to 400°F (200°C).
- Line a baking sheet with parchment paper.
- In a large bowl, combine cooked shredded chicken, salsa, chili powder, cumin, garlic powder, onion powder, softened cream cheese, green onions, and shredded Mexican blend cheese.
- Mix until evenly combined.
- Place about 1/2 cup filling in the center of each flour tortilla.
- Fold in the sides and roll tightly like a burrito.
- Place seam-side down on the prepared baking sheet.
- Brush each chimichanga with melted butter or olive oil for browning.
- Bake at 400°F (200°C) for 20–25 minutes, until golden brown and crispy, with visibly crisped edges.
- Let cool for 5 minutes so the cheese firms slightly.
- Serve with sour cream, diced avocado, fresh cilantro, pico de gallo, and jalapeño slices as desired.