Country fried chicken earns its place when the crust stays audibly crisp under a blanket of peppery white gravy and the chicken underneath is still juicy. The coating should cling in craggy little ridges, not slide off in the skillet, and the gravy should taste rich and milky with enough black pepper to wake everything up. When those two parts are done right, the whole plate tastes like diner comfort in the best possible way.
The trick is in the breading and the heat. A buttermilk-and-egg dip gives the flour something to grab onto, but the crust only really sets after a short rest before frying. That pause keeps the coating from blowing off in the oil. On the gravy side, the pan drippings do the heavy lifting. You want just enough reserved oil to cook the flour and build a smooth base before the milk goes in, because dumping milk into raw flour is how you end up with a lumpy mess.
Below, I’ve included the small things that matter most: how thin to pound the chicken, when the crust is ready to fry, and how to keep the gravy from turning gluey. Those details are what separate a good plate of country fried chicken from one you’ll want to make again next week.
The crust stayed on all the way through frying, and the gravy turned out smooth and peppery without getting pasty. I pounded the chicken thin like you said, and it was cooked through right when the breading hit that deep golden color.
Save this country fried chicken and white gravy for the nights when you want crispy chicken with a peppery gravy that stays smooth and spoonable.
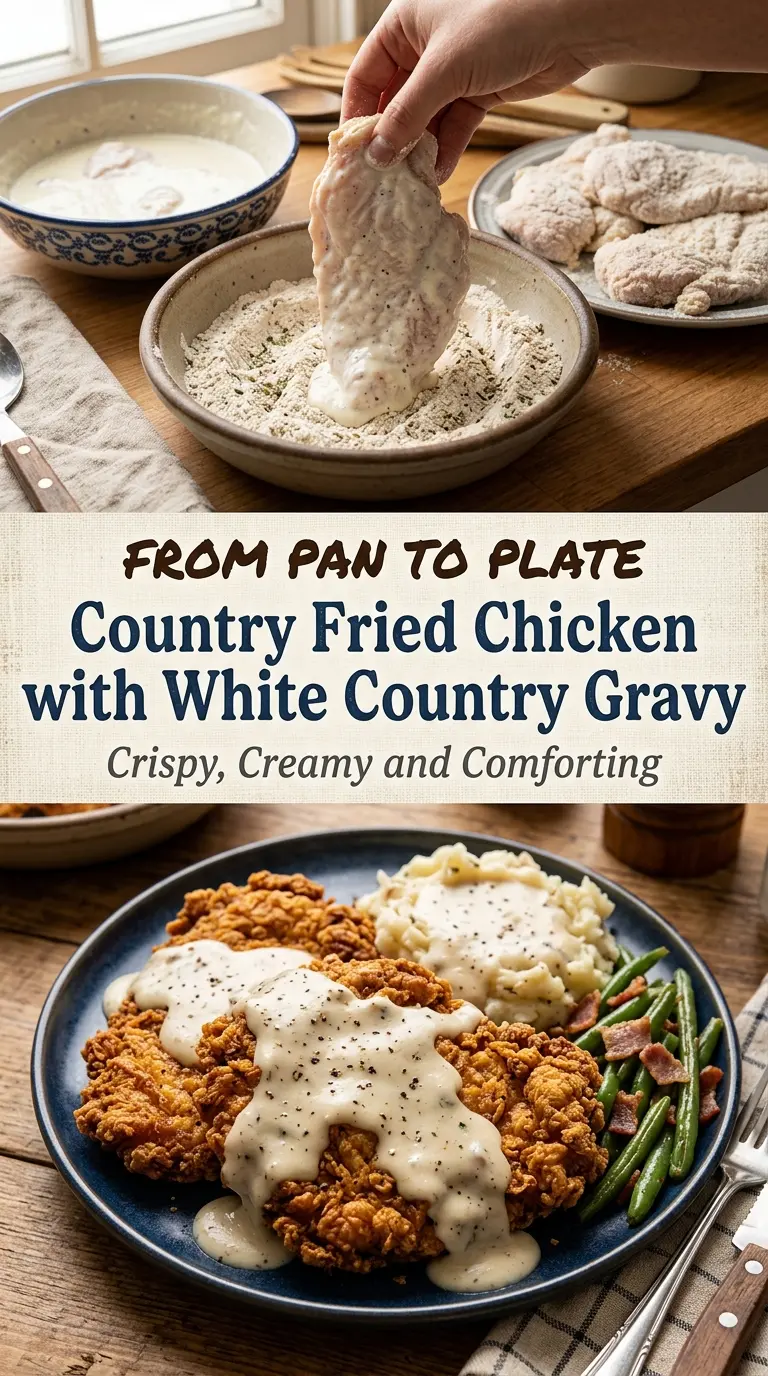
The Reason the Crust Stays Put Instead of Slipping Off
The breading on country fried chicken fails for two common reasons: the chicken is too wet when it hits the flour, or the crust goes straight into the oil without a rest. The buttermilk and egg mixture gives you a sticky base, but the flour needs a minute to hydrate and turn tacky before frying. That short rest is what helps the coating fuse to the chicken instead of falling away in flakes.
Thickness matters too. Chicken breasts pounded to an even half-inch cook quickly enough for the crust to brown before the meat dries out. If one end is thick and the other is thin, the thin part overcooks while you’re waiting for the center to catch up. Even thickness gives you a better crust and a juicier result.
- Buttermilk — Its tang softens the chicken and helps the coating cling. If you don’t have it, stir 1 tablespoon of lemon juice or vinegar into 1 cup of milk and let it sit for 5 minutes.
- Eggs — They add body to the dip, which helps the flour form a thicker shell. Using only buttermilk makes the coating lighter and more likely to shed in the pan.
- All-purpose flour — This is the backbone of both the crust and the gravy. Higher-protein flour can make the coating a little tougher, so plain all-purpose is the best choice here.
- Black pepper and cayenne — The pepper belongs in both the breading and the gravy. Cayenne is optional, but even a small pinch keeps the crust from tasting flat.
Building the Crust and Gravy in the Right Order
Pound the Chicken Evenly
Set the chicken between sheets of plastic wrap and pound it to an even 1/2-inch thickness. The goal is not to flatten it into a wafer; you just want the thick end to match the thin end so the whole cutlet cooks at the same pace. If you skip this, the crust on the thinner side will brown before the center of the thicker side is done.
Coat, Rest, and Fry
Whisk the buttermilk and eggs together, then season the flour mixture well before you start dipping. Coat each piece thoroughly, press the flour on lightly, and let the chicken sit for 10 minutes on a rack or tray. That rest turns the flour paste-like in the best way, which helps the crust stay rough and craggy instead of dusty. Fry in about 1/2 inch of oil over medium heat until the crust is deep golden and the chicken reaches 165°F in the center.
Use the Pan Drippings for the Gravy
Leave about 1/4 cup of the frying oil in the skillet and whisk in the flour. Cook it for about a minute until the raw flour smell fades, then stream in the milk slowly while whisking. If you pour it all in at once, you’ll chase lumps around the pan. The gravy should thicken to a spoon-coating consistency in 3 to 5 minutes, and the pepper should be bold enough that it tastes seasoned even before it hits the chicken.
How to Adapt This for Different Eaters and Different Pans
Make It Gluten-Free
Use a cup-for-cup gluten-free flour blend for both the chicken coating and the gravy. The crust will be a little more delicate, so let it rest the full 10 minutes before frying and move the chicken with a thin spatula instead of tongs. The gravy thickens a touch faster with some blends, so whisk in the milk gradually and stop once it coats the back of a spoon.
Use Chicken Tenders Instead of Breasts
Chicken tenders cook faster and give you more crisp edges per bite. Cut the fry time down and start checking early, because they can go from juicy to dry fast. The thinner shape also means more surface area for gravy, which is never a bad thing.
Dairy-Free Version
Swap the buttermilk for unsweetened dairy-free milk mixed with 1 tablespoon of lemon juice or vinegar, then use the same method. For the gravy, an unsweetened oat milk gives the smoothest result and the least odd aftertaste. The texture stays creamy, but the flavor is a little less rich than the original.
Storage and Reheating
- Refrigerator: Store the chicken and gravy separately for up to 3 days. The crust will soften in the fridge, but it can be brought back some with careful reheating.
- Freezer: The fried chicken freezes well; the gravy does not. Freeze the chicken on a tray first, then wrap tightly once solid.
- Reheating: Reheat the chicken on a wire rack in a 375°F oven until hot and crisp again. Warm the gravy slowly on low heat with a splash of milk, whisking often so it stays smooth.
Questions I Get Asked About This Recipe
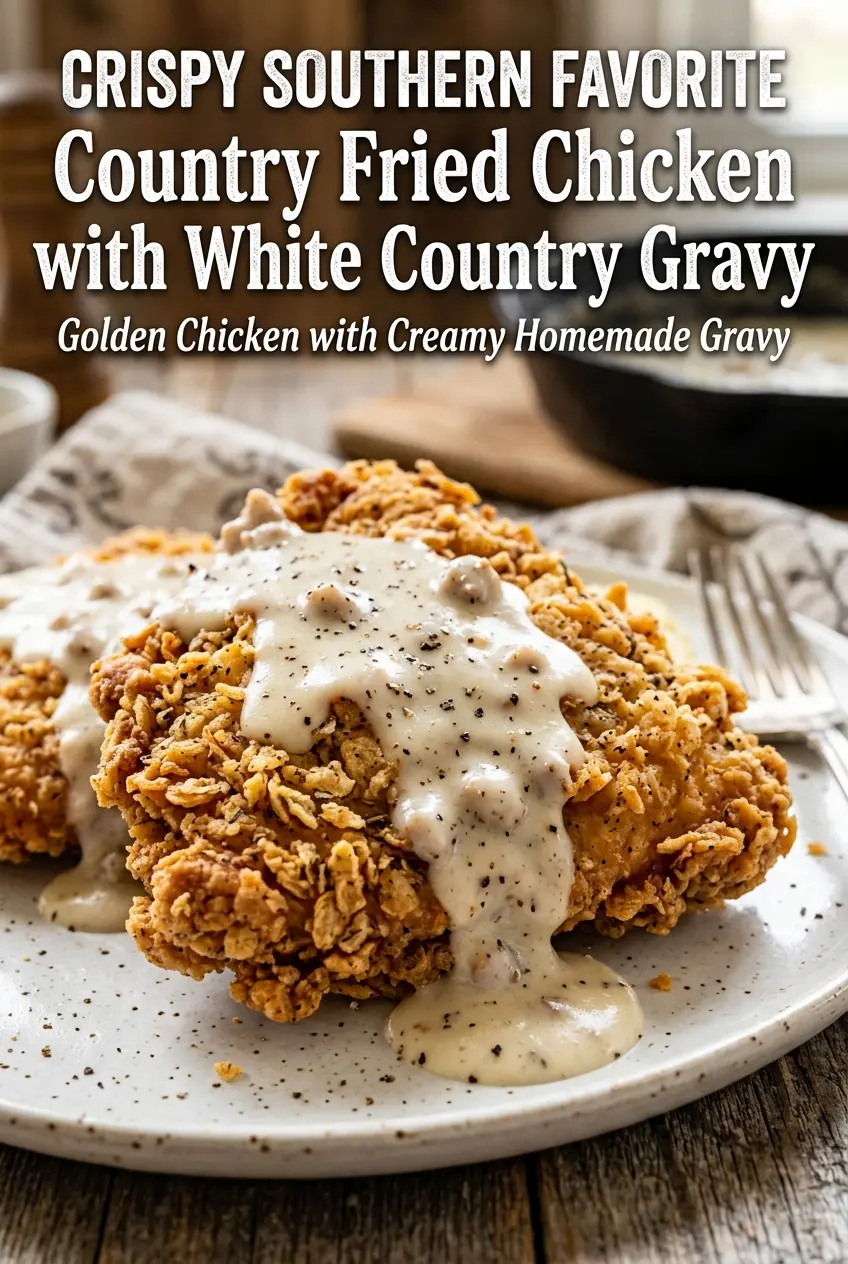
Country Fried Chicken with White Country Gravy
Ingredients
Equipment
Method
- Place the chicken breasts between sheets of plastic wrap and pound to about 1/2-inch thickness.
- In a shallow bowl, whisk together buttermilk and eggs until smooth and uniform.
- In another bowl, combine flour, garlic powder, onion powder, paprika, salt, black pepper, and cayenne pepper (if using).
- Dip each chicken breast into the buttermilk mixture, then coat thoroughly in the seasoned flour, pressing lightly so it sticks.
- Let the coated chicken rest for 10 minutes to help the crust set and crisp.
- Heat 1/2 inch of vegetable oil in a large skillet over medium heat.
- Fry the chicken for 4–5 minutes per side until golden brown and cooked through.
- Transfer the chicken to a wire rack to drain and keep the crust crisp.
- Reserve 1/4 cup of the frying oil in the skillet for the gravy.
- Whisk the flour into the reserved frying oil and cook for 1 minute.
- Slowly whisk in the whole milk until the mixture is smooth with no lumps.
- Add salt, black pepper, and garlic powder, then simmer for 3–5 minutes until thick and creamy.
- Serve the fried chicken generously covered with warm country gravy.