The first thing you notice when you lift a turkey from its buttermilk brine is how thickly the liquid clings to the skin. Don’t rinse it away. Pat the bird dry instead, and you’ll get a better surface for roasting without splashing raw poultry around the sink.
For this Buttermilk-Brined Roast Turkey, the bird spends 24 hours in a simple buttermilk-and-salt mixture before it goes into the oven. That long chill gives the brine time to season the meat, while the natural, unbrined turkey keeps the salt level in a range you can control.
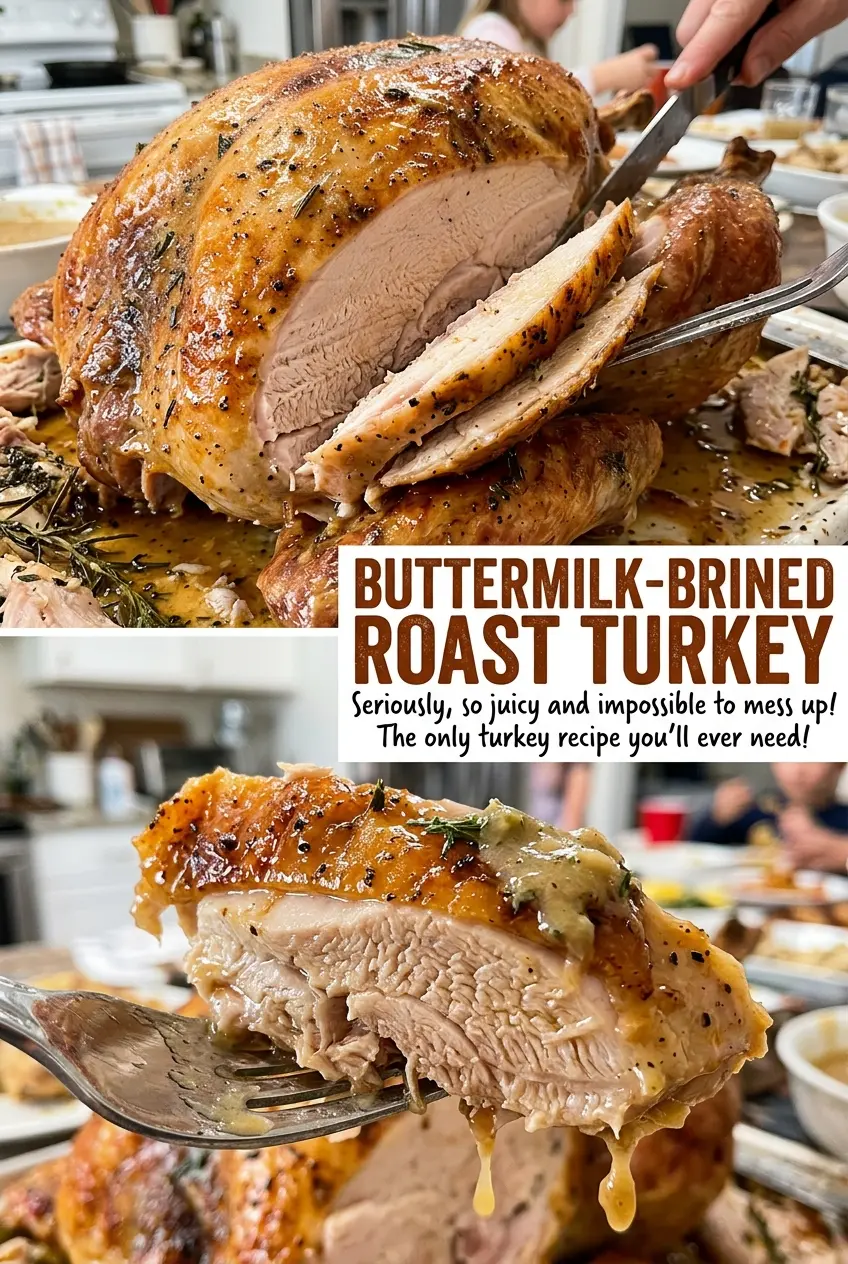
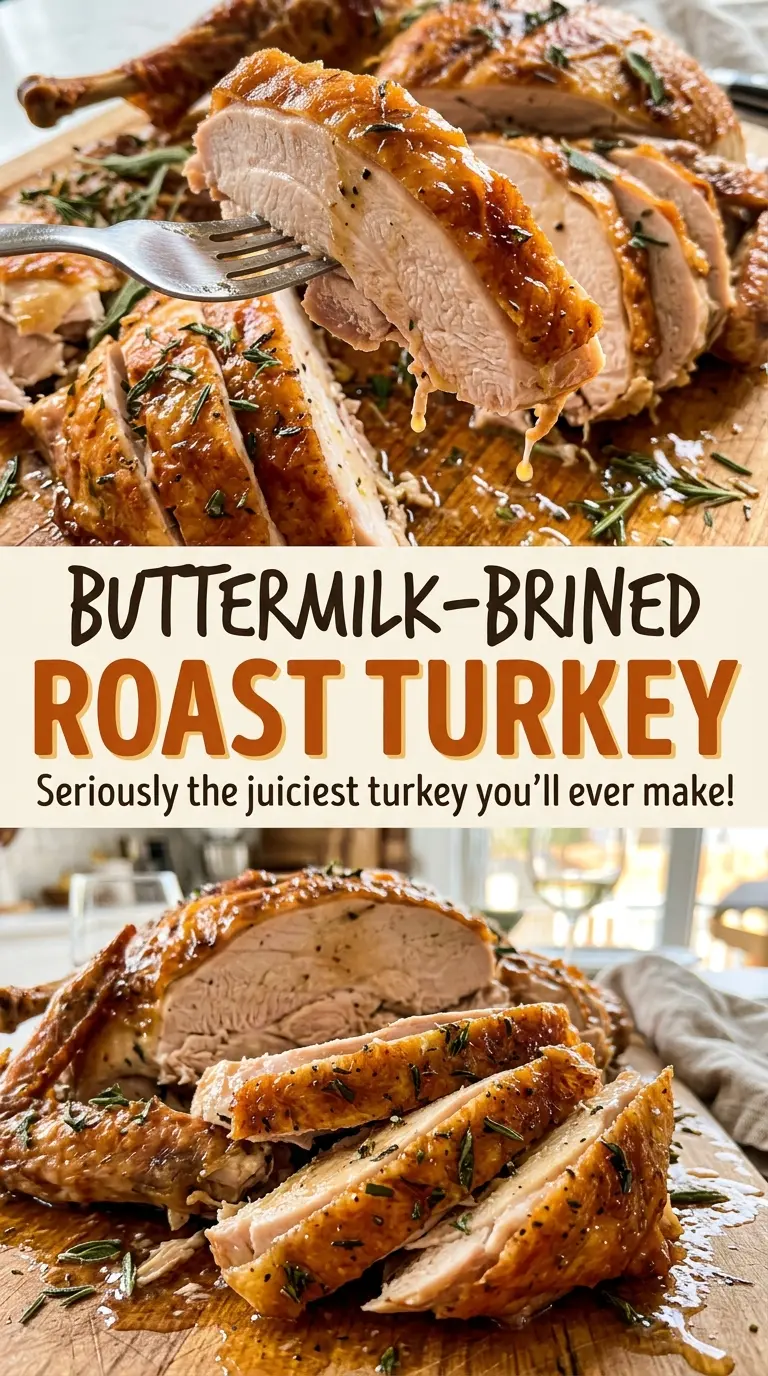
The roast starts hot, then finishes at a lower temperature so the skin has time to brown without rushing the center. A thermometer, rather than the clock alone, tells you when the breast and thigh are ready; after a proper rest, the slices stay moist and savory.
Kitchen Note
Turn the turkey once halfway through its 24-hour brine. It’s an easy detail to forget, but it helps the liquid reach the bird more evenly while it rests in the bag.
Save this buttermilk-brined roast turkey for a deeply seasoned bird with golden skin and a simple 24-hour brine.
Why a 24-Hour Buttermilk Brine Still Needs a Dry Surface
A wet brine and a well-browned roast aren’t opposites. The brine seasons the turkey during its time in the refrigerator, but the skin needs to be patted dry before roasting. Leaving a wet coating on the outside can slow browning, so take a moment with paper towels rather than putting the bird straight into the pan.
Skip rinsing. Water won’t remove salt that has already moved into the meat, and rinsing raw poultry can spread droplets around your sink and counter. The goal is to remove excess liquid from the outside, not to wash the turkey clean. Once it’s dry, the softened butter goes directly over the skin, followed by black pepper.
The kind of turkey matters just as much as the surface prep. A natural bird that hasn’t been injected or pre-brined gives this measured salt-and-buttermilk mixture room to do its job. A bird that has already been salted or treated brings extra seasoning into the equation, which makes the finished turkey harder to predict.
What the Buttermilk, Salt, and Turkey Each Bring to the Brine
- Buttermilk — It gives the brine its creamy base and mild tang, and it clings to the turkey as the salt seasons it. Use ordinary cultured buttermilk; a thinner milk substitute won’t behave the same way in this brine, so there isn’t a reliable dairy-free swap that keeps the method intact.
- Diamond Crystal kosher salt — Salt is the brine’s seasoning, and the crystal shape affects how much salt fits into a measured volume. Stick with Diamond Crystal for the stated measure; don’t replace it cup-for-cup with table salt, which is denser and could make the turkey too salty.
- Natural turkey — Choose a fully thawed bird in the specified size range that hasn’t been koshered, injected, or pre-brined. Those treatments can add salt before the turkey ever reaches your brine, and the final seasoning becomes difficult to judge.
- Unsalted butter and black pepper — Softened unsalted butter spreads over the skin without adding an unpredictable amount of salt, while freshly ground pepper gives the outside a warm, savory bite. The butter doesn’t need to be a specialty brand; softened and easy to rub on is what matters.
The Brining and Roasting Stages That Keep This Turkey on Track
Dissolve the Salt Before It Meets the Bird
Whisk the buttermilk and kosher salt together in a large bowl until the salt dissolves. Take a few seconds to check the bottom of the bowl; visible crystals mean the mixture needs more whisking. A fully mixed brine gives the turkey an even start rather than leaving undissolved salt concentrated in one spot.
Set Up the Bag in a Pan, Then Chill
Remove the giblets and neck, then set a food-safe brining bag inside a clean roasting pan before adding the turkey. Pour in the brine, seal the bag, and refrigerate it for 24 hours. The pan supports the bag and catches any leaks, so keep the bird nestled in it as it chills. Turn the turkey once halfway through.
Dry the Skin and Prepare the Roasting Pan
Set an oven rack in the lower third and heat the oven to 425°F. Take the turkey out of the bag, discard the brine, and pat the skin dry with paper towels without rinsing. Wash and dry the roasting pan, fit it with a rack, and place the turkey breast-side up. Rub the softened butter over the skin and season with black pepper.
Start Hot, Then Lower the Oven
Roast for 30 minutes at 425°F to begin browning the skin. Reduce the oven to 350°F and continue roasting for about 2 to 2 1/2 hours. If the skin gets too dark before the turkey is done, tent it loosely with foil; a tight cover isn’t needed.
Check Both Areas and Let the Bird Rest
Insert a thermometer into the thickest part of the breast and the innermost thigh, keeping it clear of bone. Both readings need to reach at least 165°F; don’t rely on the roasting time alone, since a turkey’s exact timing varies. Transfer the bird to a cutting board and rest it for 30 minutes before carving, which gives the juices time to settle instead of running across the board.
Two Small Changes That Alter the Finish Without Changing the Brine
Leave Off the Black Pepper
For a pepper-free roast, omit the black pepper and keep the buttermilk brine, butter, oven temperatures, and timing the same. The turkey will still be savory and well seasoned from the brine, but it won’t have pepper’s gentle bite on the skin.
Skip the Butter for a Less Rich Finish
You can leave off the butter if you want to reduce the richness, then season the dried skin with the black pepper. The turkey will still roast, though the skin won’t have the same buttery finish and may brown less evenly. This change doesn’t make the dish dairy-free because the buttermilk remains the brine.
Storage and Reheating
- Refrigerator: Refrigerate carved leftovers within 2 hours and use them within 3 to 4 days. The meat stays moist when stored in a covered container, though the skin softens.
- Freezer: Freeze carved turkey in airtight portions for 2 to 6 months for best quality. Thaw it in the refrigerator before reheating.
- Reheating: Warm portions covered in a baking dish with a little broth or pan juice until they reach 165°F. Avoid prolonged uncovered reheating, which dries the slices before they’re hot through.
Questions That Come Up While Brining and Roasting This Turkey
Buttermilk-Brined Roast Turkey
Ingredients
Equipment
Method
- Whisk the buttermilk and kosher salt together in a large bowl until the salt is dissolved.
- Remove the giblets and neck from the turkey.
- Place the turkey in a food-safe brining bag set in a clean roasting pan and pour in the brine.
- Seal the bag and refrigerate for 24 hours, turning the turkey once halfway through so it brines evenly.
- Set an oven rack in the lower third of the oven and preheat to 425°F.
- Remove the turkey from the bag and discard the brine.
- Pat the turkey dry with paper towels without rinsing it.
- Wash and dry the roasting pan, then fit it with a rack.
- Set the turkey breast-side up on the rack.
- Rub the softened butter over the skin and season with black pepper.
- Roast for 30 minutes at 425°F.
- Reduce the oven to 350°F and roast for about 2 to 2 1/2 hours, tenting loosely with foil if the skin gets too dark.
- Roast until a thermometer reads at least 165°F in the thickest part of the breast and the innermost thigh without touching bone.
- Transfer the turkey to a cutting board and rest for 30 minutes before carving.