American Flag Cheesecake delivers that rare combination of chilled, creamy filling and a crisp graham crust that still slices cleanly after a few hours in the fridge. The top looks festive enough for a holiday table, but the real payoff is the texture: light, mousse-like cheesecake filling under fresh berries and billowy whipped cream. It eats like a dessert that took all afternoon, even though the hands-on work is straightforward.
The crust gets a quick bake so it sets up instead of turning sandy under the filling, and the cheesecake layer stays no-bake for that smooth, cool finish. Softened cream cheese is the key here; if it’s even a little cold, you’ll chase lumps the whole time. The whipped cream gets folded in at the end, not beaten hard into the cream cheese, which keeps the filling airy instead of dense.
Below, I’m walking through the little things that matter most: how to keep the crust from crumbling, how to get the filling fluffy without overmixing, and how to build the berry flag so it looks neat when you bring it to the table.
The filling set up beautifully and sliced clean after chilling overnight. The berry flag looked neat, and the whipped cream held its shape even after sitting out for dessert.
Save this American Flag Cheesecake for a patriotic dessert that slices cleanly and looks stunning on the table.
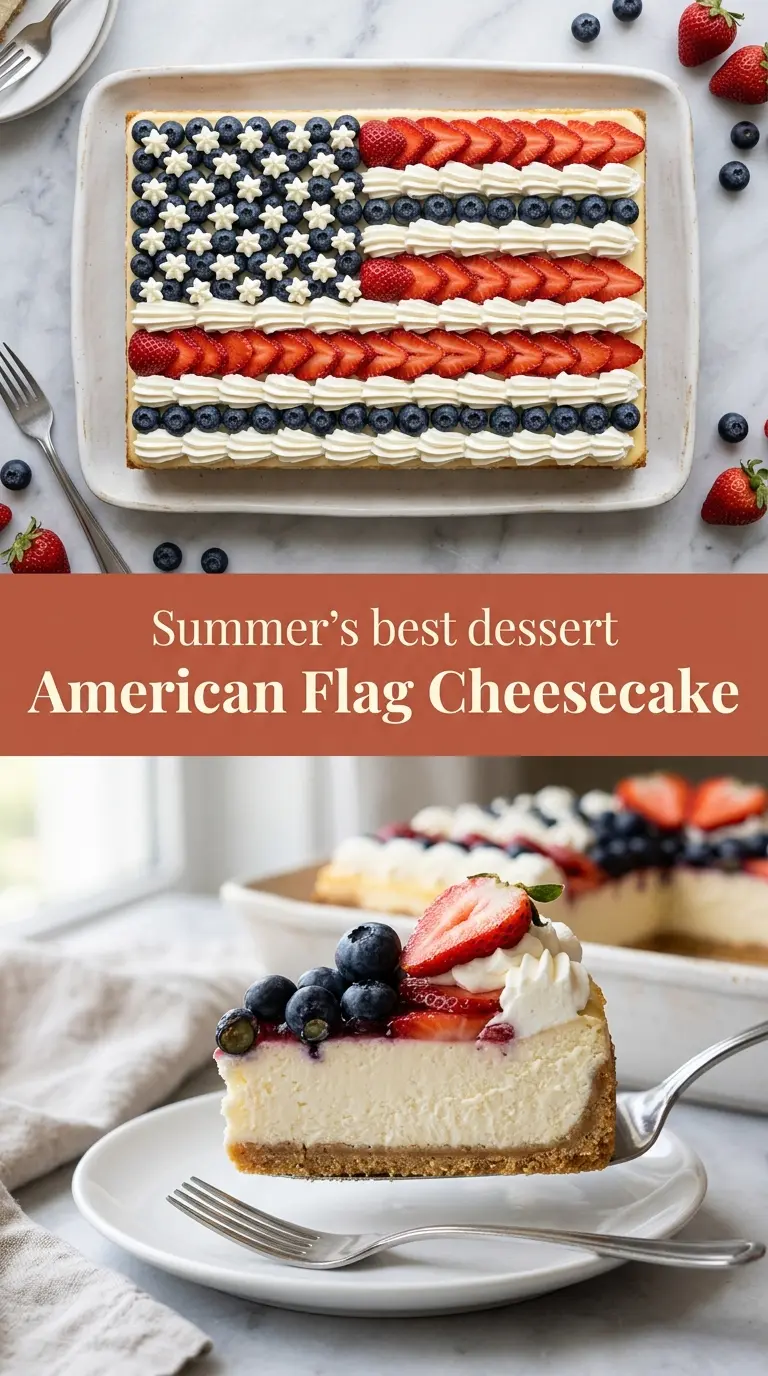
The Trick to a Clean Slice Starts with the Crust
A cheesecake this tall and soft needs a crust that’s packed down hard enough to hold the filling without turning greasy. If the crumbs aren’t pressed firmly into the pan, the first cut will drag them into the filling and leave the bottom messy. Baking the crust for a short time sets the butter and gives you a firmer base, which matters even more in a 9×13 pan where the top layer is heavy.
The other mistake is rushing the cooling. A warm crust will loosen the cheesecake mixture at the bottom and make the whole dessert less stable. Let it cool completely before the filling goes in, and the layers stay distinct all the way to the end.
- Graham cracker crumbs — Fine crumbs pack better than coarse ones. If you’re crushing them yourself, pulse until they look like damp sand, not pebbles.
- Granulated sugar — Just enough to sweeten the crust and help it bake into a sturdier base. Don’t increase it, or the crust can taste brittle instead of balanced.
- Unsalted butter — This is what binds everything together. Melted butter works best here because it coats every crumb evenly.
- Cream cheese — Full-fat cream cheese gives the filling its body and tang. Reduced-fat versions tend to soften too much and won’t set as cleanly.
- Heavy whipping cream — This is what gives the cheesecake its lift. It has to be cold so it whips to stiff peaks instead of turning loose and soupy.
Building the Filling So It Stays Light, Not Grainy
Smooth the Cream Cheese First
Beat the softened cream cheese until it looks silky and has no visible lumps before anything else goes in. If the cream cheese is still cool in the center, the mixer will leave tiny bits behind that don’t disappear later. Scrape the bowl halfway through so the edges don’t stay thick while the middle gets overworked.
Fold, Don’t Whip, the Cream
Whip the cold heavy cream to stiff peaks in a separate bowl, then fold it into the cream cheese mixture in two additions. Folding keeps the air in place; beating hard would collapse it and give you a dense filling. Stop as soon as the mixture looks uniform, because overmixing here makes the texture lose that soft, mousse-like finish.
Chill Until the Center Holds Its Shape
Spread the filling evenly over the cooled crust and chill it until it’s firm all the way through. Four hours is the bare minimum, but overnight is better if you want clean slices. If you cut too early, the cheesecake will slump at the edges and the berry topping will slide around.
How to Adapt This for Different Tables and Different Diets
Make it gluten-free without changing the texture
Swap the graham crackers for certified gluten-free graham-style crumbs or digestive-style cookies. The crust will still bake and hold the same way as long as the crumb size is fine and the butter ratio stays the same.
Use a berry mix if strawberries are expensive
Raspberries or blackberries can replace part of the strawberries if that’s what looks best at the store. The look changes a little, but the sweet-tart contrast still works, and the blue berries keep the flag effect clear.
Make the topping ahead, then pipe right before serving
The whipped cream can be made a few hours ahead and kept cold in the fridge, but the flag looks freshest if you assemble the berries the day you serve it. That keeps the strawberries from weeping and the whipped cream from losing its sharp edges.
Storage and Reheating
- Refrigerator: Store covered for up to 3 days. The berries soften a bit after the first day, but the cheesecake itself stays creamy.
- Freezer: You can freeze the cheesecake base without the fresh fruit topping for up to 1 month. Wrap it well, thaw in the fridge, and add the berries and whipped cream after it’s fully thawed.
- Reheating: No reheating needed. Serve it cold straight from the fridge, and use a sharp knife wiped clean between cuts for the neatest slices.
Answers to the Questions Worth Asking
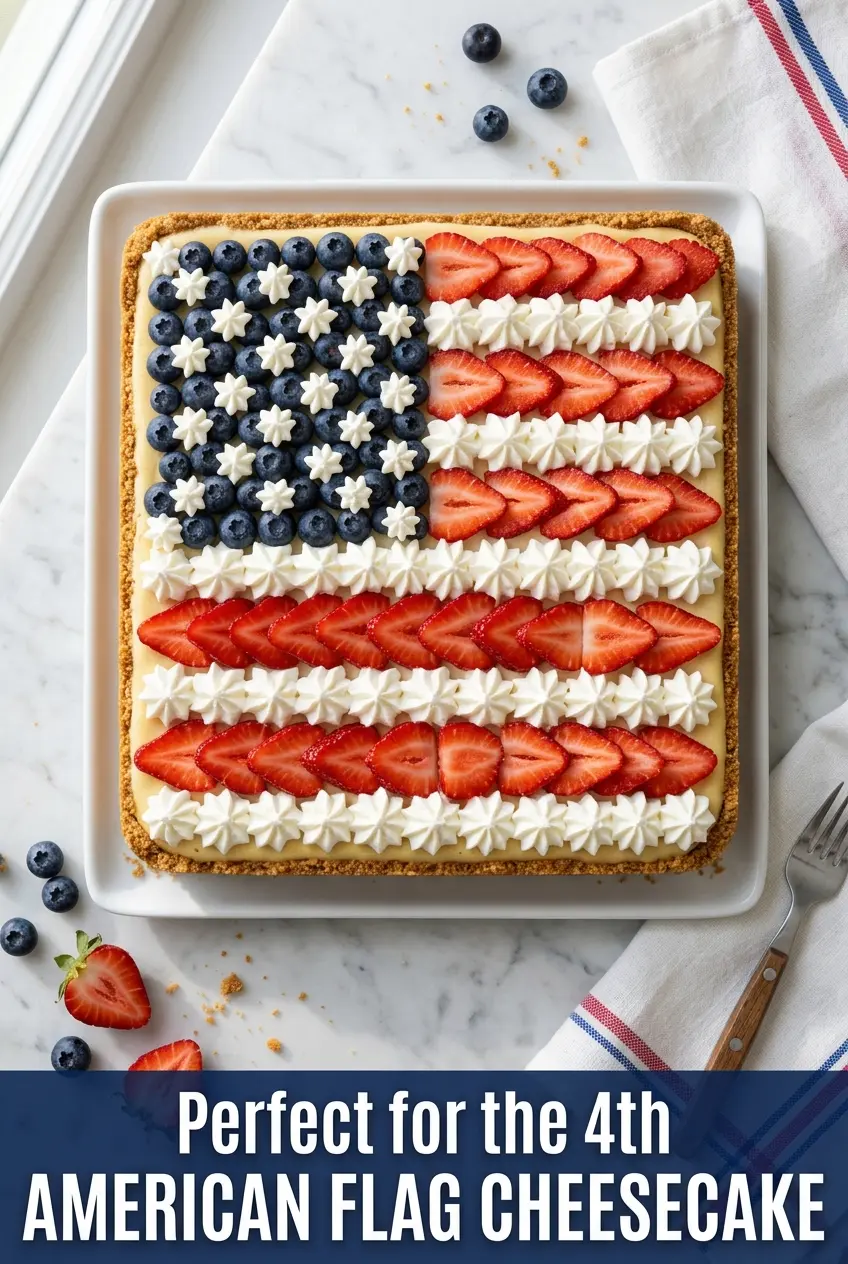
American Flag Cheesecake
Ingredients
Equipment
Method
- Preheat the oven to 325°F. Mix graham cracker crumbs, granulated sugar, and melted unsalted butter until the crumbs look evenly coated.
- Press the crumb mixture firmly into the bottom of a 9x13-inch baking pan. Bake for 10 minutes until lightly set, then cool completely.
- Beat softened cream cheese with an electric mixer on medium speed for 2 minutes until smooth and lump-free.
- Add powdered sugar and pure vanilla extract. Beat for 2 minutes until fully incorporated and creamy.
- Whip cold heavy whipping cream to stiff peaks in a separate bowl, about 3–4 minutes on high speed.
- Gently fold the whipped cream into the cream cheese mixture in two additions until smooth and fluffy. Spread evenly over the cooled crust.
- Refrigerate the cheesecake for at least 4 hours or overnight until fully set. Keep it covered to protect the surface.
- Whip the remaining heavy whipping cream with powdered sugar and vanilla extract to stiff peaks. Transfer to a piping bag fitted with a star tip.
- Pipe rows of whipped cream across the top of the cheesecake to form the stripes. Use steady pressure for even lines.
- Arrange sliced strawberries in alternating rows between whipped cream stripes to create the red stripes of the flag. Place them snugly for full color coverage.
- Create the top-left blue rectangle using blueberries, pressing them gently and arranging them in neat rows. Keep the edges tidy so the star field looks defined.
- Refrigerate until ready to serve. Slice and serve cold.