Air fryer BBQ chicken comes out with the kind of sticky, bronzed skin that usually takes a grill or a long oven roast to achieve, but it gets there in under 20 minutes. The thighs stay juicy because the air fryer moves hot air all around the chicken instead of drying the surface out first, and the BBQ sauce turns into a lacquer instead of sliding off into a watery puddle.
Bone-in, skin-on thighs are the right cut here. They’ve got enough fat to stay moist while the skin renders and crisps, and the glaze has something substantial to cling to. The key is to start with dry skin, season it well, and wait until the chicken is mostly cooked before brushing on the sauce. If you add BBQ sauce too early, the sugars can burn before the chicken is done.
Below, I’ll walk you through the timing that gives you crisp skin, a glossy finish, and chicken that’s cooked through without guessing.
The skin got crisp and the BBQ sauce turned sticky instead of burning. I liked that the glaze went on at the end because the chicken stayed juicy and the flavor was smoky all the way through.
Air fryer BBQ chicken with sticky caramelized skin and juicy thighs for a fast weeknight dinner
The Reason the Sauce Waits Until the Chicken Is Nearly Done
BBQ sauce is full of sugar, and sugar behaves differently in an air fryer than it does on a grill. Hot circulating air can push it from glossy to scorched in a hurry, especially if it’s on the chicken for the entire cook. That’s why the first stretch is all about cooking the thighs through and rendering the skin, then the sauce goes on once the meat has most of the time it needs.
The other mistake people run into is crowding the basket. If the thighs are stacked or touching too much, the skin steams instead of crisping, and the sauce turns loose instead of setting. One layer, skin-side down first, gives the fat a chance to render before the final glaze seals everything in.
What Each Ingredient Is Actually Doing in This Dish
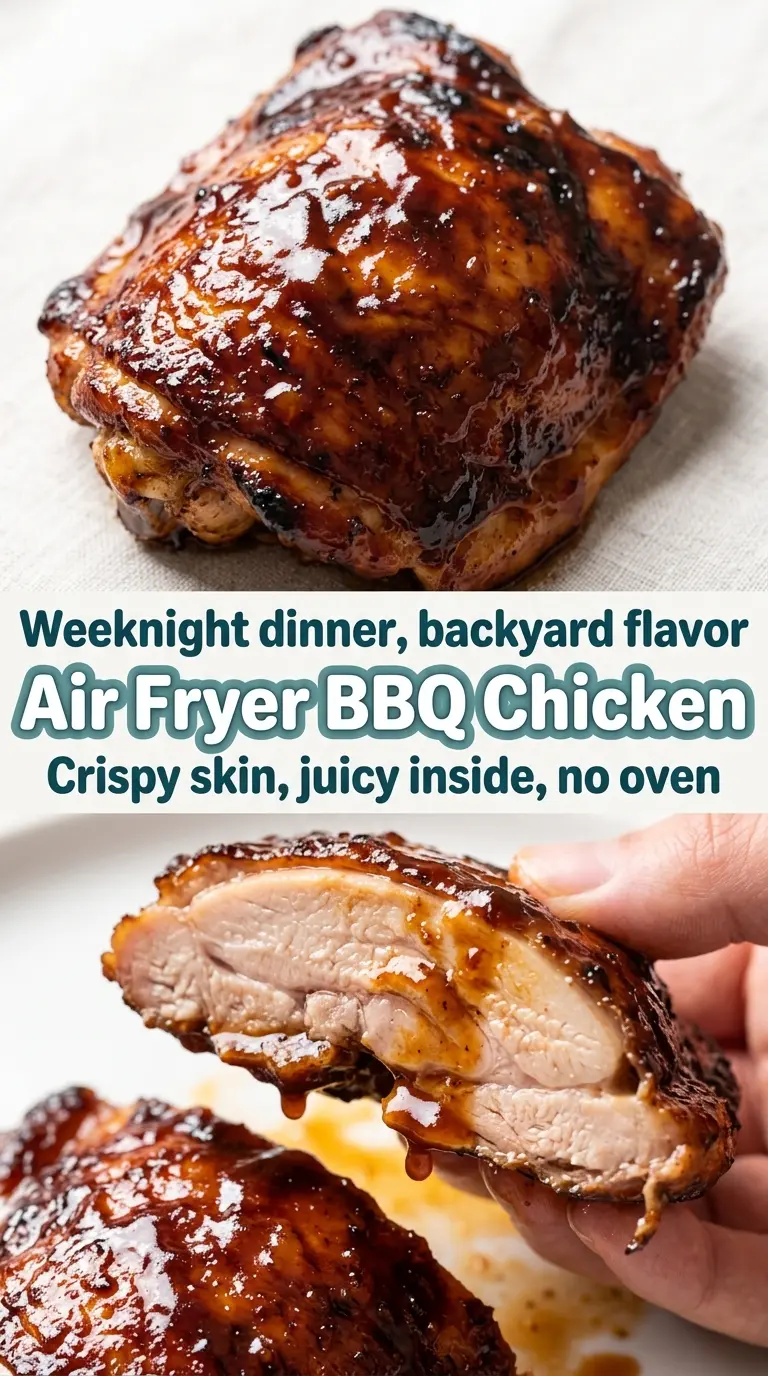
- Bone-in, skin-on chicken thighs — These stay moist in the air fryer and give you enough fat for the skin to crisp without drying out. Boneless thighs work, but they cook faster and won’t give you the same rich, meaty result.
- Smoked paprika — This adds the smoky backbone that makes the chicken taste like it picked up some grill flavor even though it never left the counter. If you don’t have it, regular paprika works, but the finished chicken will taste flatter.
- BBQ sauce — Use a sauce you already like on the table, since it concentrates as it cooks. If yours is very sweet, keep a closer eye on the final 2 minutes so the sugars don’t darken too fast.
- Olive oil — A thin coating helps the seasoning cling and gives the skin a head start on browning. Don’t skip it unless your sauce is oily enough to take over that job, which most aren’t.
Getting the Skin Crisp Before the Glaze Goes On
Season and Dry the Chicken
Pat the thighs dry with paper towels before you season them. Moisture on the skin is the enemy of crisping, and if the thighs go into the basket damp, the first few minutes are spent steaming the surface instead of rendering it. Rub the chicken with oil and the spice mixture until every part looks lightly coated, especially around the edges and under any folds in the skin.
Give the Air Fryer a Head Start
Preheat the air fryer for a few minutes before the chicken goes in. A hot basket helps the skin start tightening right away, which matters more here than with many other recipes. Lay the thighs in a single layer with space between them so the hot air can circulate and brown the skin instead of trapping moisture.
Flip, Brush, and Finish
Start the thighs skin-side down, then flip them skin-side up for the sauce step. That first side needs direct contact with the basket so the fat can render properly. Brush on the BBQ sauce after the flip, then cook until the glaze looks thicker and darker at the edges and the chicken hits 165°F in the thickest part. A final quick brush and two-minute blast gives you that sticky top layer that clings when you cut in.
Rest Before Serving
Let the chicken sit for about 5 minutes before you serve it. If you cut in immediately, the juices run out and the sauce slides around instead of settling into the skin. The rest also gives the glaze a minute to set, so each thigh comes out glossy instead of wet.
How to Adapt This for Bigger Batches, Different Sauces, and No Pork-Friendly Sides
Use boneless thighs for a faster dinner
Boneless, skinless thighs cook faster and work well if you want dinner on the table in a hurry. You’ll lose the crackly skin and some of the rich rendered fat, so the result is more saucy than crisp, but the meat still stays tender.
Make it gluten-free with a sauce check
The chicken itself is naturally gluten-free, but BBQ sauce is where gluten can sneak in. Use a sauce labeled gluten-free, and the method stays exactly the same.
Swap in a spicy BBQ sauce
A spicy sauce works well here because the air fryer concentrates the heat along with the sweetness. Just watch the last few minutes closely, since sauces with more sugar and chili can darken faster on the edges.
Double the batch without steaming the skin
Cook in batches if needed and keep the finished thighs on a rack instead of stacking them on a plate. Stacking traps steam, and that’s the fastest way to lose the crisp skin you just worked for.
Storage and Reheating
- Refrigerator: Store in an airtight container for up to 4 days. The skin softens as it sits, but the flavor holds up well.
- Freezer: Freeze cooked thighs for up to 2 months. Wrap them well and thaw in the fridge before reheating so the glaze doesn’t weep.
- Reheating: Reheat in the air fryer at 350°F until hot, usually 5 to 7 minutes. The common mistake is microwaving, which turns the skin rubbery and makes the sauce loose.
Answers to the Questions Worth Asking
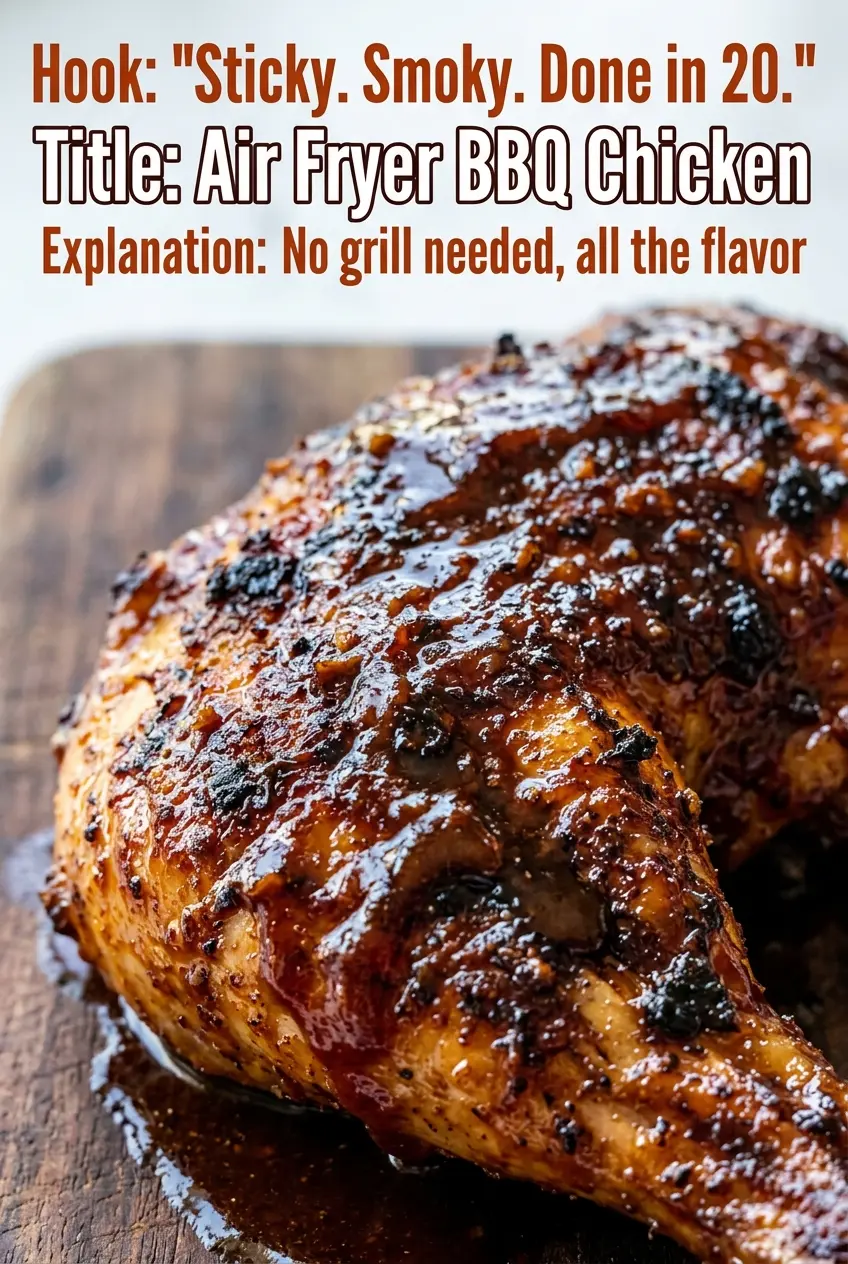
Air Fryer BBQ Chicken
Ingredients
Equipment
Method
- Pat the chicken thighs dry, then rub evenly with olive oil, smoked paprika, garlic powder, onion powder, kosher salt, and black pepper until fully coated.
- Preheat the air fryer to 380°F for 3 minutes so it’s hot and ready for crisping.
- Arrange the chicken skin-side down in the basket in a single layer and air fry at 380°F for 10 minutes, until the fat begins to render and the surface sets.
- Flip the thighs skin-side up, brush generously with 1/3 cup BBQ sauce, and air fry at 380°F for 8–10 minutes until the internal temperature reaches 165°F and the skin is deeply caramelized.
- Brush with the remaining BBQ sauce and air fry at 380°F for 2 more minutes to set a sticky, glossy finish.
- Rest the chicken for 5 minutes so the juices settle, then scatter with fresh parsley and serve warm.