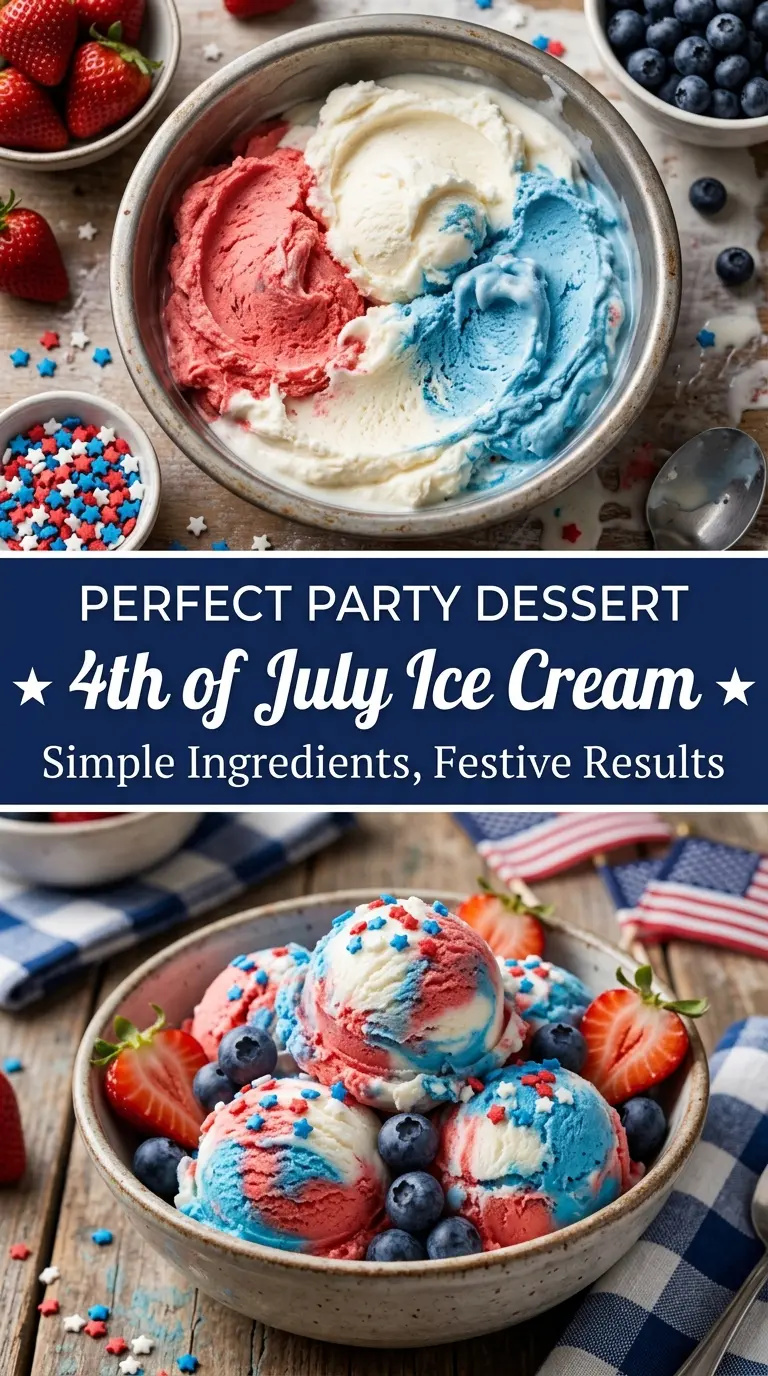
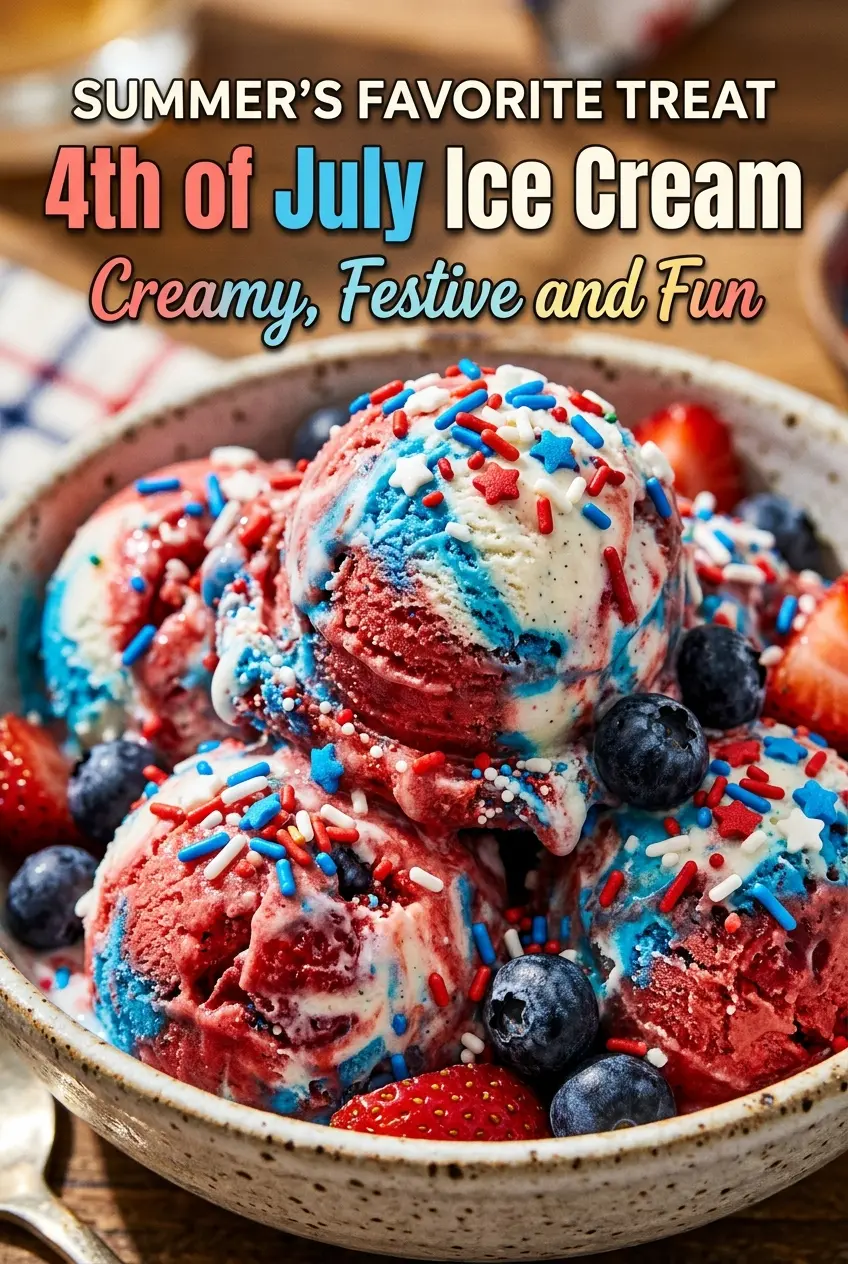
Big scoops of 4th of July Ice Cream hit all the marks at once: creamy vanilla, bright red and blue swirls, and enough festive crunch from the sprinkles to keep every bite interesting. The texture stays light and scoopable instead of icy, which matters when the dessert needs to sit out for a cookout or parade table and still look good by the time everyone grabs a bowl.
The trick is folding whipped cream into sweetened condensed milk instead of churning a custard base. That keeps the mixture smooth and rich without the ice crystals that can sneak into no-churn ice cream if the cream is underwhipped or the mix is stirred too aggressively. The colors stay sharper, too, when you tint the portions after the base is fully combined instead of stirring food coloring directly into the whole bowl.
Below, you’ll find the easiest way to layer the colors so they swirl instead of blending into one muddy shade, plus the little timing detail that keeps the fruit from freezing into hard little stones.
The texture stayed creamy even after a few hours in the freezer, and the red and blue layers swirled beautifully without turning into one color. The berries on top gave it a fresh finish that kept it from tasting too sweet.
Like this red, white, and blue no-churn ice cream? Save it to Pinterest for your next July 4th dessert table.
The No-Churn Trick That Keeps This Ice Cream Creamy
The biggest mistake with no-churn ice cream is rushing the folding step. If you beat the whipped cream into the condensed milk mixture, the base deflates and freezes denser than it should. Fold gently with a spatula and stop as soon as you no longer see streaks of plain cream. That air is what gives the finished ice cream a soft scoop instead of a brick-like freeze.
The other thing that matters here is the fruit. Fresh strawberries and blueberries work best when they’re diced small and patted dry, because extra juice can make the swirl muddy and icy. The sprinkles add color and crunch, but they’re best added near the top of the layers so they don’t dissolve into the base while it freezes.
What Each Ingredient Is Actually Doing in This Dish
- Heavy whipping cream — This is the structure of the ice cream. Whip it to stiff peaks so it holds air, but stop before it turns grainy or starts heading toward butter. If you only have whipping cream, it’ll work, but the finished texture won’t be quite as rich.
- Sweetened condensed milk — This gives sweetness and keeps the base soft enough to scoop straight from the freezer. There isn’t a true one-for-one substitute here in a no-churn recipe; replacing it with regular milk or cream changes the chemistry and usually leads to a icier result.
- Vanilla extract — Vanilla gives the base its classic ice cream flavor and keeps the colored layers from tasting like plain sweet cream. Use pure vanilla if you have it, since the flavor carries through after freezing.
- Red and blue food coloring — Gel coloring gives the cleanest color without thinning the base. Liquid coloring works in a pinch, but you’ll need more of it and the shade can look lighter after freezing.
- Fresh strawberries and blueberries — These add a fresh pop against the rich cream, but they should be chopped small so they don’t freeze into big hard bites. If your berries are very juicy, pat them dry first.
- Sprinkles — They’re there for texture and color, not just decoration. Use a sturdy jimmies-style sprinkle if you can, since tiny nonpareils can bleed more easily into the cream.
How to Layer the Colors So the Swirl Stays Distinct
Whipping the Base to the Right Peak
Whip the cream until it holds a firm peak that stands straight or barely curls at the tip. Underwhipped cream won’t trap enough air, and the final ice cream turns dense. Overwhipped cream gets stiff and starts to look slightly curdled, which makes folding harder and breaks the smooth texture you want.
Folding Without Deflating the Cream
Stir the condensed milk and vanilla together first, then add the whipped cream in two or three additions. Use a wide spatula and cut down through the center, then sweep up from the bottom and over the top. The base should look uniform and fluffy, not streaky or loose.
Creating the Red, White, and Blue Layers
Divide the mixture into three bowls. Leave one plain, tint one red and one blue, and then spoon the colors into a loaf pan in alternating patches rather than exact stripes. Drag a knife through the top once or twice to swirl it; too much stirring blends the colors into purple and gray instead of keeping that patriotic look.
Freezing Until Scoopable
Scatter the berries and sprinkles over the top, press them in lightly, and freeze the pan for at least 6 hours. Overnight is even better if you want cleaner slices or firmer scoops. If the pan goes in while uncovered for the first hour, the surface can dry out, so keep it wrapped well as soon as you’ve finished shaping it.
How to Adapt This for Different Crowds and Diets
Make it dairy-free with coconut cream
Use full-fat coconut cream in place of the heavy cream and a dairy-free sweetened condensed milk substitute. The texture will still be creamy, but it will pick up a light coconut note, which works nicely with the berries and vanilla.
Skip the food coloring and lean on fruit
If you’d rather avoid dye, leave the base white and use extra strawberries and blueberries in distinct layers. You won’t get the same bold red and blue stripes, but the dessert tastes fresher and still reads festive.
Turn it into a bigger party pan
Double the recipe and freeze it in a 9×13-inch pan if you’re serving a crowd. The wider surface makes it easier to scoop, but it also freezes a little faster, so start checking the edges after about 5 hours.
Storage and Reheating
- Refrigerator: Not recommended. This is best kept frozen, and the texture turns loose fast once it thaws.
- Freezer: Store tightly covered for up to 2 weeks. After that, the color stays fine but the texture can start to pick up ice crystals.
- Reheating: Don’t reheat. For the best scoop, let the container sit at room temperature for 5 to 10 minutes before serving so the edges soften without melting the whole pan.
Answers to the Questions Worth Asking
4th of July Ice Cream
Ingredients
Equipment
Method
- Whip the heavy whipping cream until stiff peaks form, keeping the mixer running until the cream holds a sharp peak. The texture should look thick and glossy with peaks that don’t slump.
- In a separate bowl, combine sweetened condensed milk and vanilla extract until smooth and fully blended. Scrape the bowl so no vanilla streaks remain.
- Fold the whipped cream into the condensed milk mixture gently until no white streaks remain. Stop folding as soon as it’s uniform to keep the mixture airy.
- Divide the mixture into three portions so you can color them evenly. Aim for portions that look roughly the same size.
- Leave one portion white, keeping it plain for the signature red-white-blue look. Set it aside so it stays scoopable and thick.
- Tint one portion red using red food coloring and mix until the color is consistent. Watch for streaks and keep mixing until the red is even.
- Tint another portion blue using blue food coloring and mix until the color is consistent. The blue should look uniform, not marbled.
- Layer the colors into a loaf pan, alternating red, white, and blue in bands. Keep the layers thick so they show through after freezing.
- Swirl gently with a knife to create ribboned streaks. Make a few slow passes without overmixing so the layers remain visible.
- Add red, white, and blue sprinkles, diced strawberries, and fresh blueberries over the top. Sprinkle evenly so each scoop has pops of fruit and color.
- Freeze for at least 6 hours until firm and scoopable. A fully frozen center with no soft spots indicates it’s ready.
- Scoop and serve right away for the best creamy texture. If it hardens too much, let it stand at room temperature for a few minutes.