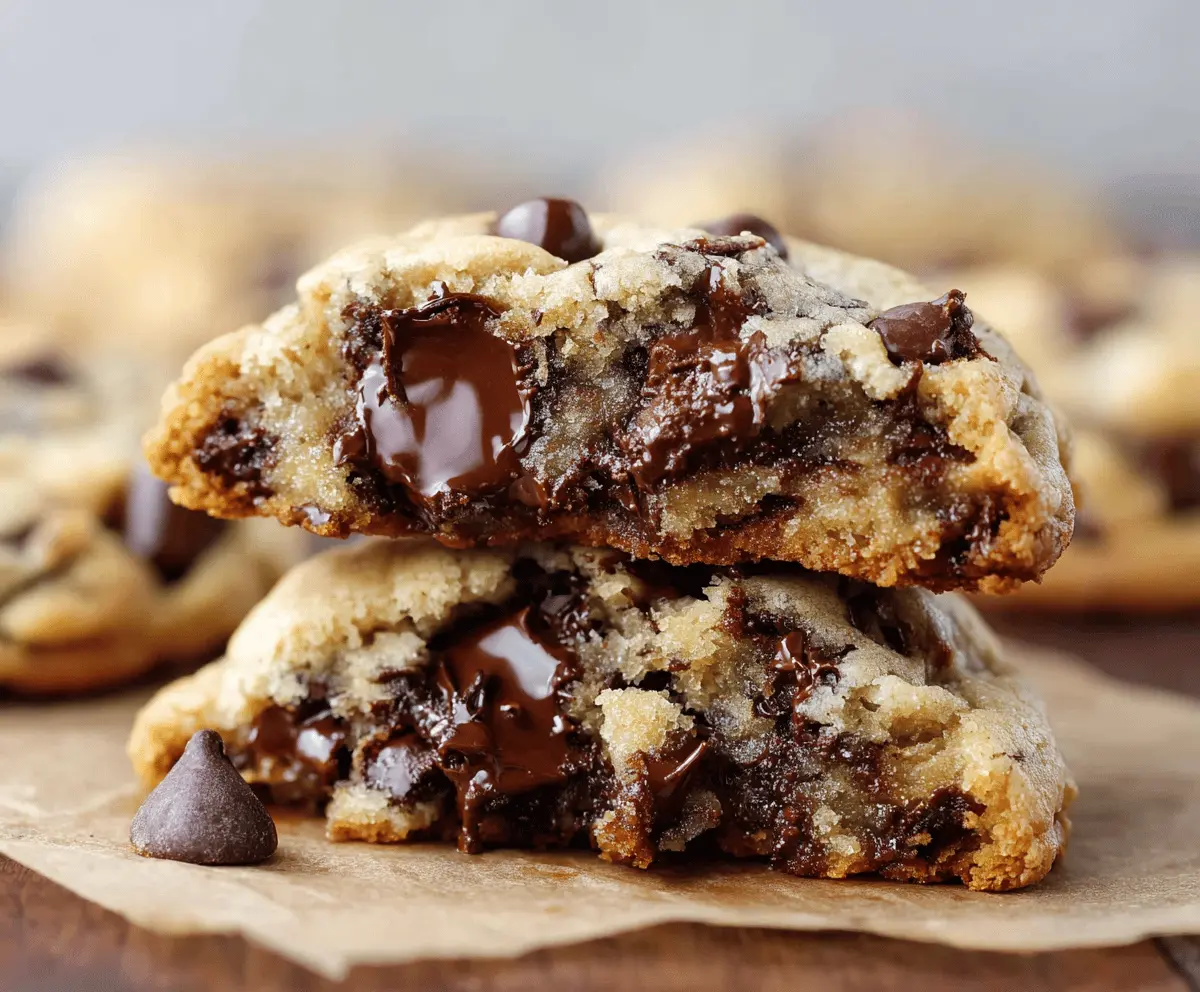
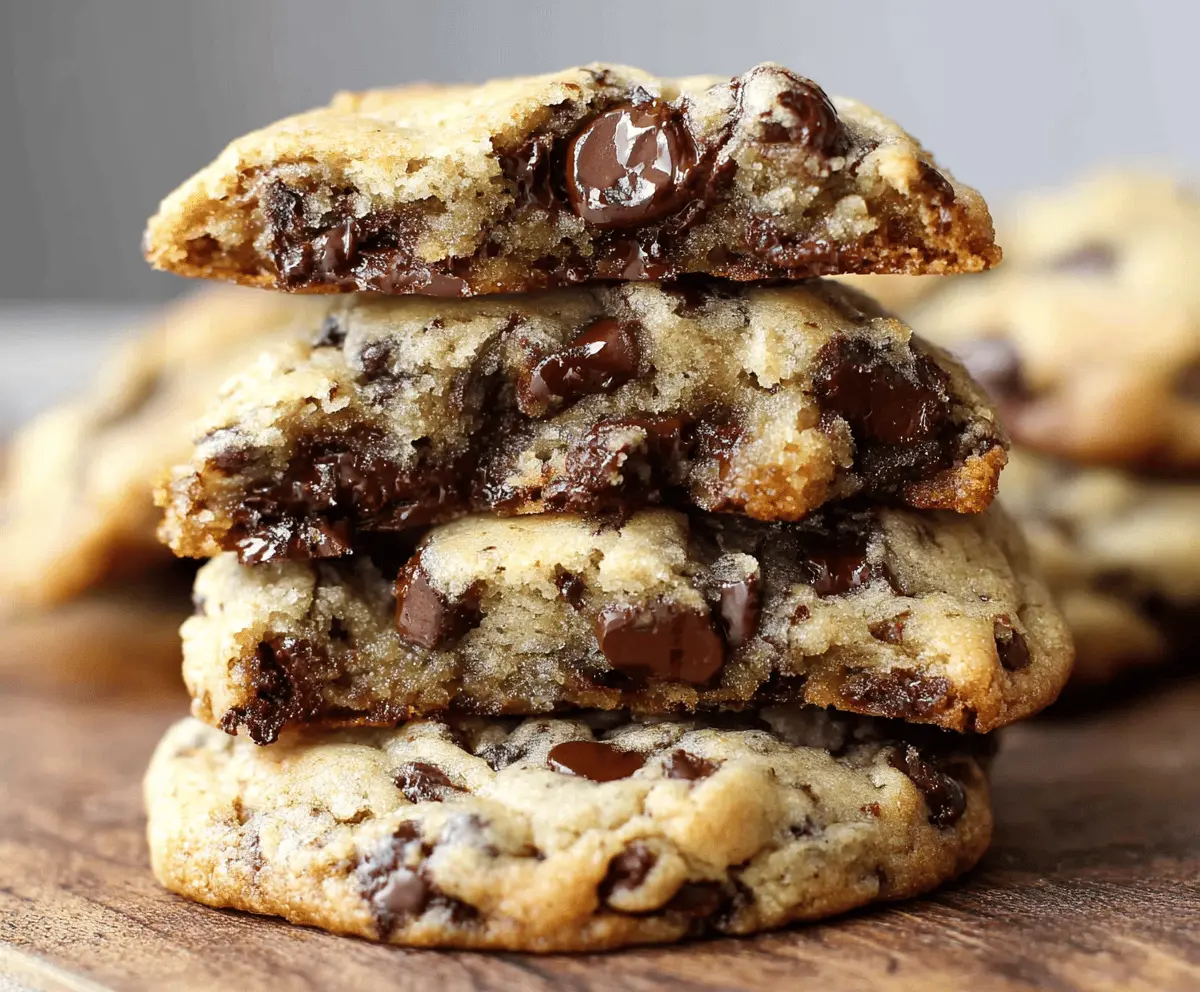
These Ultra Thick Bakery Style Chocolate Chip Cookies are exactly what you want when you’re craving that perfect cookie. Imagine crispy edges that give way to soft, gooey centers loaded with melty chocolate chips. They have that classic bakery feel, but you can make them right at home whenever a sweet tooth strikes.
I love making these cookies because they’re super satisfying and almost impossible to eat just one of. The thick dough means each cookie is a little chunk of joy, and the balance of crispy and gooey keeps things interesting with every bite. A little trick I’ve found is to chill the dough before baking—this helps the cookies stay thick and not spread too much, keeping that bakery-style look and texture.
My favorite way to enjoy these cookies is fresh out of the oven with a cold glass of milk nearby. They’re also perfect for sharing with friends or family during cozy get-togethers. Whenever I bake these, the house fills with that warm, comforting smell, and it never fails to bring a smile to everyone’s face. Give them a try—you might just fall in love with your new go-to cookie recipe!
Key Ingredients & Substitutions
Butter: Using softened but cool unsalted butter helps the dough hold its shape and gives those crispy edges. If you only have salted butter, just skip or reduce added salt.
Sugars: The mix of granulated and brown sugar balances crispness and chewiness. Brown sugar adds moisture and depth. For a lighter chew, swap half the brown sugar with coconut sugar.
Flour: All-purpose flour works well here. If you want thicker cookies, you can replace 2-4 tablespoons of flour with bread flour for more chew.
Chocolate chips: Semi-sweet chips or chunks are classic, but you can swap for dark chocolate or milk chocolate depending on your taste preferences.
Egg and egg yolk: Adding an extra egg yolk boosts richness and helps keep the center gooey without making the dough too wet.
How Do You Get Crispy Edges and Gooey Centers Every Time?
The balance between crispy edges and gooey centers mostly lives in these steps:
- Chill the dough. Resting it at least an hour lets the fats firm up and helps cookies keep their shape during baking so they don’t spread too thin.
- Use the right baking time. Bake until edges are firm and golden but centers still look soft and slightly underdone. The centers will finish cooking on the hot sheet as they cool.
- Portion big cookie dough balls. Use a large scoop for thick cookies that bake up with a tender center.
- Don’t overmix. Mixing just enough keeps cookies tender; overmixing develops gluten and can make cookies tough.
- Use parchment or silicone mats to promote even baking and easy cookie removal.
Following these tips will help you nail bakery-style cookies with that perfect combo of texture and gooey chocolate pockets every time!
Equipment You’ll Need
- Baking sheet – a rimmed one helps keep cookies in place and catch any drips.
- Parchment paper or silicone baking mat – prevents sticking and helps cookies bake evenly.
- Mixing bowls – one for dry ingredients, one for wet; keeps things organized.
- Electric mixer or sturdy spoon – to cream butter and sugars smoothly.
- Large cookie scoop or spoon – for shaping even, thick cookie dough balls easily.
- Wire cooling rack – lets cookies cool without getting soggy underneath.
Flavor Variations & Add-Ins
- Swap semi-sweet chips for white chocolate or butterscotch for a sweeter twist.
- Add 1/2 cup chopped nuts like walnuts or pecans for crunch and nuttiness.
- Mix in 1/2 cup dried cranberries or cherries for a chewy, tart contrast.
- Sprinkle a pinch of cinnamon or espresso powder into the dough for warm, deep flavor.
Ultra Thick Bakery Style Chocolate Chip Cookies – Crispy Edges, Gooey Centers
Ingredients You’ll Need:
- 2 1/4 cups (280g) all-purpose flour
- 1 teaspoon baking soda
- 1/2 teaspoon salt
- 1 cup (226g) unsalted butter, softened but cool
- 3/4 cup (150g) granulated sugar
- 3/4 cup (165g) packed light brown sugar
- 1 large egg + 1 egg yolk, at room temperature
- 2 teaspoons pure vanilla extract
- 2 cups (340g) semi-sweet chocolate chips or chunks
- Optional: flaky sea salt for sprinkling
How Much Time Will You Need?
Plan for about 15 minutes of active preparation time, plus at least 1 hour of chilling the dough to ensure thick, perfect cookies. Then baking takes about 12 to 15 minutes per batch. Cooling requires another 5 to 10 minutes before enjoying. Total time is roughly 1 hour 30 minutes to 2 hours including chilling and baking.
Step-by-Step Instructions:
1. Preheat Oven & Prepare Baking Sheets:
Set your oven to 350°F (175°C). Line baking sheets with parchment paper or silicone baking mats so cookies bake evenly and don’t stick.
2. Mix Dry Ingredients:
In a medium bowl, whisk together the all-purpose flour, baking soda, and salt. Set this bowl aside for later.
3. Cream Butter and Sugars:
In a large mixing bowl, beat the softened but cool butter with the granulated sugar and brown sugar until the mixture looks creamy and smooth, about 3 to 4 minutes.
4. Add Egg and Vanilla:
Add the large egg, egg yolk, and vanilla extract to the butter and sugar mix. Beat until everything is combined evenly.
5. Combine Wet and Dry Ingredients:
Slowly add the flour mixture to your wet ingredients. Stir gently until the dough just comes together. Avoid overmixing, which can make cookies tough.
6. Fold in Chocolate Chips:
Carefully fold in the chocolate chips or chunks, making sure they are evenly spread through the dough.
7. Chill the Dough:
Cover the bowl with plastic wrap and pop it in the fridge for at least 1 hour, or up to 24 hours. Chilling helps the cookies hold their thick shape and boosts flavor.
8. Shape the Cookies:
When ready, scoop out dough balls roughly 3 tablespoons each onto your prepared baking sheets, spacing them well to allow for spreading.
9. Bake the Cookies:
Bake for 12-15 minutes until the edges turn golden brown, but the centers still look soft and slightly underbaked. The cookies will firm up further as they cool.
10. Cool and Serve:
Let the cookies cool on the baking sheet for 5-10 minutes before moving them to a wire rack to cool completely. Sprinkle lightly with flaky sea salt if desired to add a lovely flavor contrast.
11. Enjoy Your Cookies!
Enjoy the cookies warm for that deliciously gooey center experience — they’re perfect alongside a cold glass of milk or your favorite drink.
Can I Use Frozen Cookie Dough?
Yes! You can freeze the dough balls on a baking sheet, then transfer them to a freezer-safe bag. When ready to bake, thaw in the fridge overnight and bake as directed. You might need to add a minute or two to the baking time if baking straight from frozen.
How Should I Store Leftover Cookies?
Store leftovers in an airtight container at room temperature for up to 4 days. For longer storage, freeze baked cookies in a sealed bag for up to 3 months. Thaw at room temperature before serving.
Can I Substitute the Butter?
Butter gives these cookies their signature flavor and texture, but you can use a 1:1 substitution of margarine or vegan butter for a dairy-free option. Avoid using oil as it will change the texture significantly.
What Can I Do to Make the Cookies Thicker?
Chilling the dough for at least 1 hour is key. You can also slightly reduce the butter or bake at a slightly lower temperature to prevent spreading. Using bread flour instead of some all-purpose flour can add chew and thickness too.