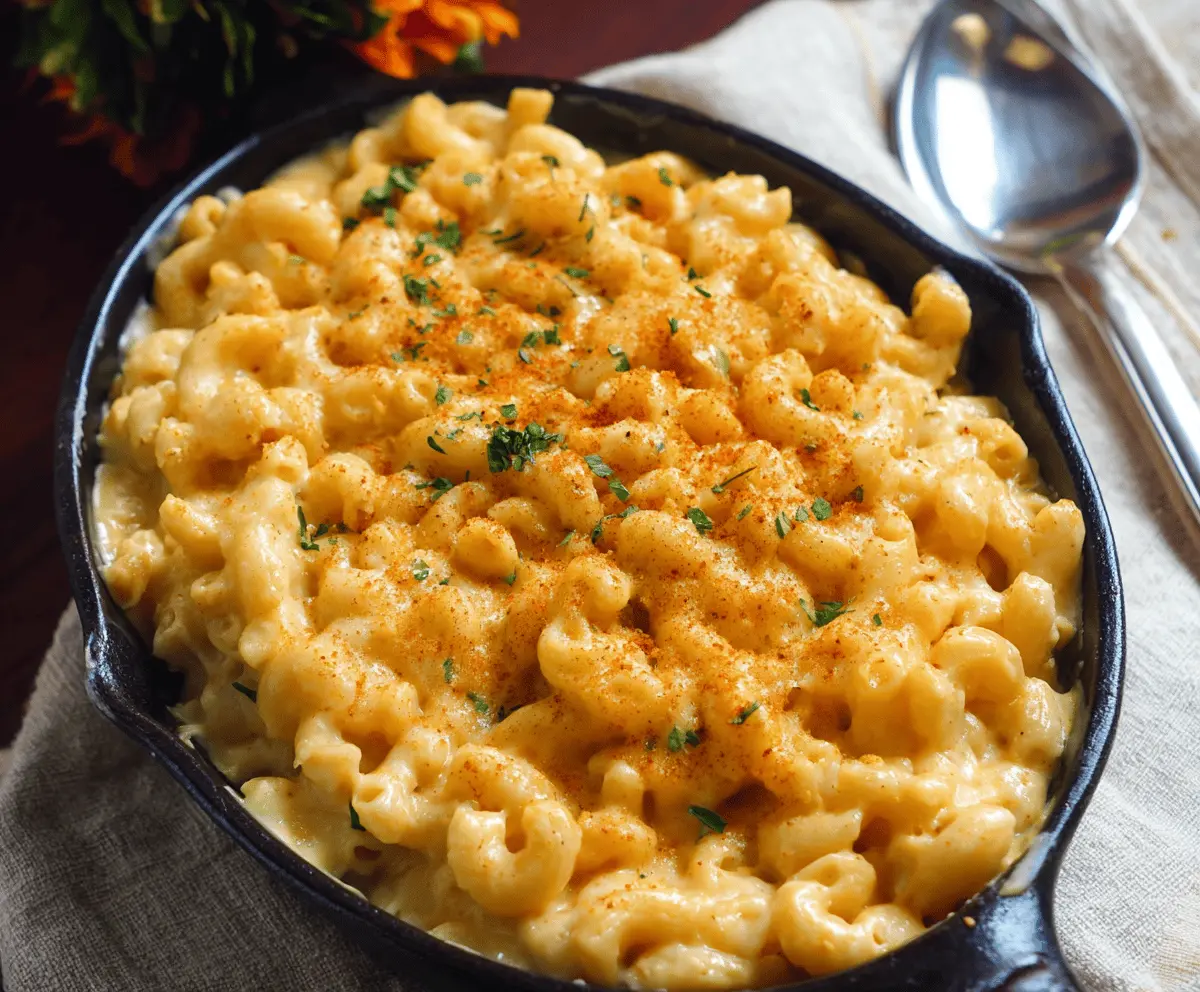
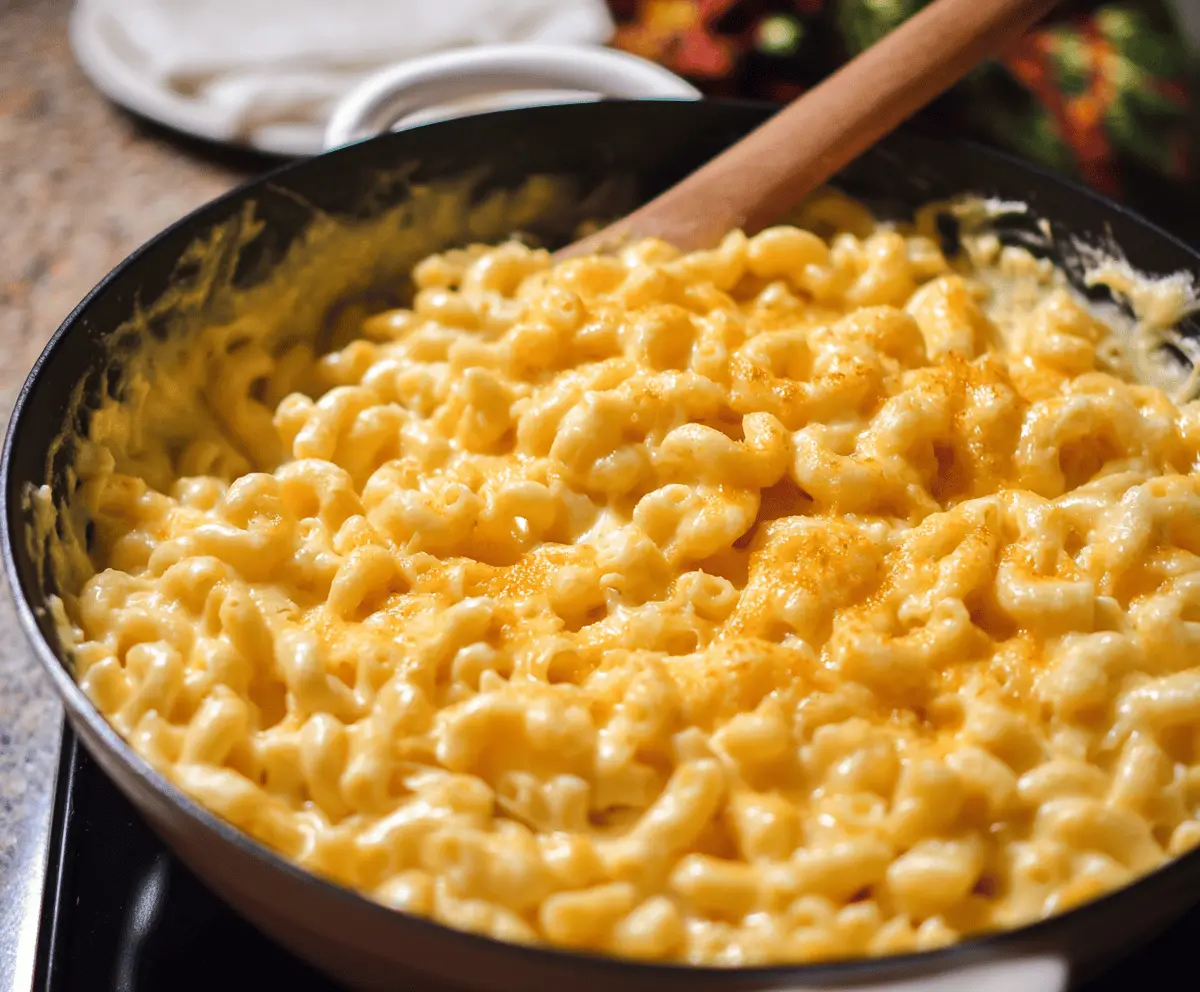
Stovetop Gouda Mac and Cheese is creamy, cheesy, and just a little bit smoky thanks to the rich gouda cheese melted perfectly into every bite. It’s super smooth and velvety, with tender pasta that holds onto the cheesy sauce like a dream. This dish feels like a warm hug on a plate, perfect for any day you want something comforting and quick.
I love making this mac and cheese when I want something tasty that doesn’t take all afternoon. It’s ready in no time, which means more time to kick back and relax. One little tip I’ve picked up: stirring in a bit of garlic powder or smoked paprika can add a fun extra flavor boost that makes this simple dish stand out even more.
My favorite way to serve this is straight from the stovetop while it’s still warm and gooey, maybe with a side of steamed veggies or a fresh salad to balance it out. Gouda gives it that special touch that everyone always asks for seconds, and I find it’s the kind of meal that quickly becomes a family favorite wherever I bring it.
Key Ingredients & Substitutions
Elbow Macaroni: This classic pasta shape works great because its curves hold onto sauce well. If you can’t find elbow macaroni, try shells, small rotini, or cavatappi for fun texture.
Smoked Gouda Cheese: The star of this recipe, smoked gouda offers a mild smokiness and creamy melt. If unavailable, regular gouda or a mild smoked cheddar can work too.
Sharp Cheddar Cheese: Adds depth and tang to balance the creamy gouda. You can swap with a medium cheddar or even fontina for a smoother taste.
Butter and Flour (Roux): Key for thickening the sauce. For a gluten-free option, replace flour with cornstarch or a gluten-free blend.
Milk: Whole milk makes the sauce creamy and rich. You can use 2% milk or half-and-half for a lighter version, but avoid skim milk as it won’t thicken well.
How Do You Make the Cheese Sauce So Smooth and Creamy?
Getting a silky cheese sauce takes patience and gentle heat. Here’s how I do it:
- First, make a roux by cooking butter and flour for 1-2 minutes to get rid of the raw flour taste.
- Slowly add warm milk while whisking constantly to avoid lumps. Keep stirring until the sauce thickens and coats your spoon.
- Lower the heat before adding cheese—high heat can make cheese clump or separate.
- Add cheese gradually and stir gently until fully melted. Use shredded cheese, which melts more smoothly than blocks or slices.
These steps ensure a velvety sauce that clings nicely to your pasta without becoming grainy or greasy.

Equipment You’ll Need
- Large pot – for boiling the pasta; having plenty of water prevents sticking.
- Fine mesh strainer – helps drain pasta quickly without losing any.
- Medium saucepan or deep skillet – perfect for making the cheese sauce all in one pan.
- Whisk – essential to mix the roux and milk smoothly, avoiding lumps.
- Wooden spoon or silicone spatula – great for stirring the pasta into the cheese sauce without scratching your pan.
Flavor Variations & Add-Ins
- Stir in cooked crispy bacon or pancetta for a salty crunch that complements the smoky gouda.
- Add sautéed mushrooms or caramelized onions to bring an earthy sweetness and extra texture.
- Swap sharp cheddar with Gruyère or Fontina for a nuttier, creamier cheese blend.
- Mix in steamed broccoli or roasted red peppers for a colorful veggie boost and fresh flavor.
How to Make Stovetop Gouda Mac and Cheese?
Ingredients You’ll Need:
- 8 ounces elbow macaroni (about 2 cups)
- 3 cups whole milk (warmed slightly)
- 2 tablespoons unsalted butter
- 2 tablespoons all-purpose flour
- 1½ cups shredded smoked gouda cheese
- 1 cup shredded sharp cheddar cheese
- 1 teaspoon Dijon mustard (optional for tang)
- ½ teaspoon garlic powder
- Salt, to taste
- Freshly ground black pepper, to taste
- A pinch of smoked paprika (optional for garnish)
Time You’ll Need:
This recipe takes about 10 minutes to prep and 15 minutes overall to cook. The pasta boils quickly, and the creamy cheese sauce comes together in just a few minutes on the stovetop. Perfect for a fast and comforting meal.
Step-by-Step Instructions:
1. Cook the Pasta:
Boil the elbow macaroni according to the package directions until it is just al dente (tender but still a little firm). Drain the pasta and keep it ready while you prepare the sauce.
2. Make the Cheese Sauce:
In a large saucepan or skillet over medium heat, melt the butter. Stir in the flour and cook for 1-2 minutes, whisking constantly to form a smooth roux that bubbles but doesn’t brown.
Slowly pour in the warmed milk while whisking continuously. Keep whisking and cooking for 4-5 minutes, until the sauce thickens and coats the back of a spoon.
3. Add Cheese and Seasonings:
Lower the heat to low. Stir in the shredded smoked gouda and sharp cheddar cheese, mixing until all the cheese melts and the sauce is creamy and smooth.
Next, add the Dijon mustard (if using), garlic powder, salt, and pepper. Taste and adjust the seasonings as you like.
4. Combine Pasta and Sauce:
Add the drained macaroni to the cheese sauce. Gently stir to ensure all the pasta is evenly coated with the cheesy goodness.
5. Finish and Serve:
Remove from heat. For a little extra color and smoky flavor, sprinkle a pinch of smoked paprika on top. Serve the mac and cheese warm and enjoy its creamy, rich comfort.
Can I Use Frozen Pasta for This Mac and Cheese?
It’s best to use freshly cooked pasta for the creamiest results. If using frozen cooked pasta, thaw it completely and warm gently before mixing it into the cheese sauce to avoid excess moisture.
Can I Substitute Gouda with Another Cheese?
Yes! Smoked gouda has a unique flavor, but you can swap it for regular gouda, smoked cheddar, or fontina for a similar creamy texture. Just keep the total cheese amount the same.
How Do I Store Leftovers?
Store leftover mac and cheese in an airtight container in the fridge for up to 3 days. Reheat gently on the stove or microwave, adding a splash of milk to loosen the sauce if it thickens too much.
Can I Make This Ahead of Time?
You can prepare the cheese sauce and cook the pasta separately, then combine and reheat before serving. This helps save time, but the best texture comes from serving right after mixing.
