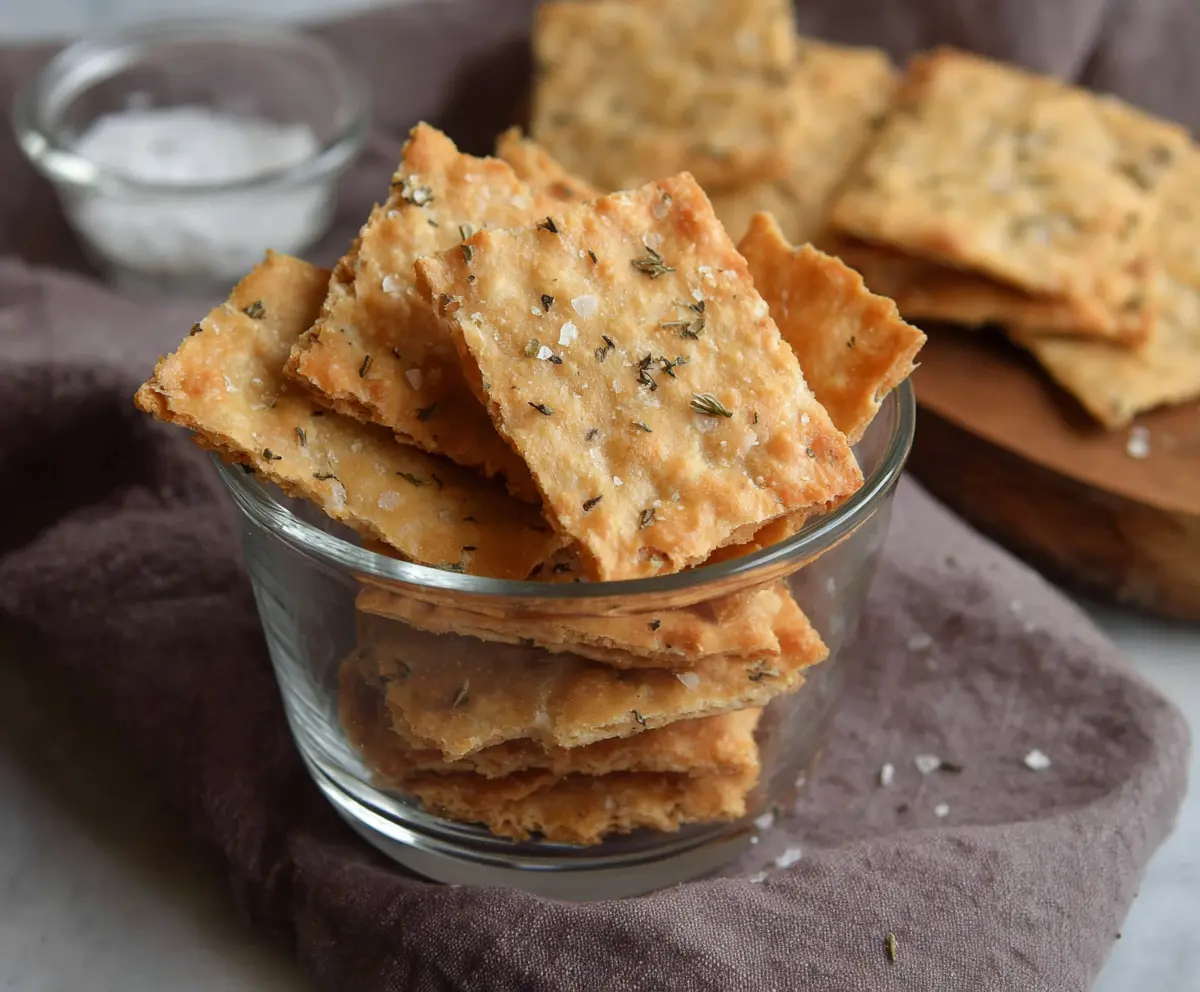
Sourdough Crackers made with just three simple ingredients—sourdough starter discard, flour, and olive oil—are a crunchy, crispy treat you can whip up in no time. These crackers have a wonderful tangy flavor from the sourdough and a satisfyingly light texture that makes them perfect for snacking or serving with cheese and dips.
I love making these crackers whenever I have extra sourdough starter lying around because it’s an easy way to reduce waste and create something delicious. They’re so simple that I often let my kids help roll out the dough and sprinkle on some salt or herbs. It feels like a little kitchen project and the best part is eating the results!
My favorite way to enjoy these crackers is alongside a little bowl of hummus or sliced cheese. They’re also great for packing in a lunchbox or bringing to a casual get-together. These crackers have become a staple in my kitchen because they’re both crunchy and flavorful, and I always feel good about using just three basic ingredients.
Key Ingredients & Substitutions
Sourdough starter discard: This is what gives the crackers their unique tangy flavor. You can use either fed or unfed discard. If you don’t have sourdough starter, you might try yogurt or buttermilk as an experiment, but the flavor won’t be quite the same.
All-purpose flour: This flour works best for structure and crispiness. For a gluten-free option, try a blend designed for baking, but expect a slightly different texture.
Olive oil: Olive oil adds richness and helps the crackers crisp up. If you want a different taste, vegetable oil or melted butter can work as substitutes.
Optional toppings: Flaky sea salt is my favorite for a nice crunch, and herbs like thyme or rosemary give extra flavor. Feel free to add chili flakes or sesame seeds to mix it up.
How Do You Roll Out the Dough Thinly Without It Sticking?
Rolling the dough very thin is key for crisp crackers. Here’s how to do it easily:
- Sprinkle the work surface and your rolling pin lightly with flour—this keeps the dough from sticking.
- Roll gently and evenly, turning the dough a quarter turn after each roll to keep it uniform.
- If the dough feels sticky, dust a little more flour but avoid adding too much or the crackers can get tough.
- Try rolling between two sheets of parchment paper for easy handling and cleaner work.
Taking your time here will pay off with perfectly crisp and even crackers that bake just right.

Equipment You’ll Need
- Baking sheet – this holds your crackers and lets them bake evenly and get crispy.
- Parchment paper – stops the crackers from sticking and makes cleanup easy.
- Rolling pin – helps you roll the dough thin and even for perfect crispiness.
- Knife or pizza cutter – for cutting the dough into cracker shapes before baking.
- Mixing bowl – to stir the dough ingredients together smoothly.
Flavor Variations & Add-Ins
- Add grated Parmesan cheese to the dough for a cheesy twist that bakes into every cracker.
- Mix in finely chopped rosemary or thyme for a fresh herbal flavor that pairs well with dips.
- Sprinkle everything bagel seasoning over the top before baking for a savory, nutty taste.
- Try adding a pinch of smoked paprika or chili flakes for a bit of smoky heat.
Sourdough Crackers Recipe (3 Ingredients!)
Ingredients You’ll Need:
- 1 cup (240g) active sourdough starter discard (unfed or fed)
- 1 cup (120g) all-purpose flour, plus extra for rolling
- 2 tablespoons olive oil
- Optional toppings: flaky sea salt, dried herbs (like thyme, rosemary, or oregano)
How Much Time Will You Need?
You’ll spend about 10-15 minutes preparing the dough and rolling it thin. Baking takes around 20-25 minutes, plus extra time to cool before breaking into crackers. Overall, you’ll be finished in about 40-45 minutes.
Step-by-Step Instructions:
1. Preheat and Prepare:
Set your oven to 350°F (175°C). Line a baking sheet with parchment paper so the crackers don’t stick and cleanup is easy.
2. Mix the Dough:
In a mixing bowl, stir together the sourdough starter discard, flour, and olive oil until a dough forms. If it feels sticky, add a bit more flour, a tablespoon at a time, until it’s easy to handle.
3. Roll Out the Dough:
Lightly flour your surface and rolling pin. Roll the dough out as thinly as you can — about 1/8 inch thick or less is perfect. Thin dough means crispier crackers.
4. Cut and Add Toppings:
Place the rolled dough on your prepared baking sheet. Using a knife or pizza cutter, score the dough into squares or rectangles so it’s easy to break into crackers later. Brush lightly with olive oil if you want, then sprinkle with flaky sea salt and dried herbs for extra flavor.
5. Bake and Cool:
Bake the dough for 20-25 minutes, until golden and crisp. Watch closely toward the end to make sure it doesn’t burn. Let the crackers cool completely on the baking sheet, then break along the scored lines into pieces.
6. Store and Enjoy:
Keep your crackers fresh by storing them in an airtight container at room temperature for up to one week. Serve with cheese, dips, or enjoy as a crunchy snack by themselves!
Can I Use Frozen Sourdough Starter Discard?
Yes! Just make sure to thaw it completely in the fridge overnight before using. Stir well to reincorporate any separated liquid before mixing your dough.
How Can I Make My Crackers Extra Crispy?
Roll the dough as thin as possible, about 1/8 inch or less. Baking longer at a slightly lower temperature can help dry them out without burning—just keep an eye on them.
Can I Add Different Flavors to the Crackers?
Absolutely! Try mixing in herbs, spices, or grated cheese before rolling. You can also sprinkle toppings like sesame seeds or chili flakes on top before baking for extra flavor.
What’s the Best Way to Store Leftover Crackers?
Store your crackers in an airtight container at room temperature for up to a week. Make sure they are completely cooled before storing to keep them crisp.