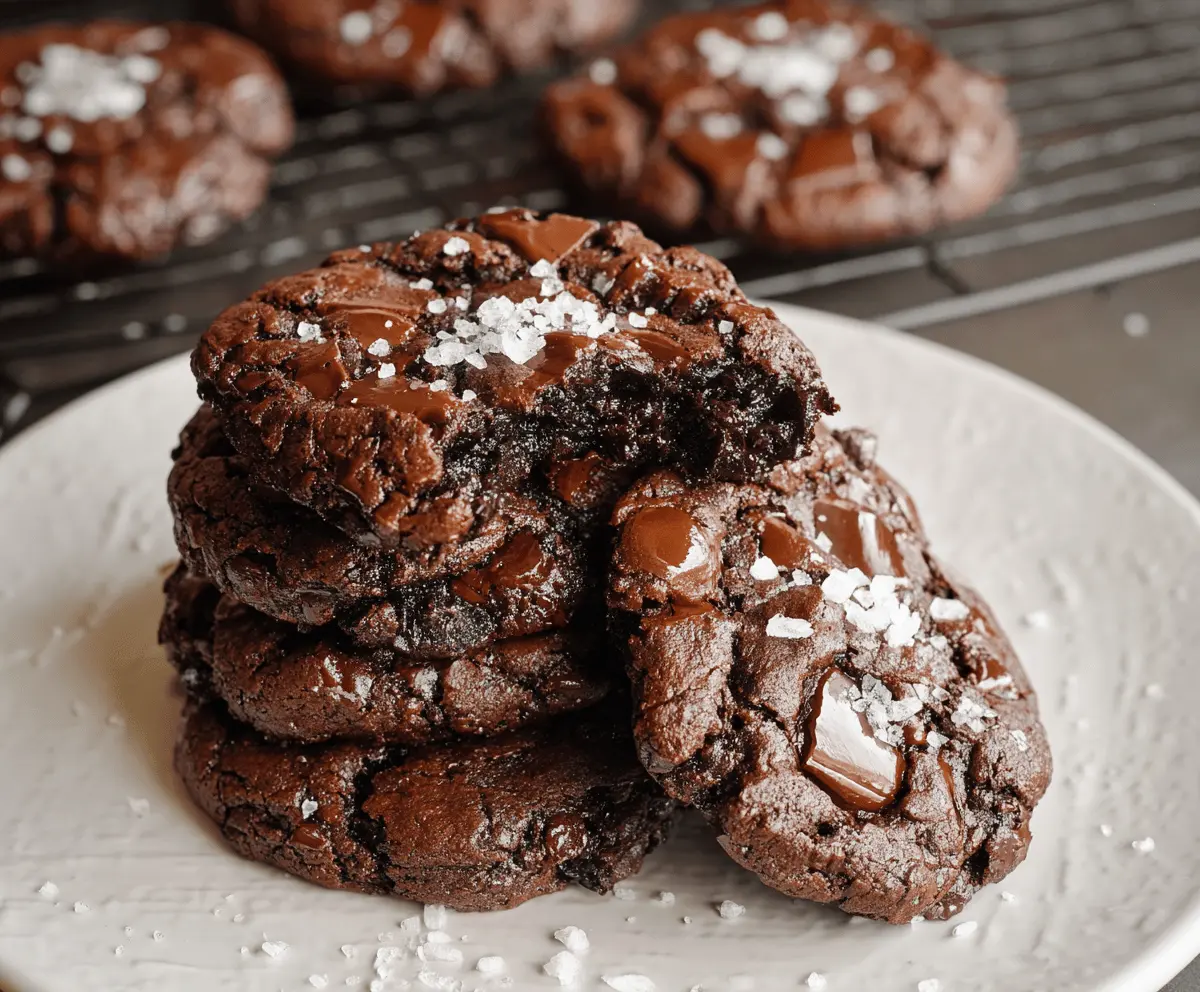
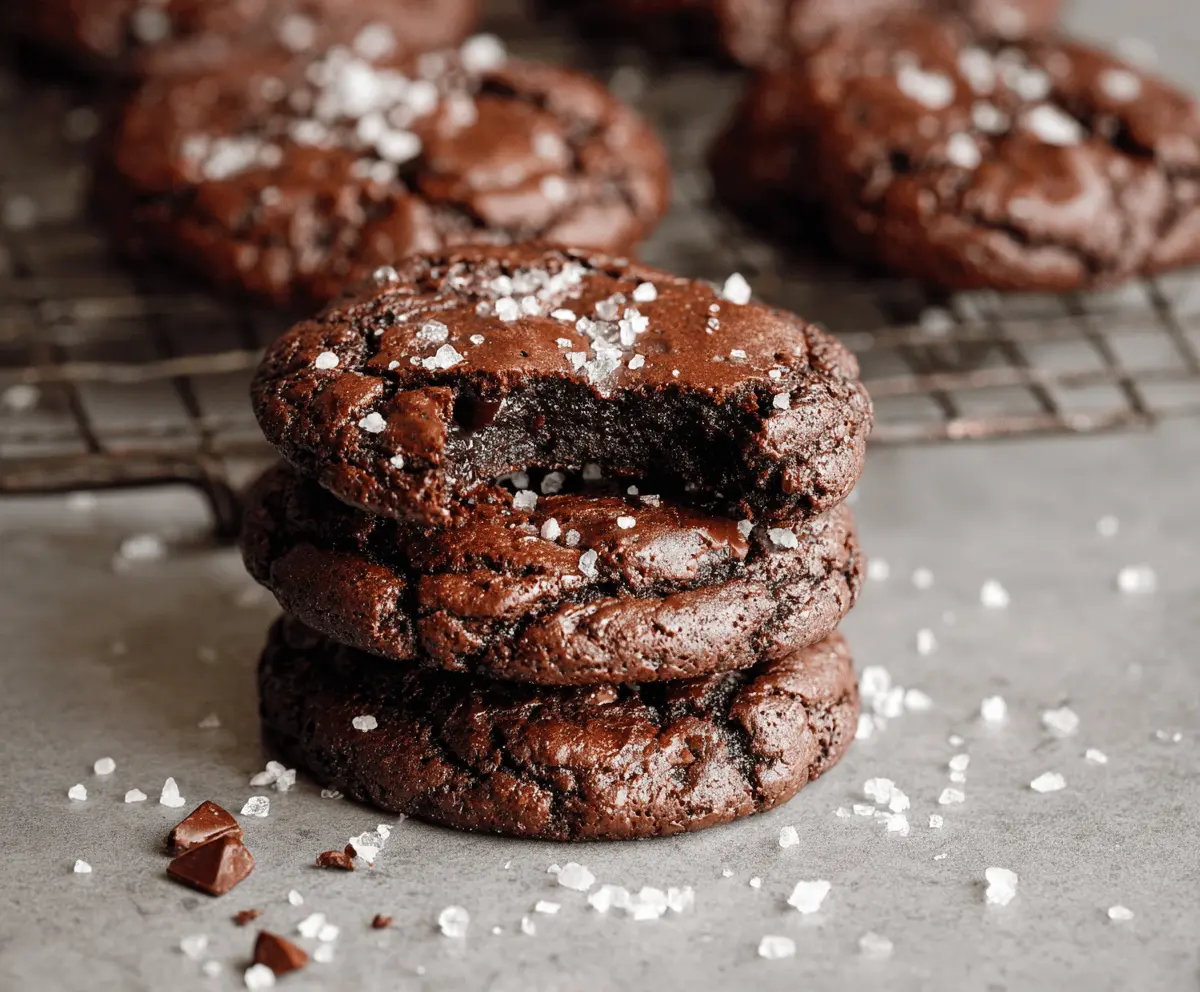
Salted Brownie Cookies are the perfect blend of chewy, fudgy brownies and classic cookies, all rolled into one delicious treat. With rich chocolate, a gooey center, and just the right sprinkle of sea salt on top, these cookies bring a wonderful balance of sweet and salty that always hits the spot.
I love making these cookies when I want something a little special but still easy to share. The salted finish really takes them up a notch, giving a tiny pop of flavor that makes every bite extra memorable. I often find myself sneaking a few before they even cool down because they’re just that tempting!
These cookies are great for sharing at gatherings or even just having on hand for a cozy afternoon snack. I like to enjoy them with a cold glass of milk or a warm cup of coffee—it’s a simple combo that never disappoints. They’re a sweet little treat that’s sure to make anyone’s day a bit brighter.
Key Ingredients & Substitutions
Butter & Chocolate: Using unsalted butter and good-quality semisweet or bittersweet chocolate makes these cookies rich and fudgy. If you prefer milk chocolate, the cookies will be sweeter but still tasty.
Sugars: Combining granulated and brown sugar balances sweetness and adds moisture. You can swap brown sugar for coconut sugar for a deeper flavor, but it may change the color.
Flour: All-purpose flour works best here for structure. For gluten-free options, try a 1:1 gluten-free flour blend, but texture might be a bit different.
Sea Salt: Don’t skip the coarse sea salt sprinkle—it contrasts the sweetness beautifully! Flaky finishing salt works well if coarse isn’t available.
How Do I Get That Perfect Fudgy and Chewy Texture?
The secret lies in how you melt and mix the ingredients:
- Melt butter and chocolate gently over simmering water to avoid burning or grainy texture.
- Mix sugars into the warm chocolate mixture while it’s still slightly warm so they dissolve well, helping a chewy center.
- Fold in flour just until combined—overmixing develops gluten, making cookies tough.
- Bake just until the tops are set and crackled but centers remain soft. Letting cookies cool on the baking sheet helps them firm up with the perfect chewy bite.
Following these tips, you’ll have cookies with a crisp edge and a meltingly soft middle, perfect with that burst of salt on top!

Equipment You’ll Need
- Heatproof mixing bowl and saucepan – perfect for melting chocolate and butter gently without burning.
- Whisk or wooden spoon – helps combine ingredients smoothly without overworking the batter.
- Cookie scoop or tablespoon – makes evenly sized cookies that bake consistently.
- Baking sheets lined with parchment paper or silicone mats – for easy clean-up and to keep cookies from sticking.
- Wire cooling rack – lets cookies cool evenly without becoming soggy on the bottom.
Flavor Variations & Add-Ins
- Add chopped walnuts or pecans for extra crunch and a nutty contrast to the chewy chocolate.
- Mix in white chocolate chips to add a sweet, creamy pop that pairs wonderfully with bittersweet chocolate.
- Sprinkle a dash of cinnamon or chili powder into the batter for a subtle warmth and spice kick.
- Try stirring in mini marshmallows just before baking for gooey, melty bites inside your cookies.
How to Make Salted Brownie Cookies?
Ingredients You’ll Need:
- 1/2 cup (115g) unsalted butter
- 8 oz (225g) semisweet or bittersweet chocolate, chopped
- 3/4 cup (150g) granulated sugar
- 1/4 cup (50g) brown sugar, packed
- 2 large eggs
- 1 teaspoon vanilla extract
- 1/2 cup + 2 tablespoons (70g) all-purpose flour
- 1/4 teaspoon baking powder
- 1/4 teaspoon salt
- Coarse sea salt, for sprinkling on top
How Much Time Will You Need?
This recipe takes about 10 minutes to prepare and 12-14 minutes to bake, plus a few minutes to cool the cookies. In total, expect about 25-30 minutes from start to finish, making it a quick and satisfying sweet treat!
Step-by-Step Instructions:
1. Prepare the Oven and Baking Sheets:
Preheat your oven to 325°F (163°C). Line your baking sheets with parchment paper or silicone baking mats so the cookies won’t stick.
2. Melt Butter and Chocolate:
Place the butter and chopped chocolate in a heatproof bowl over a pot of simmering water (double boiler). Stir gently until everything melts and is smooth. Remove from heat and let it cool slightly.
3. Mix in Sugars and Eggs:
Stir in granulated and brown sugar into the melted chocolate mixture until blended. Add the eggs one at a time, beating well after each. Mix in vanilla extract for flavor.
4. Combine Dry Ingredients:
In a separate bowl, whisk together flour, baking powder, and salt. Slowly fold these dry ingredients into the chocolate mixture. Mix just until combined without overmixing – the batter should be thick and fudgy.
5. Shape and Bake the Cookies:
Use a cookie scoop or spoon to drop rounded spoonfuls of dough onto the prepared baking sheets, spacing them about 2 inches apart. Press the tops down lightly and sprinkle coarse sea salt on each cookie.
Bake for 12-14 minutes until the cookies have set but remain soft inside. The tops will crackle and look shiny.
6. Cool and Serve:
Let the cookies cool on the baking sheet for 5 minutes to set. Then transfer to a wire rack to cool completely. Enjoy your chewy, fudgy salted brownie cookies with a perfect hint of saltiness!
Can I Use Dark Chocolate Instead of Semisweet?
Yes! Dark chocolate with at least 60% cocoa content works great and will give the cookies a richer, more intense chocolate flavor. Just be sure to adjust sweetness if you prefer a less bitter cookie.
How Should I Store Leftover Cookies?
Store leftover salted brownie cookies in an airtight container at room temperature for up to 4 days. To keep them soft, place a slice of bread in the container to maintain moisture.
Can I Freeze the Cookie Dough?
Absolutely! Scoop the dough onto a baking sheet, freeze until solid, then transfer to a freezer bag. Bake straight from frozen, adding 1-2 extra minutes to the baking time.
What Can I Substitute for Coarse Sea Salt?
If you don’t have coarse sea salt, flaky finishing salt or even regular kosher salt will work. Just sprinkle lightly as a finishing touch to preserve the sweet-salty balance.
