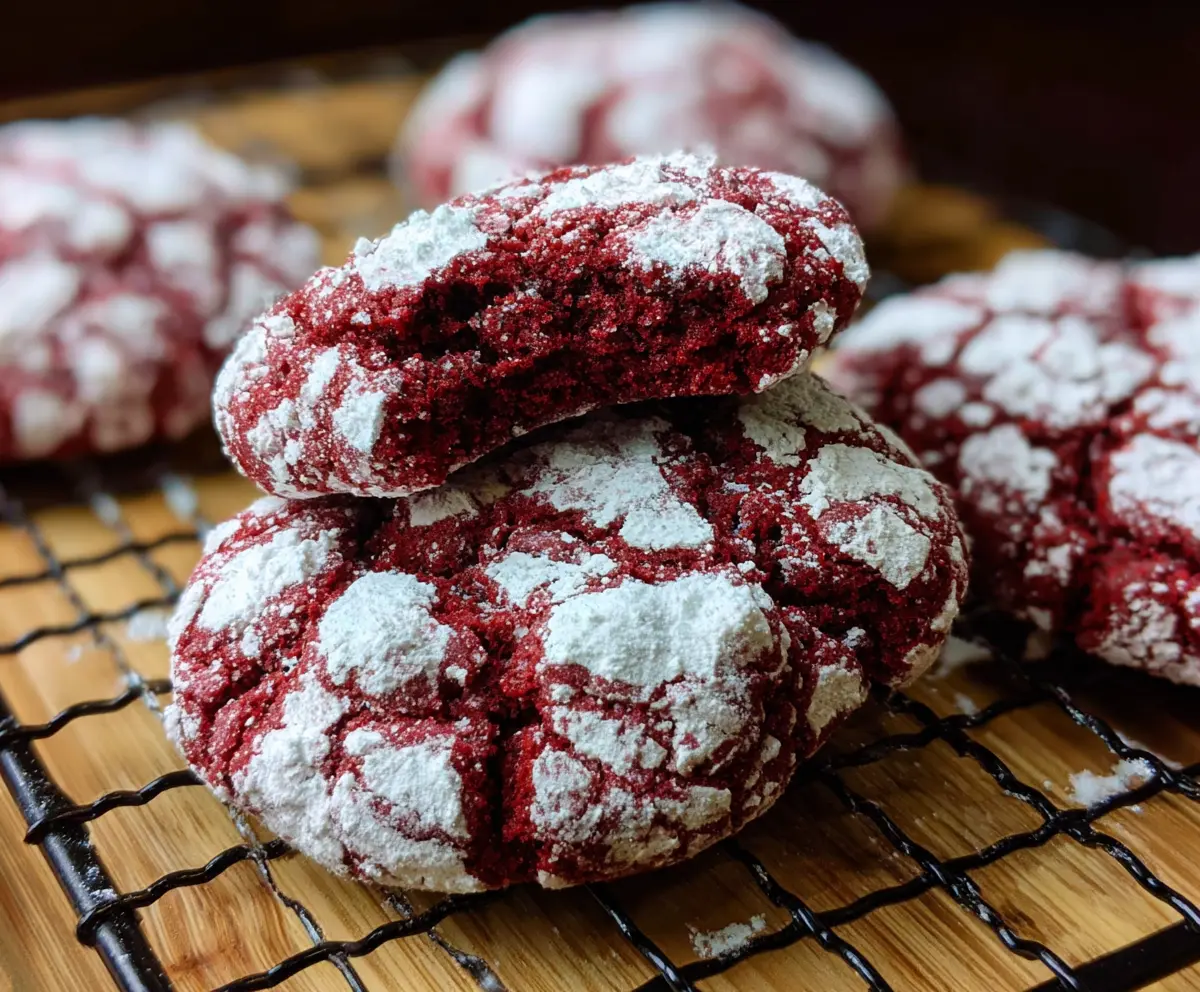
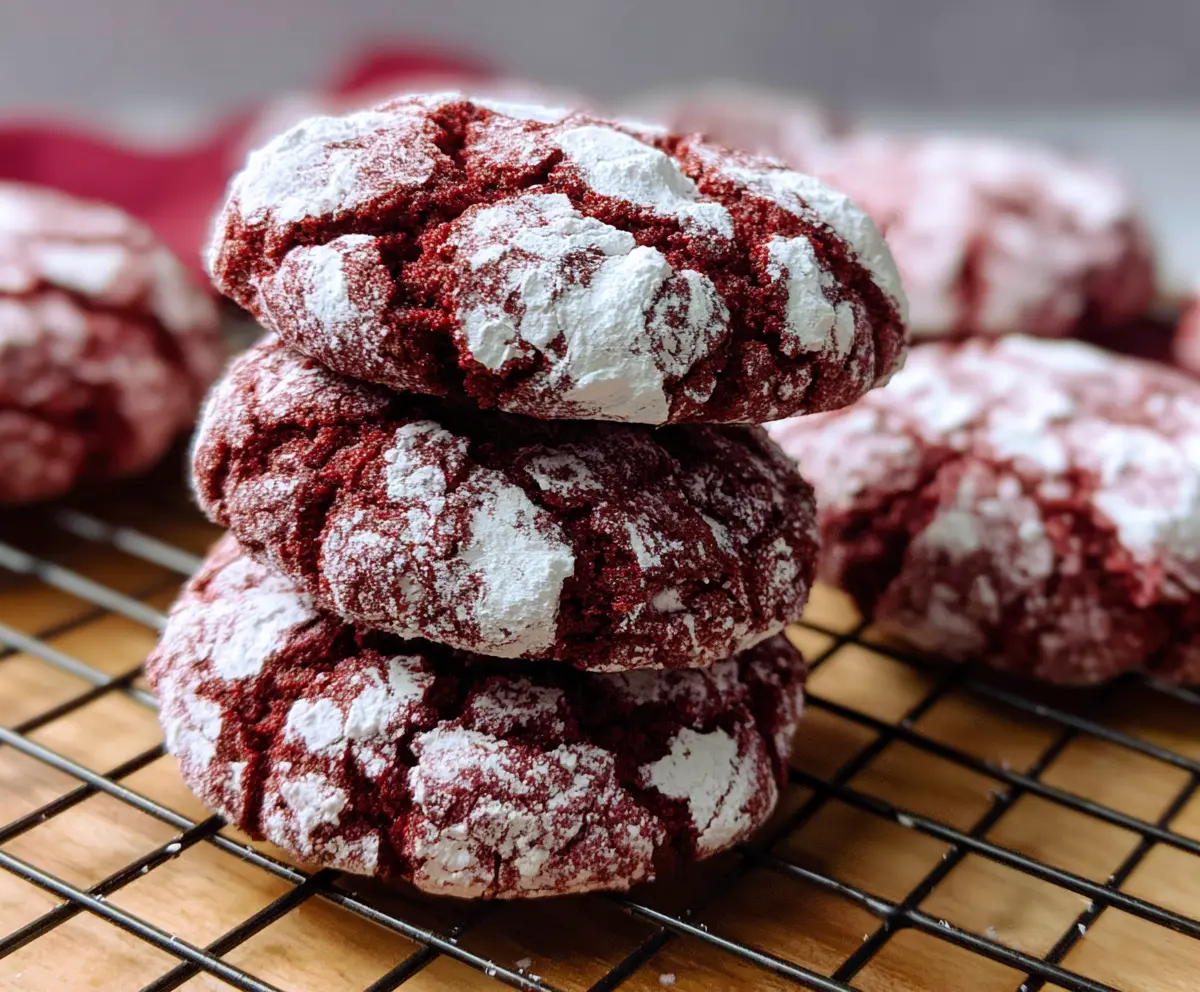
Red Velvet Crinkle Cookies are the perfect little treats that catch your eye with their bright red color and crackly white powdered sugar coating. These cookies have a soft and cake-like texture with just a hint of cocoa, making each bite a delightful mix of sweet and chocolatey flavors. They’re fun to make and even more fun to eat, especially around the holidays or any time you want a pop of festive color.
I love these cookies because they’re easy to prepare, and the crinkled powdered sugar gives them a charming, homemade look. One of my favorite things about making them is watching the cracks form as they bake—it’s like a little surprise on every cookie! I usually chill the dough first, which helps the cookies hold their shape and get that perfect crinkle pattern.
These cookies are wonderful with a glass of milk or a cup of hot cocoa, and they always bring a smile when I share them with friends and family. I find they stay soft for days if stored in an airtight container, so they’re great for making ahead and enjoying over time. They’re a cheerful addition to any cookie tray and perfect for brightening up your day with a bit of sweetness and fun.
Key Ingredients & Substitutions
Flour: All-purpose flour works best for these cookies, giving them structure without being tough. You can try a gluten-free blend, but results may vary.
Cocoa Powder: Unsweetened cocoa powder adds that subtle chocolate flavor. Dutch-processed cocoa also works and gives a richer taste.
Butter: Using unsalted and softened butter is important for texture and flavor. You can substitute with margarine in a pinch, but butter is ideal.
Red Food Coloring: This gives the iconic red velvet color. If you prefer natural alternatives, beet juice or powder can work but may change the taste slightly.
Buttermilk and Vinegar: These ingredients react with baking soda to help cookies rise and stay tender. If you don’t have buttermilk, mix regular milk with a teaspoon of vinegar and let it sit for 5 minutes.
Powdered Sugar: Rolling the dough in powdered sugar creates the beautiful crinkled look. Make sure to coat the dough balls well for the best effect.
How Do You Get Those Perfect Crinkles on Red Velvet Cookies?
Getting the crinkle texture is all about the dough and powdered sugar coating. Here’s my easy guide to nail it every time:
- Chill your dough for at least an hour. This firms it up and helps the cookies hold their shape.
- Roll the dough into balls and then coat them completely in powdered sugar. Don’t be shy — a thick coat helps form the cracks as the cookies bake.
- Place the dough balls spaced apart on the baking sheet. They need room to spread without sticking together.
- Bake at 350°F (175°C) just until the cookies set. Overbaking can dry them out and reduce the crackle effect.
I like to watch closely near the end of baking so I can pull them out right when the surface cracks and the centers still look soft. This way, you get tender, chewy cookies with the classic crinkly look!
Equipment You’ll Need
- Mixing bowls – one large for wet ingredients and one medium for dry ingredients keep things organized.
- Electric mixer or hand whisk – helps cream butter and sugar smoothly for better cookie texture.
- Measuring cups and spoons – for accuracy, especially with baking powder and soda.
- Cookie scoop or spoon – makes evenly sized dough balls, so cookies bake uniformly.
- Baking sheet – a flat surface to spread cookies evenly; use parchment paper to prevent sticking.
- Wire cooling rack – lets cookies cool evenly so bottoms don’t get soggy.
Flavor Variations & Add-Ins
- Add white chocolate chips for a creamy sweetness that pairs nicely with the cocoa flavor.
- Mix in a half teaspoon of cinnamon for a warm spice note that deepens the flavor.
- Try swapping red food coloring for natural beet powder to get color with a mild earthy taste.
- Fold in toasted nuts like pecans or walnuts to add crunch and nutty flavor.
How to Make Red Velvet Crinkle Cookies
Ingredients You’ll Need:
Main Ingredients:
- 1 ¾ cups all-purpose flour
- 2 tablespoons unsweetened cocoa powder
- ½ teaspoon baking powder
- ¼ teaspoon baking soda
- ¼ teaspoon salt
- ½ cup (1 stick) unsalted butter, softened
- 1 cup granulated sugar
- 1 large egg
- 1 teaspoon vanilla extract
- 1 tablespoon red food coloring
- ½ teaspoon white vinegar
- ⅓ cup buttermilk
For Coating:
- 1 cup powdered sugar
How Much Time Will You Need?
This recipe takes about 15 minutes to prepare, plus at least 1 hour to chill the dough for best results. Baking time is about 10-12 minutes per batch. Plan for about 1 hour and 30 minutes total including cooling time.
Step-by-Step Instructions:
1. Mix Dry Ingredients:
In a medium bowl, whisk together the flour, cocoa powder, baking powder, baking soda, and salt. Set this mixture aside for now.
2. Cream Butter and Sugar:
In a large bowl, use a mixer to beat the softened butter and granulated sugar together until the mixture is light and fluffy. This helps create soft cookies.
3. Add Wet Ingredients:
Add the egg, vanilla extract, red food coloring, and white vinegar to the butter and sugar mixture. Stir well until everything is fully combined and the color is even.
4. Combine Wet and Dry Mixtures:
Gradually add the dry ingredients to the wet mixture, alternating with the buttermilk. Start and end with the dry ingredients. Mix gently until just combined—avoid overmixing to keep the dough tender.
5. Chill the Dough:
Cover the dough and place it in the refrigerator for at least 1 hour, or up to overnight. This helps the dough firm up and makes it easier to form the cookie balls.
6. Prep for Baking:
When ready, preheat your oven to 350°F (175°C). Line a baking sheet with parchment paper to prevent sticking.
7. Shape and Coat the Cookies:
Pour the powdered sugar into a shallow bowl. Use a cookie scoop or spoon to form dough balls about 1.5 inches wide. Roll each ball thoroughly in powdered sugar so they are well-coated.
8. Bake:
Place each sugar-coated dough ball onto the prepared baking sheet, leaving about 2 inches between each cookie. Bake for 10-12 minutes until the tops crack and the cookies look set but still soft in the middle.
9. Cool and Enjoy!
Take the cookies out of the oven and allow them to cool on the baking sheet for about 5 minutes. Then transfer to a wire rack to cool completely. Store any leftovers in an airtight container.
Can I Use Gel Food Coloring Instead of Liquid?
Yes! Gel food coloring works great and often provides even more vibrant color with less liquid, which keeps the dough consistency perfect.
Can I Make the Dough Ahead of Time?
Absolutely! You can prepare the dough and refrigerate it overnight or up to 2 days. Just bring it back to a slightly firm consistency before rolling and coating in powdered sugar.
How Should I Store Leftover Cookies?
Store leftover cookies in an airtight container at room temperature for up to 3 days. For longer storage, freeze them in a sealed container for up to 2 months. Thaw at room temperature before serving.
What Can I Substitute for Buttermilk?
If you don’t have buttermilk, mix ⅓ cup of milk with 1 teaspoon of white vinegar or lemon juice and let it sit for 5 minutes. This homemade substitute works just as well!