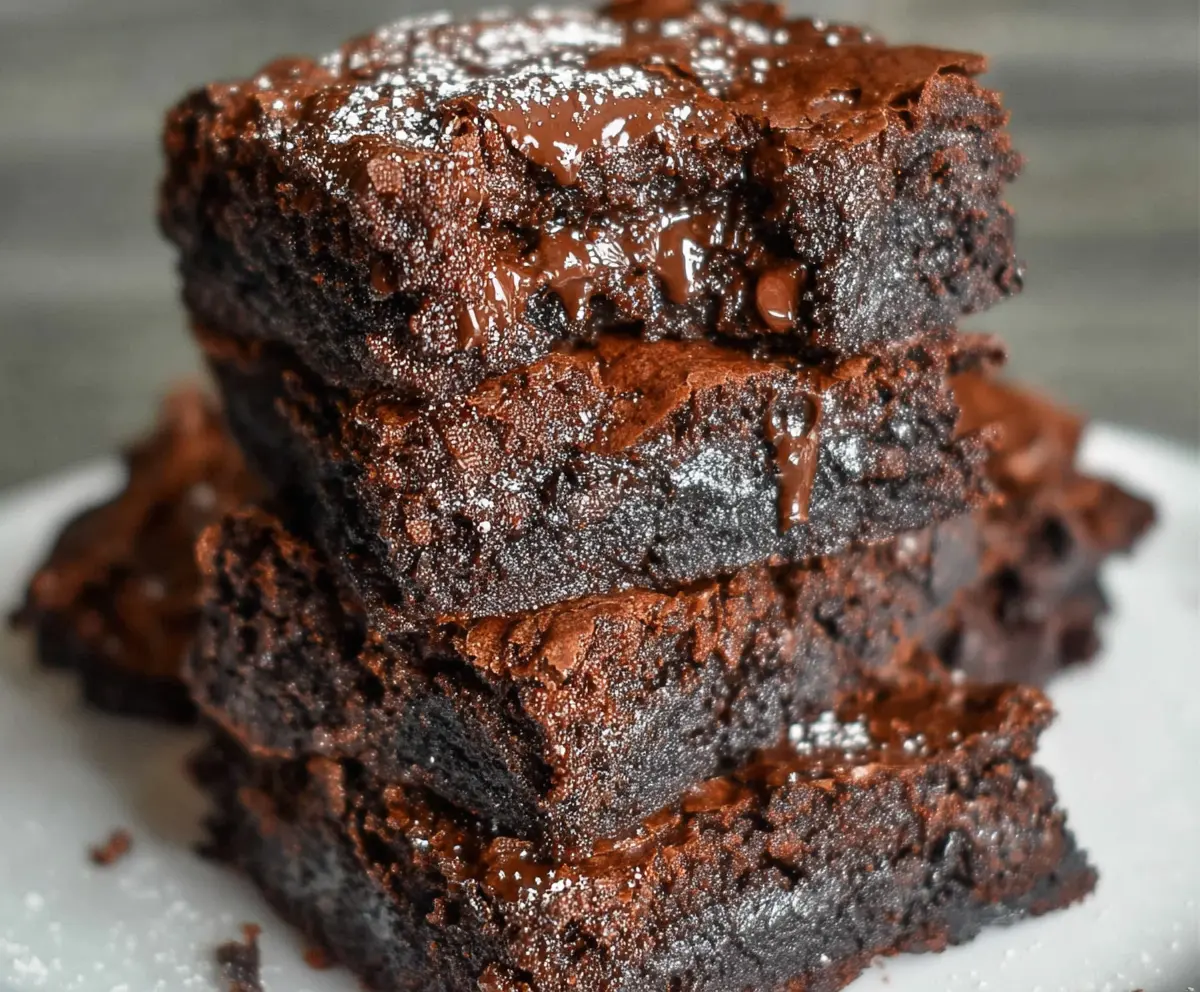
These Low Calorie Greek Yogurt Brownies are a lovely twist on a classic treat, blending rich chocolate flavor with the creamy, tangy goodness of Greek yogurt. They’re soft, chewy, and full of that deep cocoa taste, but with a lighter feel that makes you want to have another piece. The Greek yogurt not only helps keep these brownies moist but also adds a nice boost of protein without the extra calories you’d expect from a traditional brownie.
I really like making these when I want something chocolatey but don’t want to feel too guilty afterward. Using Greek yogurt is such a great little trick—it keeps the brownies tender and gives them a subtle tang that makes the chocolate stand out even more. Plus, they come together pretty quickly, which is perfect when I’m craving a sweet treat but don’t want to spend too much time baking.
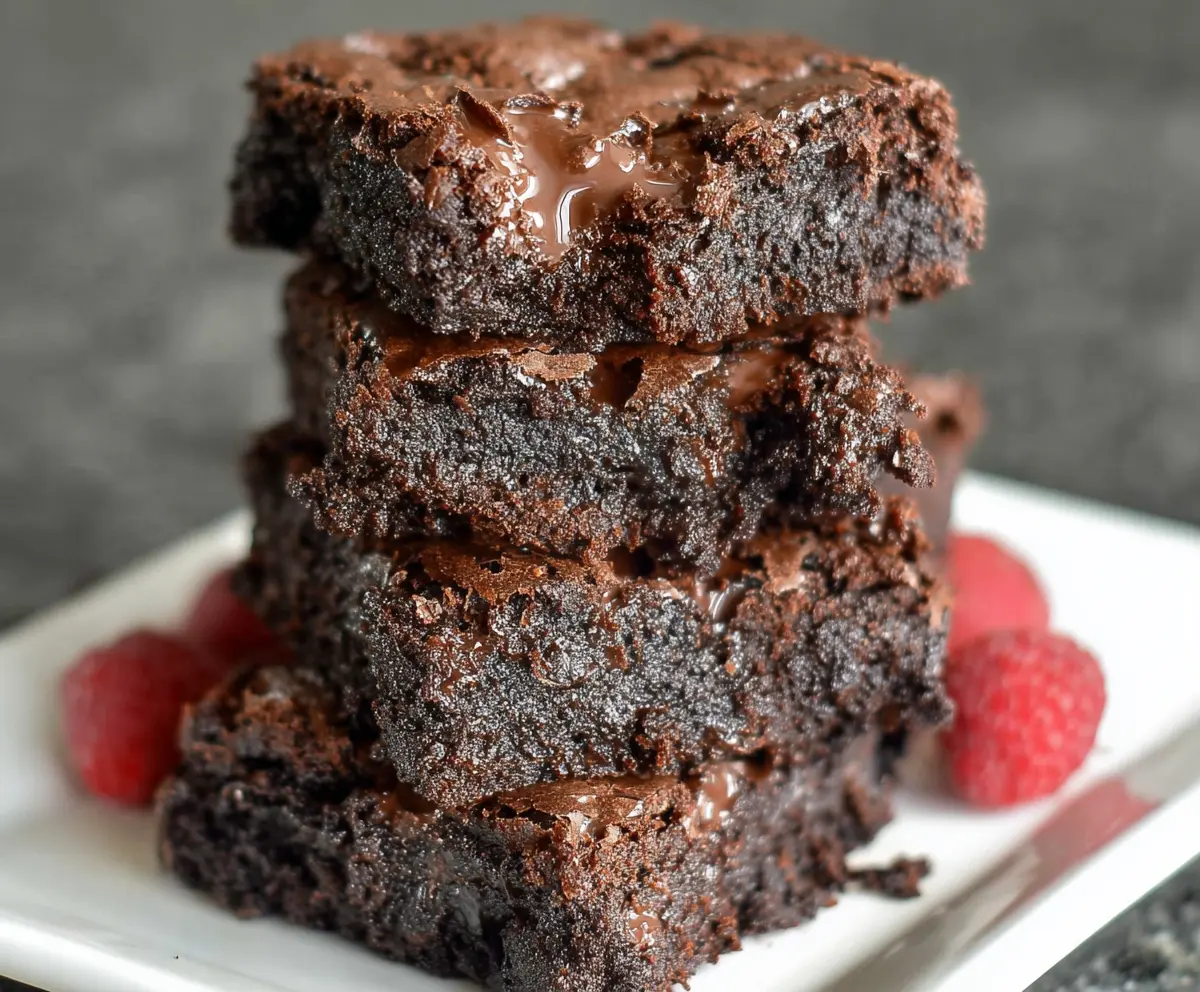
My favorite way to enjoy these brownies is slightly warm, maybe with a dollop of extra Greek yogurt or some fresh berries on the side. They’re a great snack, dessert, or even a little something to share with friends without overdoing it. If you’re looking for a chocolate fix that’s both satisfying and a bit lighter, these brownies are a great choice every time.
Key Ingredients & Substitutions
Greek Yogurt: This is the star for moisture and protein while keeping calories low. Use non-fat plain Greek yogurt for the best texture. If you prefer, you can swap in low-fat yogurt, but it may change the richness slightly.
Cocoa Powder: Unsweetened cocoa powder delivers deep chocolate flavor without added sugar. You can use Dutch-processed cocoa for a smoother taste, but natural cocoa works just fine.
Honey or Maple Syrup: These natural sweeteners add sweetness and moisture. If you want to cut sugar further, try a sugar-free syrup or monk fruit sweetener in similar amounts.
Dark Chocolate Chips: These are optional but add gooey chocolate pockets. Choose chips with at least 70% cocoa for less sugar. You can skip them or swap with nuts if you want some crunch.
How Can I Keep Brownies Fudgy Without Overbaking?
Fudgy brownies need just the right baking time and careful mixing. Here’s how I do it:
- Mix wet and dry ingredients gently to avoid tough brownies.
- Bake at 350°F and check around 20 minutes with a toothpick.
- When toothpick comes out with moist crumbs (not wet batter), take them out.
- Cool brownies completely before slicing—this helps them set.
Following these tips keeps brownies moist and fudgy without drying out or crumbling.
Equipment You’ll Need
- 8×8-inch baking pan – perfect size for even, thick brownies that bake well.
- Mixing bowls – one for dry ingredients and one for wet; keeps mixing neat and easy.
- Whisk or spoon – for combining ingredients smoothly without overmixing.
- Rubber spatula – great for folding in chocolate chips and scraping the bowl clean.
- Wire cooling rack – lets brownies cool evenly and prevents sogginess.
Flavor Variations & Add-Ins
- Add chopped nuts like walnuts or pecans for a satisfying crunch and extra texture.
- Stir in a teaspoon of instant coffee powder to boost the chocolate flavor subtly.
- Use white chocolate chips or dried cherries for a sweet contrast that brightens the brownies.
- Mix in a pinch of cinnamon or chili powder for a warm, spicy twist that pairs well with cocoa.
Low Calorie Greek Yogurt Brownies
Ingredients You’ll Need:
Dry Ingredients:
- 1/2 cup all-purpose flour
- 1/4 cup unsweetened cocoa powder
- 1/2 tsp baking powder
- 1/4 tsp salt
Wet Ingredients:
- 1 cup non-fat Greek yogurt
- 1/3 cup honey or maple syrup
- 1 large egg
- 1 tsp vanilla extract
Extras:
- 1/4 cup dark chocolate chips (optional, for extra gooeyness)
- Powdered sugar for dusting (optional)
How Much Time Will You Need?
This recipe takes about 10 minutes to prepare and 20-25 minutes of baking time. After baking, allow the brownies to cool completely on a wire rack, which takes around 30 minutes. So, plan for about an hour from start to finish.
Step-by-Step Instructions:
1. Prepare Your Pan and Oven:
Preheat your oven to 350°F (175°C). Lightly grease an 8×8-inch baking pan or line it with parchment paper for easy removal.
2. Mix Dry Ingredients:
In a medium bowl, whisk together the all-purpose flour, unsweetened cocoa powder, baking powder, and salt until combined. This ensures even distribution of the ingredients.
3. Combine Wet Ingredients:
In a large bowl, whisk the non-fat Greek yogurt, honey or maple syrup, egg, and vanilla extract until smooth and well combined.
4. Make the Batter:
Gradually add the dry ingredients to the wet ingredients, stirring gently until just combined. Avoid overmixing to keep your brownies tender. If you want extra chocolate gooeyness, fold in the dark chocolate chips now.
5. Bake Your Brownies:
Pour the batter into the prepared pan and smooth the top evenly. Bake for 20-25 minutes, or until a toothpick inserted in the center comes out with a few moist crumbs. Don’t overbake to keep them fudgy!
6. Cool and Serve:
Let the brownies cool completely in the pan on a wire rack. Once cooled, cut into squares, and if you like, dust with powdered sugar before serving.
Enjoy your delicious, moist, and slightly tangy low calorie Greek yogurt brownies that are sure to satisfy your chocolate cravings in a healthier way!
Can I Substitute Greek Yogurt with Regular Yogurt or Sour Cream?
You can use regular yogurt or sour cream instead, but Greek yogurt’s thickness helps keep these brownies moist and fudgy. If using thinner yogurt, reduce any added liquid slightly to maintain the right batter consistency.
Can I Make These Brownies Gluten-Free?
Yes! Simply replace the all-purpose flour with a gluten-free flour blend in a 1:1 ratio. Make sure your cocoa powder and other ingredients are also gluten-free.
How Should I Store Leftover Brownies?
Store leftovers in an airtight container at room temperature for up to 2 days or refrigerate for up to 5 days. To enjoy warm brownies, gently reheat them in the microwave for 10-15 seconds.
Can I Freeze These Brownies?
Absolutely! Wrap cooled brownies tightly in plastic wrap and place them in a freezer-safe bag or container. Freeze for up to 3 months. Thaw overnight in the fridge before serving.