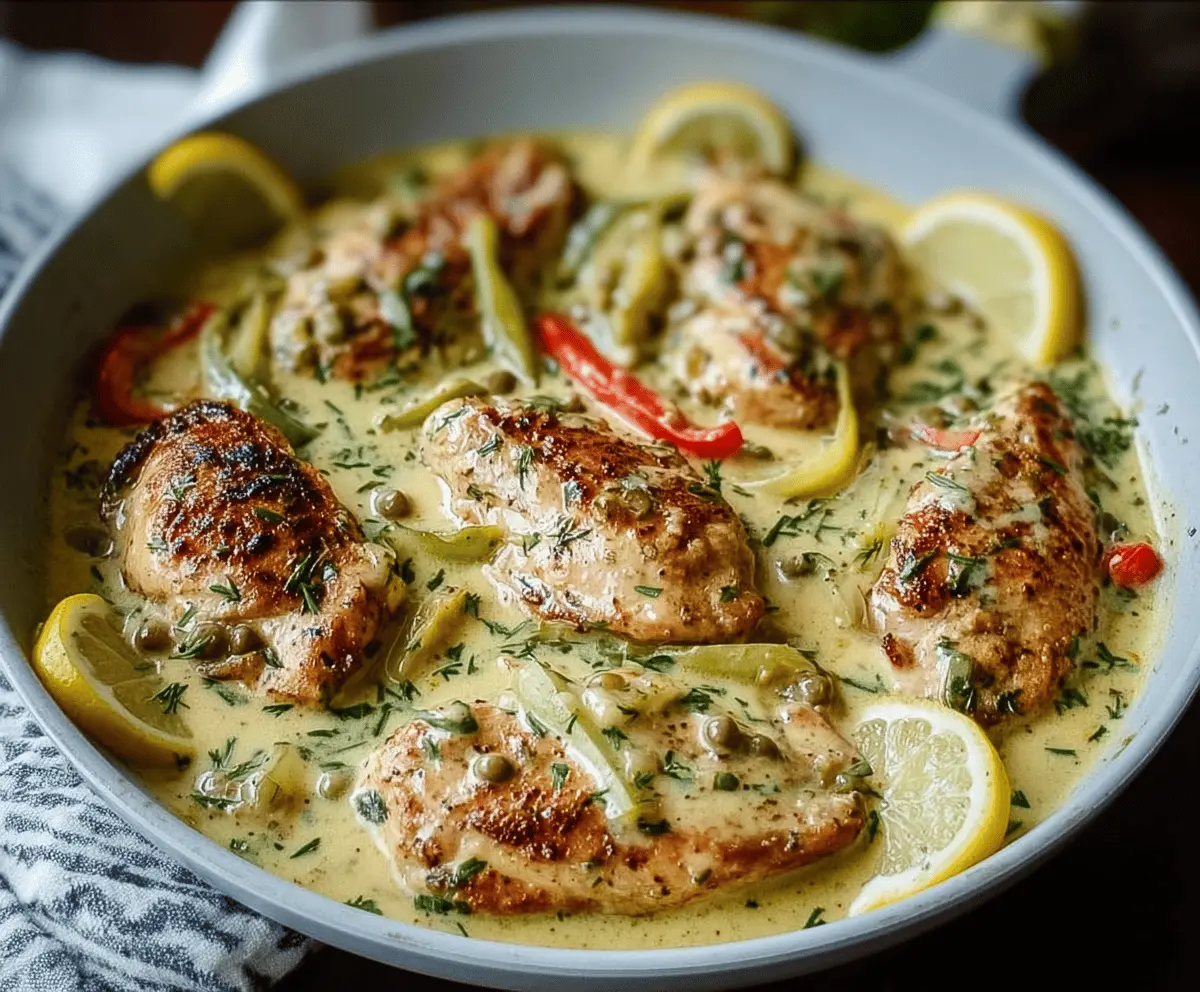
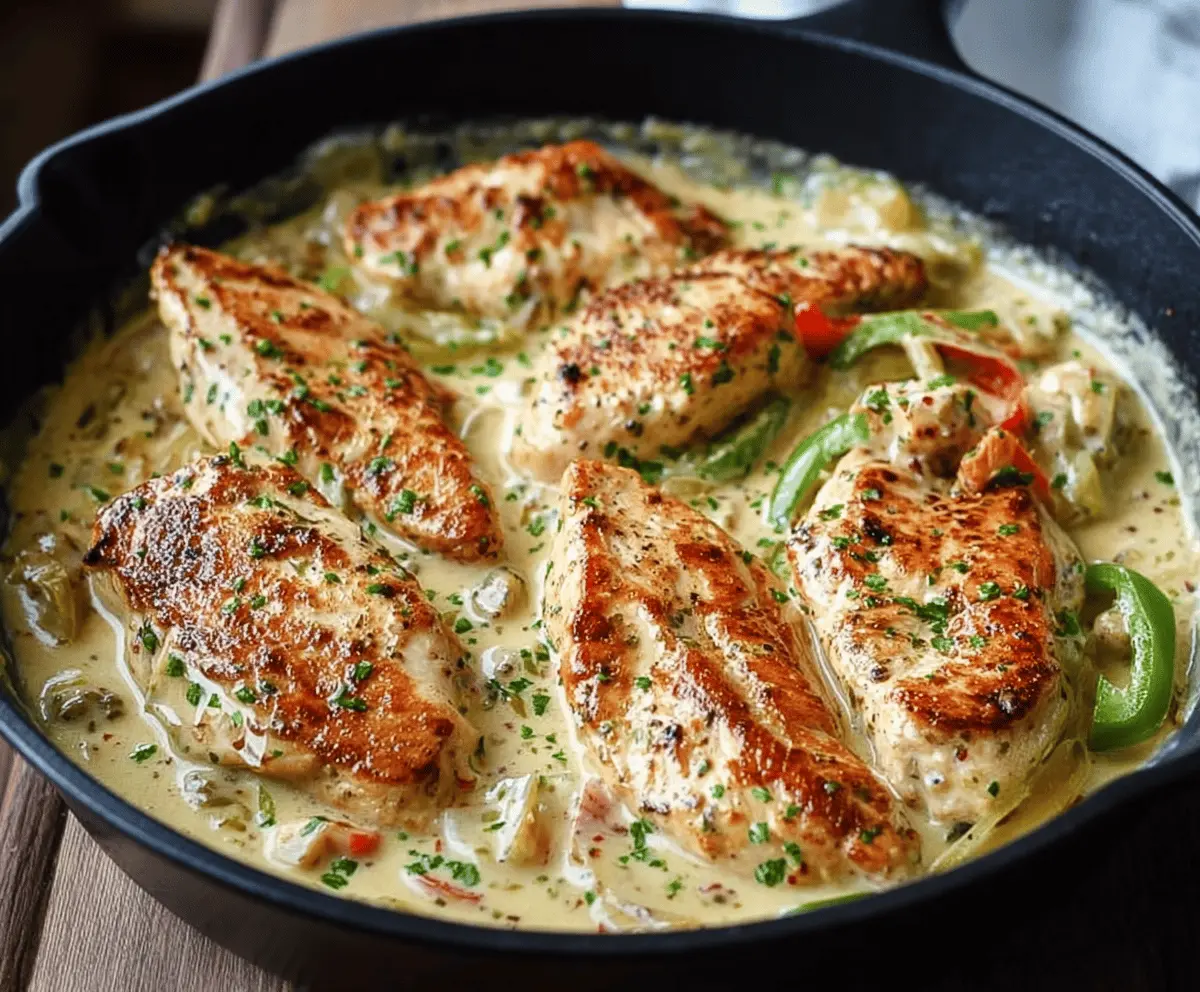
Creamy Pepperoncini Chicken Skillet is a simple, tasty meal that brings together tender chicken breasts, tangy pepperoncini peppers, and a smooth, creamy sauce all in one pan. The peppers add just the right amount of zest and a little zing, while the creamy sauce makes every bite feel comforting and rich without being heavy. It’s the kind of dish that looks fancy but comes together quickly on busy weeknights.
I love making this skillet when I want a meal that feels like a treat but doesn’t take forever to cook. The combination of the tangy peppers and creamy sauce is so yummy, and you can really tell how the flavors melt together as they cook in the same skillet. I usually add a little extra pepperoncini juice for an extra kick—it’s my personal twist that makes the dish pop every time.
My favorite way to serve this creamy chicken is over rice or even mashed potatoes so you can soak up all that delicious sauce. It’s also great paired with a simple green salad to balance out the richness. This recipe is one I find myself coming back to again and again because it’s both easy and full of flavor, making dinner time feel special without any fuss.
Key Ingredients & Substitutions
Chicken breasts: Boneless, skinless breasts cook quickly and stay tender. If you prefer, thighs work too and add extra juiciness.
Pepperoncini peppers & juice: These give a bright tang and mild heat. You can substitute with banana peppers or mild pickled peppers if you can’t find pepperoncinis.
Heavy cream: This makes the sauce rich and smooth. For a lighter option, try half-and-half or coconut milk, though the sauce will be thinner.
Capers: They add a salty, briny bite. If you don’t have capers, add a splash of lemon juice or a small amount of green olives for a similar zing.
Dill: Fresh dill brightens the creamy sauce with herbal notes. Parsley is a fine substitute if you don’t have dill.
How Do I Get Juicy Chicken and a Creamy, Flavorful Sauce?
It’s all about timing and layering flavors:
- Start by seasoning the chicken well. This gives a tasty crust when you brown them.
- Cook chicken over medium-high heat without moving too much to get a nice golden color. This seals juices inside.
- Remove chicken before making sauce to avoid overcooking. Then use the same pan to build flavor by scraping the brown bits from the bottom (this is called deglazing).
- Simmer the cream with pepperoncini and capers gently—avoid boiling or the sauce may split.
- Return chicken to sauce and let it warm and soak up flavors for a few minutes off the heat before serving.
Equipment You’ll Need
- Large nonstick or stainless steel skillet – perfect for browning chicken and simmering the sauce all in one pan.
- Tongs – help you turn the chicken easily without scratching your skillet.
- Measuring cups and spoons – to get the right amounts of cream, broth, and seasonings.
- A sharp knife and cutting board – for slicing pepperoncini and chopping fresh herbs.
Flavor Variations & Add-Ins
- Swap chicken breasts for thighs for a juicier, more flavorful bite.
- Add sliced mushrooms with garlic for an earthy note that pairs well with the creamy sauce.
- Stir in a handful of spinach or kale near the end for extra greens and color.
- Try feta cheese crumbled on top before serving to add a tangy, salty twist.
Creamy Pepperoncini Chicken Skillet
Ingredients You’ll Need:
- 4 boneless, skinless chicken breasts
- Salt and pepper, to taste
- 1 tablespoon olive oil
- 1/2 cup sliced pepperoncini peppers (plus 2 tablespoons pepperoncini juice)
- 2 cloves garlic, minced
- 1/2 cup chicken broth
- 1 cup heavy cream
- 1 teaspoon Italian seasoning
- 1/4 cup capers, drained
- 1/4 cup fresh dill, chopped (or parsley as an alternative)
- Lemon slices, for garnish
How Much Time Will You Need?
This dish takes about 10 minutes to prepare and 20-25 minutes to cook, so it’s ready in under 40 minutes total. It’s a quick and easy skillet meal perfect for weeknights!
Step-by-Step Instructions:
1. Prepare the Chicken:
Season both sides of the chicken breasts well with salt and pepper. Heat olive oil in a large skillet over medium-high heat. Add the chicken and cook for about 5-7 minutes each side, until nicely browned and fully cooked through. Remove chicken from skillet and set aside.
2. Make the Sauce:
In the same skillet, add minced garlic and cook for about 30 seconds until fragrant. Pour in chicken broth and scrape any browned bits from the pan. Stir in heavy cream, Italian seasoning, pepperoncini slices and juice, and capers. Bring to a gentle simmer.
3. Combine and Finish:
Return chicken to skillet and spoon sauce over the top. Let it cook together for 3-5 minutes so flavors blend and chicken warms through. Stir in chopped fresh dill for a bright, fresh touch. Garnish with lemon slices and serve warm. This tasty skillet meal pairs wonderfully with rice, mashed potatoes, or steamed veggies to soak up the creamy sauce!
Can I Use Frozen Chicken for This Recipe?
Yes, but make sure the chicken is fully thawed before cooking. Thaw it in the fridge overnight or use the cold water method to speed things up. Pat dry before seasoning and cooking to avoid extra moisture in the pan.
How Can I Make This Dish Dairy-Free?
You can substitute the heavy cream with coconut milk or a dairy-free cream alternative. Keep in mind the sauce may be a bit thinner and have a slight coconut flavor.
Can I Prepare This Recipe Ahead of Time?
Definitely! Cook the chicken and prepare the sauce in advance, then refrigerate separately for up to 2 days. Warm gently on the stove when ready to serve, adding a splash of broth or cream to refresh the sauce if it thickens too much.
What’s the Best Way to Store Leftovers?
Store any leftovers in an airtight container in the refrigerator for up to 3 days. Reheat gently on the stove or in the microwave, stirring occasionally for even heating.