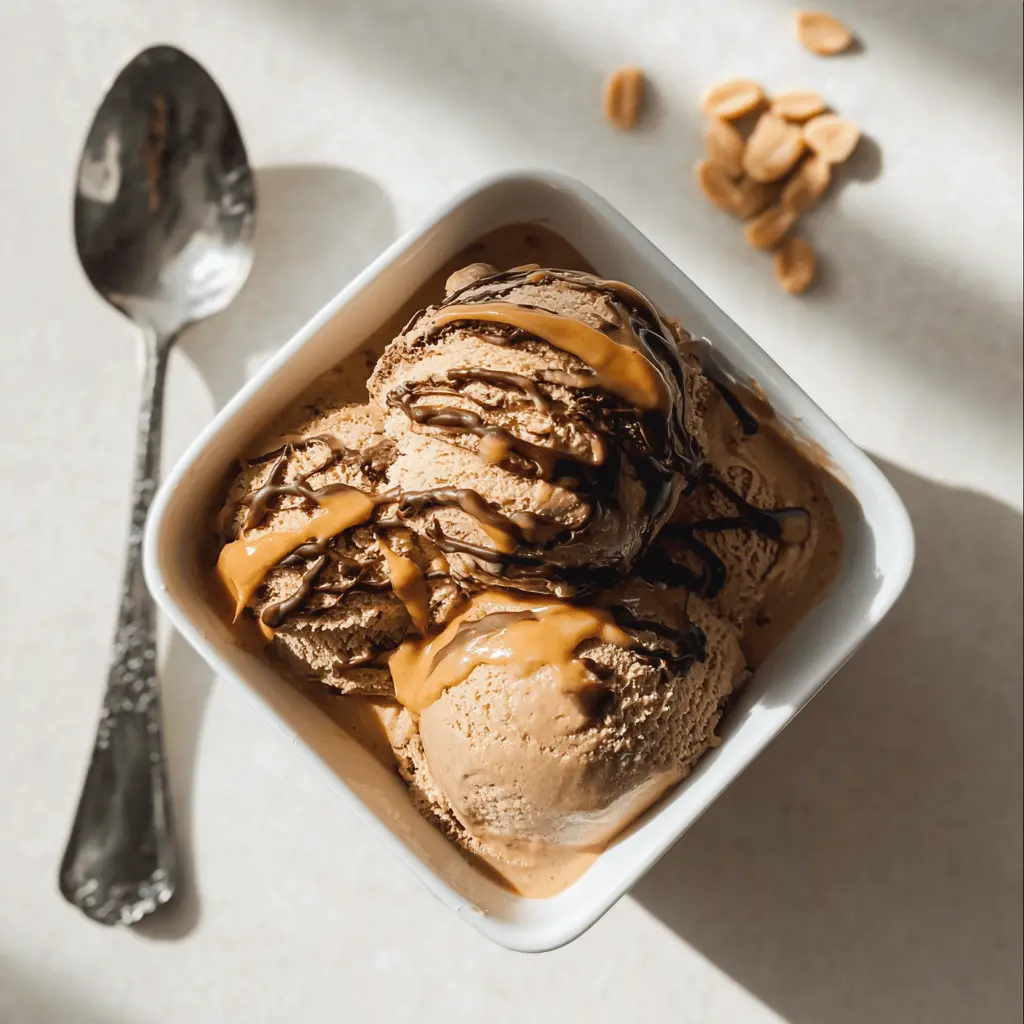
This Easy Chocolate Peanut Butter Ninja Creami Ice Cream is a total treat! Creamy chocolate and rich peanut butter come together in a fun homemade ice cream that’s simple to make.
Just blend, freeze, and let your Ninja Creami do the magic! It’s a great way to cool down on a hot day, and I love sneaking extra spoonfuls when no one’s watching! 🍦✨
Key Ingredients & Substitutions
Whole Milk: Whole milk gives this ice cream creaminess. For a lighter option, you can use 2% milk, but the texture may be less rich. If you want a dairy-free version, try coconut milk or almond milk instead; they’ll add unique flavors.
Creamy Peanut Butter: I love using creamy peanut butter for a smooth consistency. If you prefer chunky peanut butter, go for it! Just be aware of the added texture. Nut butters like almond or cashew can be nice alternatives too.
Unsweetened Cocoa Powder: Cocoa powder is key for that chocolatey taste. You can substitute it with carob powder for a caffeine-free option, or use a chocolate syrup if you’re looking for sweetness with less fuss.
Granulated Sugar: Regular sugar works great, but you can switch it for agave syrup or honey if desired. Just remember to adjust the liquid slightly since these are liquid sweeteners.
How Do I Get That Perfectly Creamy Ice Cream Texture?
Achieving a smooth, creamy texture is all about the freezing and processing steps. Don’t rush the freezing part; it needs at least 24 hours to solidify completely. Follow these tips for best results:
- Be sure to whisk the ingredients really well before freezing—this helps incorporate air.
- When using the Ninja Creami, make sure the mixture is fully frozen solid before processing.
- If the ice cream is too crumbly after using the “Ice Cream” function, just run the “Re-spin” function. This step is crucial for achieving the perfect creaminess!
- Serve it right after processing for the best texture, but it can be stored in the freezer for later. Just let it soften for a few minutes before scooping.
Easy Chocolate Peanut Butter Ninja Creami Ice Cream
Ingredients You’ll Need:
- 1 cup whole milk
- 1/2 cup creamy peanut butter
- 1/4 cup unsweetened cocoa powder
- 1/2 cup granulated sugar
- 1 tsp vanilla extract
- Pinch of salt
- Optional: Peanut butter or chocolate sauce for drizzling
How Much Time Will You Need?
This delicious chocolate peanut butter ice cream takes about 15 minutes to prepare. However, don’t forget that you’ll need to freeze the mixture for at least 24 hours to allow it to set completely. So it’s a perfect treat to make ahead and enjoy later!
Step-by-Step Instructions:
1. Mixing the Ingredients:
In a medium bowl, whisk together the whole milk, creamy peanut butter, unsweetened cocoa powder, granulated sugar, vanilla extract, and a pinch of salt. Stir until the mixture is smooth and well combined—this will make the base for your ice cream.
2. Filling the Ninja Creami Container:
Carefully pour the smooth mixture into the Ninja Creami pint container. Make sure you don’t exceed the max fill line for best results. Seal the container tightly, so there are no spills in the freezer!
3. Freezing Time:
Pop the container in the freezer and let it freeze for at least 24 hours. This step is super important for getting the perfect ice cream texture!
4. Processing in the Ninja Creami:
Once your ice cream is fully frozen, take the container out of the freezer and place it into your Ninja Creami machine. Select the “Ice Cream” function and let the machine work its magic until the texture is creamy and smooth.
5. Re-spin for Creaminess:
If your ice cream looks a bit crumbly instead of creamy, no worries! Just run the “Re-spin” function once more to achieve a silky consistency.
6. Serving Your Ice Cream:
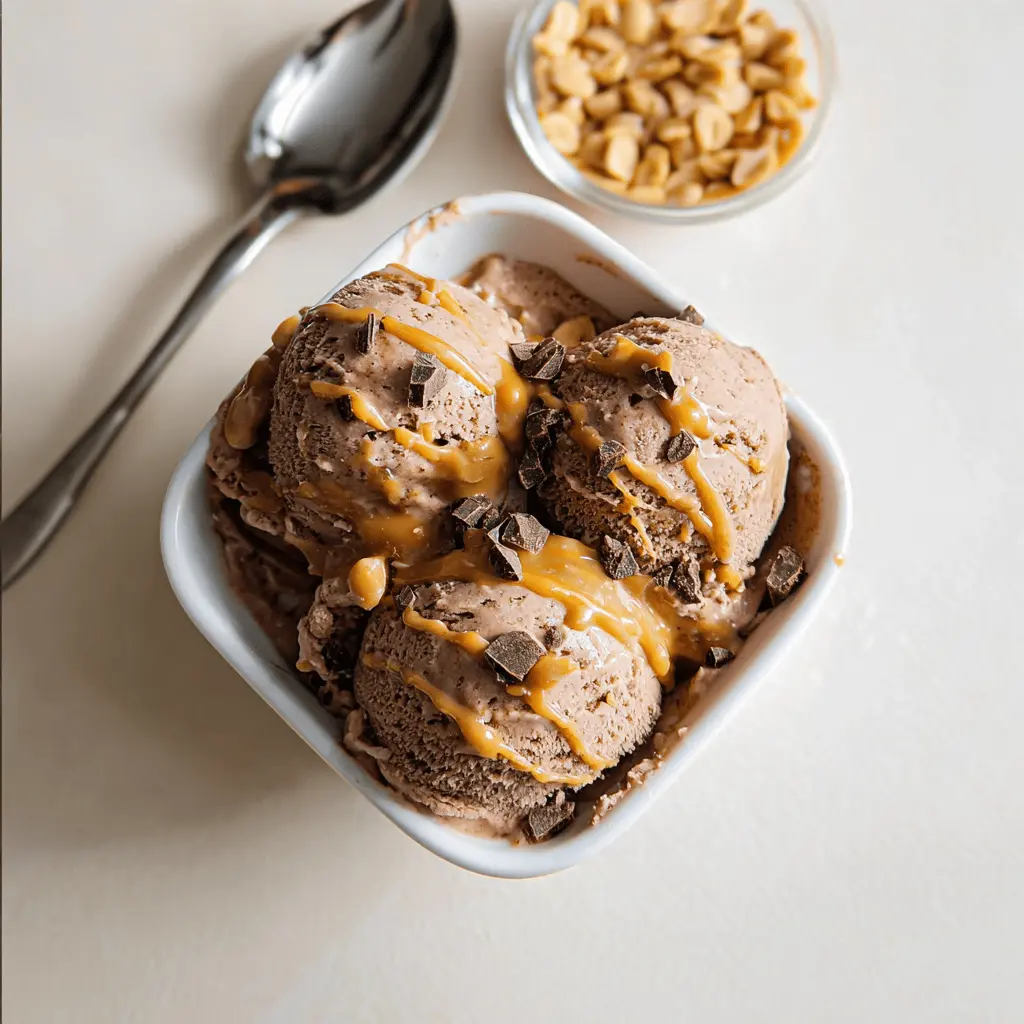
Scoop your delicious chocolate peanut butter ice cream into bowls. If you want to go the extra mile, drizzle some peanut butter or chocolate sauce on top for added flavor and fun!
7. Enjoy!
Serve immediately and enjoy this delightful treat with friends or family. Don’t forget to keep some for yourself; it’s that good!
This recipe combines the rich flavors of chocolate and peanut butter into a creamy, homemade ice cream perfect for your Ninja Creami machine. Enjoy your delicious creation!
FAQ for Easy Chocolate Peanut Butter Ninja Creami Ice Cream
Can I Use Different Types of Milk in This Recipe?
Absolutely! While whole milk provides the creamiest texture, you can use 2% milk for a lighter version. For a dairy-free option, try coconut milk or almond milk; just keep in mind that this might slightly alter the flavor and texture!
How Long Can I Store This Ice Cream?
You can store the ice cream in the freezer for up to 2 weeks. Just make sure to keep it in the Ninja Creami pint container and seal it well to prevent freezer burn. If it becomes too hard, let it sit at room temperature for a few minutes before scooping.
What If I Don’t Have a Ninja Creami Machine?
No Ninja Creami? No problem! You can pour the mixture into a freezer-safe container and stir it every 30 minutes for about 2-3 hours until it reaches your desired consistency. This method may require more effort, but it will still be delicious!
Can I Add Mix-Ins to the Ice Cream?
Sure! Feel free to add your favorite mix-ins like chocolate chips, crushed cookies, or chopped nuts during the last minute of processing in the Ninja Creami. This will give your ice cream an extra crunch and flavor boost!