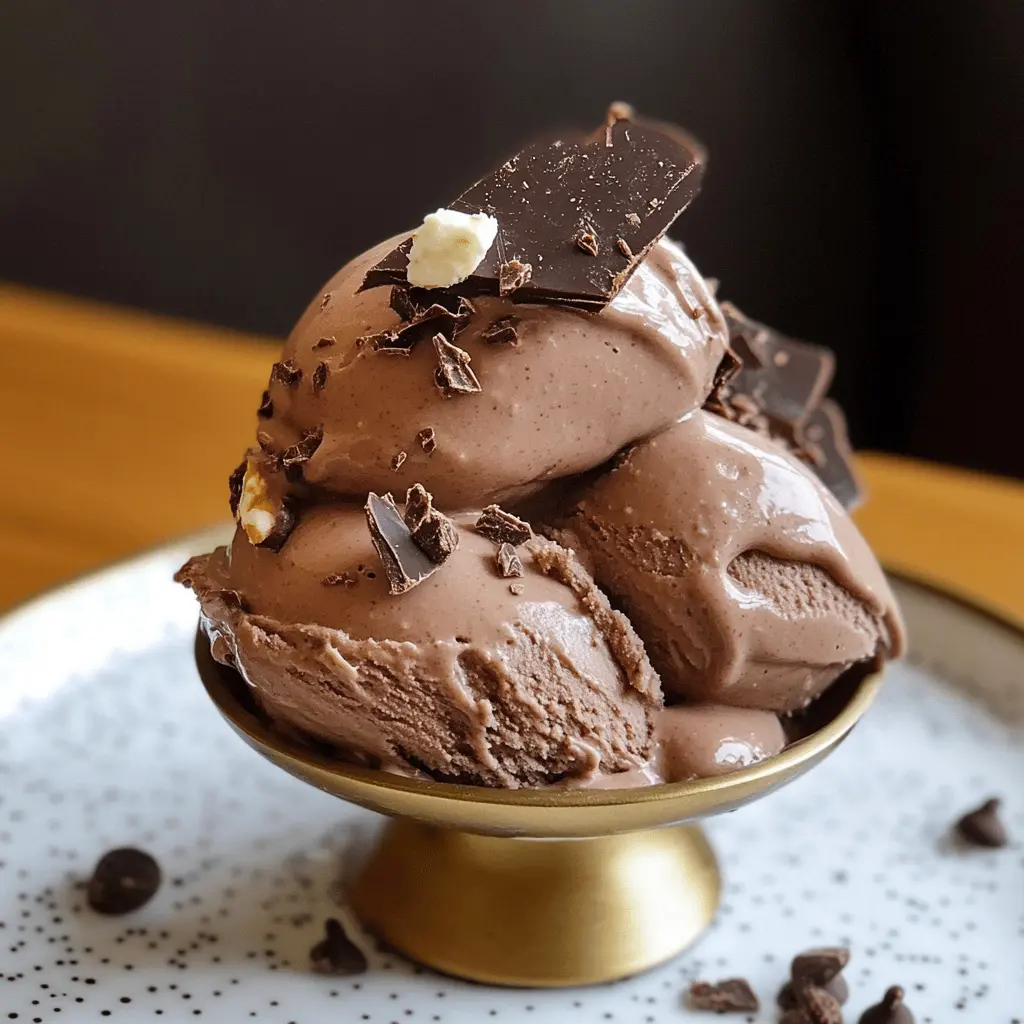
This chocolate custard ice cream is smooth, creamy, and oh-so-chocolatey! Made with simple ingredients, it’s a treat that’s perfect for hot days or anytime you need a sweet fix.
Honestly, there’s nothing like homemade ice cream to impress friends! I always love sneaking spoonfuls straight from the bowl before it’s frozen. Who can blame me? 🍦
Key Ingredients & Substitutions
Whole Milk: This gives your ice cream a creamy consistency. You can substitute with 2% milk, but it may be less rich. For non-dairy, try coconut or almond milk, but check for sweetness levels.
Heavy Cream: Provides a luxurious texture. If you’re looking for lighter options, half-and-half can be used, though the ice cream will be less creamy. For dairy-free, coconut cream works well.
Granulated Sugar: Adds sweetness. Coconut sugar or maple syrup can be used as alternatives, though they may slightly change the flavor. Honey is another option, but adjust quantities as it’s sweeter.
Unsweetened Cocoa Powder: Essential for that rich chocolate flavor. For a twist, use dark cocoa powder or a Dutch-processed variety for a deeper taste.
Bittersweet or Semisweet Chocolate: Chopping this finely ensures it melts quickly. You could use chocolate chips or even milk chocolate if you prefer a sweeter ice cream.
How Do I Ensure My Custard Is Perfectly Smooth?
Making a smooth custard is key to creamy ice cream. Here’s how you do it:
- Add hot milk gradually to egg yolks while whisking. This gently warms the eggs so they don’t scramble.
- Cook on low heat, stirring constantly. This helps thicken the custard without burning. The mixture should coat the back of a spoon.
- Strain the custard after cooking. This removes any bits and gives a smooth finish.
By taking your time and following these steps, you’ll achieve a beautifully creamy custard every time!
Easy Homemade Chocolate Custard Ice Cream
Ingredients You’ll Need:
- 2 cups whole milk
- 1 cup heavy cream
- 3/4 cup granulated sugar
- 1/2 cup unsweetened cocoa powder
- 4 large egg yolks
- 4 oz bittersweet or semisweet chocolate, finely chopped
- 1 tsp vanilla extract
- Pinch of salt
- Optional: chocolate shavings or curls for garnish
How Much Time Will You Need?
This delightful ice cream recipe takes about 30 minutes to prepare and then needs at least 4 hours to chill. After that, it will need a couple of hours to freeze until it’s firm. So, in total, you’ll need a bit of patience, but trust me, the result is worth the wait!
Step-by-Step Instructions:
1. Prepare the Milk Mixture:
In a medium saucepan, combine the whole milk, heavy cream, granulated sugar, and cocoa powder. Whisk everything together over medium heat until the sugar dissolves and the mixture gets hot but doesn’t boil. Stirring is important so that it heats evenly.
2. Whisk the Egg Yolks:
While the milk mixture is heating up, grab a separate bowl and whisk the egg yolks until they’re smooth. This will help incorporate them nicely into your mixture later!
3. Temper the Eggs:
Now, slowly pour about 1 cup of the hot milk mixture into the bowl with the egg yolks, whisking continuously. This process, called tempering, helps avoid cooking the egg yolks and keeps them smooth.
4. Combine and Cook:
Pour the egg yolk mixture back into the saucepan with the rest of the milk mixture. Cook this over low heat, stirring constantly with a wooden spoon or spatula. Keep cooking until the custard thickens enough to coat the back of a spoon, around 170°F, which is just before boiling.
5. Stir in Chocolate and Flavor:
Once thickened, remove the saucepan from the heat and immediately stir in the finely chopped chocolate, vanilla extract, and a pinch of salt. Mix until the chocolate has completely melted and the mixture is silky smooth.
6. Strain the Custard:
To ensure a perfect texture, strain the custard through a fine-mesh sieve into a clean bowl. This step removes any small cooked egg bits, giving you a super creamy final product.
7. Chill the Custard:
Cover your bowl with plastic wrap and place it in the refrigerator to chill for at least 4 hours or overnight. The colder it is, the better it will churn!
8. Churn the Ice Cream:
Once chilled, pour the custard into your ice cream maker and churn according to the manufacturer’s instructions until it reaches a soft-serve consistency. This usually takes around 20-30 minutes.
9. Freeze for Firmness:
Transfer the ice cream to an airtight container and freeze it for at least 2 hours. This will help it become firm and scoopable.
10. Serve and Enjoy:
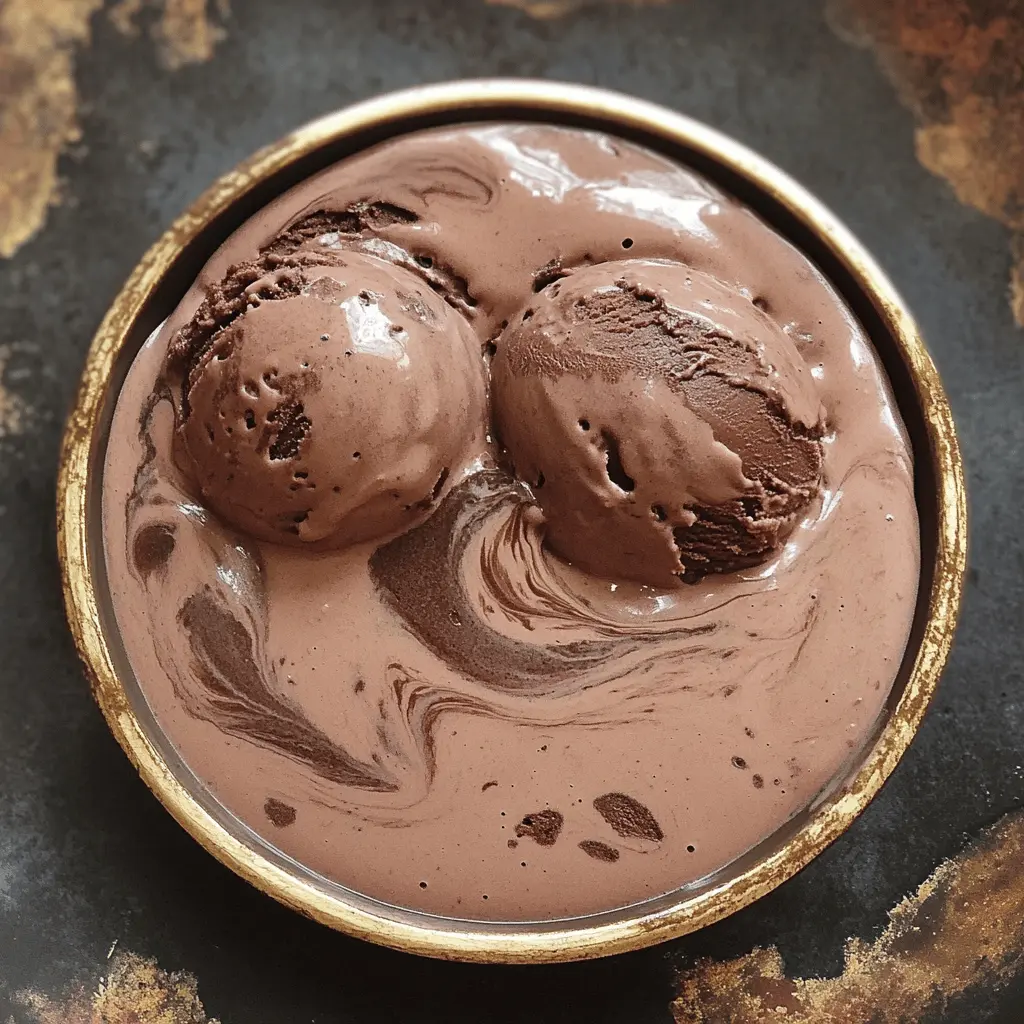
When you’re ready to enjoy, scoop the ice cream into bowls or cones. You can garnish with chocolate shavings or curls if you like—a sweet touch!
Enjoy your rich, creamy homemade chocolate custard ice cream that melts perfectly in your mouth! It makes everything better, one scoop at a time! 🍦
FAQ for Easy Homemade Chocolate Custard Ice Cream
Can I Use Different Types of Milk?
Yes, you can! While whole milk gives the best flavor and creaminess, 2% milk can be used for a lighter version. For a non-dairy option, try using coconut milk or almond milk, but note that the texture may vary slightly.
What If I Don’t Have an Ice Cream Maker?
No problem! You can still make ice cream without one. Pour the custard into a shallow dish and place it in the freezer. Every 30 minutes, stir vigorously with a fork to break up ice crystals until it reaches a creamy consistency, usually about 3-4 hours.
How Should I Store Leftover Ice Cream?
Store any leftover chocolate custard ice cream in an airtight container in the freezer. It will stay fresh for about 2-3 weeks. To make scooping easier, let it sit at room temperature for a few minutes before serving.
Can I Add Other Flavors or Ingredients?
Absolutely! You can mix in chocolate chips, nuts, or even a swirl of peanut butter or fruit puree before freezing. Just be sure to add anything extra during the final stages of churning for the best texture.